I wanted my sewing area to be brighter, taller, and covered with fabric. What about curtains? No, there isn't a window, but my closet doors stick out like a sore thumb - and I'm down for any excuse to make curtains. The fabric was the most expensive part of this project. I wanted the drapes to puddle on the floor after being tied back, which meant I'd need about 6 yards of fabric (5 would have been better). Originally, I wanted fabric on the adjoining wall - but couldn't stomach the cost. I HAD to have this fabric, but at $9/yard, I had to cut back. I want to challenge myself re-style without dipping into my kid's college savings.
The curtain rods are cheap plywood craft sticks and command hooks covered in metallic spray paint. Super cheap. I splurged on the command strips as an experiment. I wanted to find a way to create damage free window treatments - success! Without further ado, let's dive in!
Supplies
5 Yards of fabric (increase/decrease depending on ceiling height)
TIP: Ask the cutting counter to cut 2 separate pieces for you. So, if you are buying 5 yards, ask the assistant to cut 1 panel at 2.5 yards. Then, another at 2.5 yards. This way you don't have to do it later.
3 Yards of a contrasting fabric (we will be cutting in half to make 2 panels)
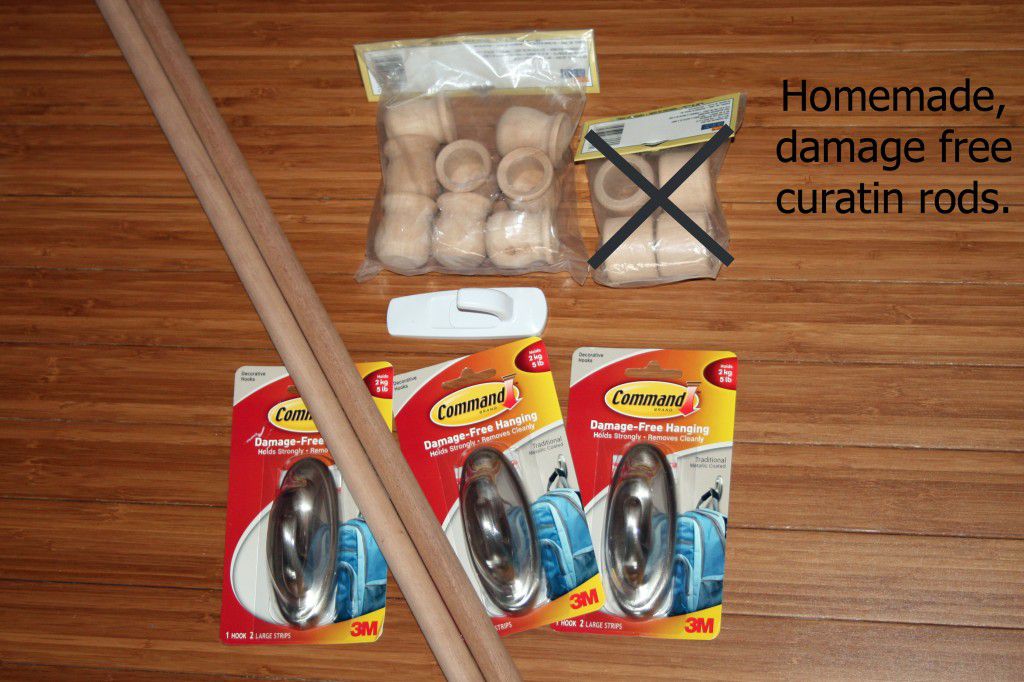
2 3/4in Wood Craft Sticks
4 Decorative craft wood knobs (for the curtain rods)
4 5lb Command Hooks (if you need damage free. If not, some cheap curtain hardware works great)
1/4 yard Fabric for Tie Backs
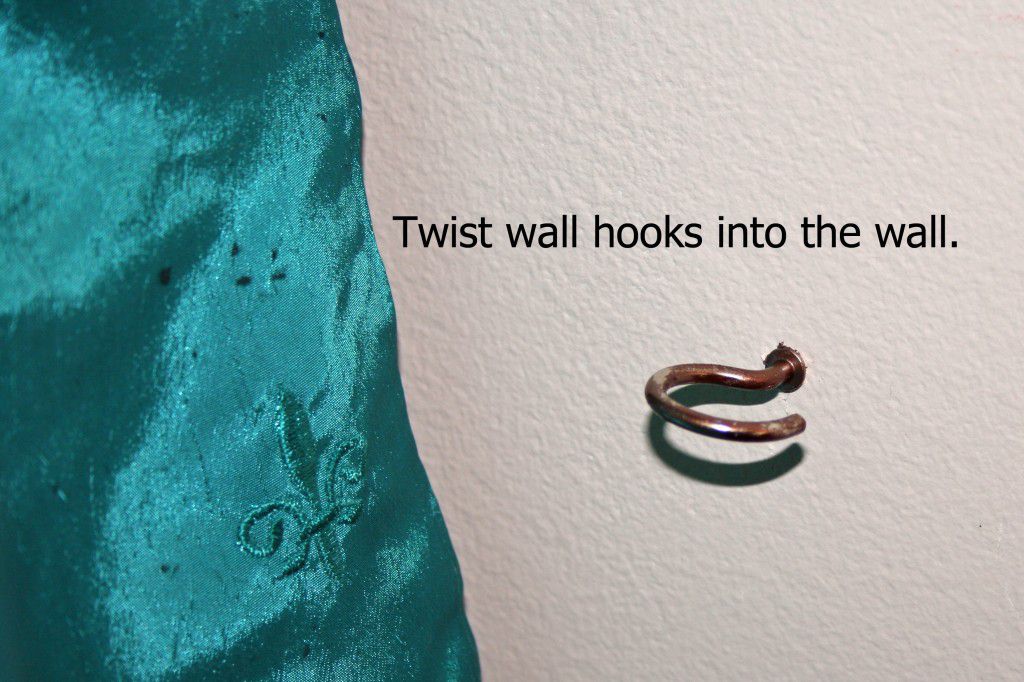
2 Command Hooks (for damage free) or regular wall hooks to hold Tie Backs
Iron
Sewing Needle for your fabric weight and type
Scissors
Pins
Measuring Tape
Metallic Spray Paint
Pencil
Hot Glue Gun
Sticky Back Velcro
Duct Tape
Making the Curtains
If you've ever made curtains before, you'll breeze through this. If not, no worries! It's very easy; nothing fancy.
First, hem all the ends. Turn the raw edges under 1/2 inch. Turn under another 1/2in and sew.
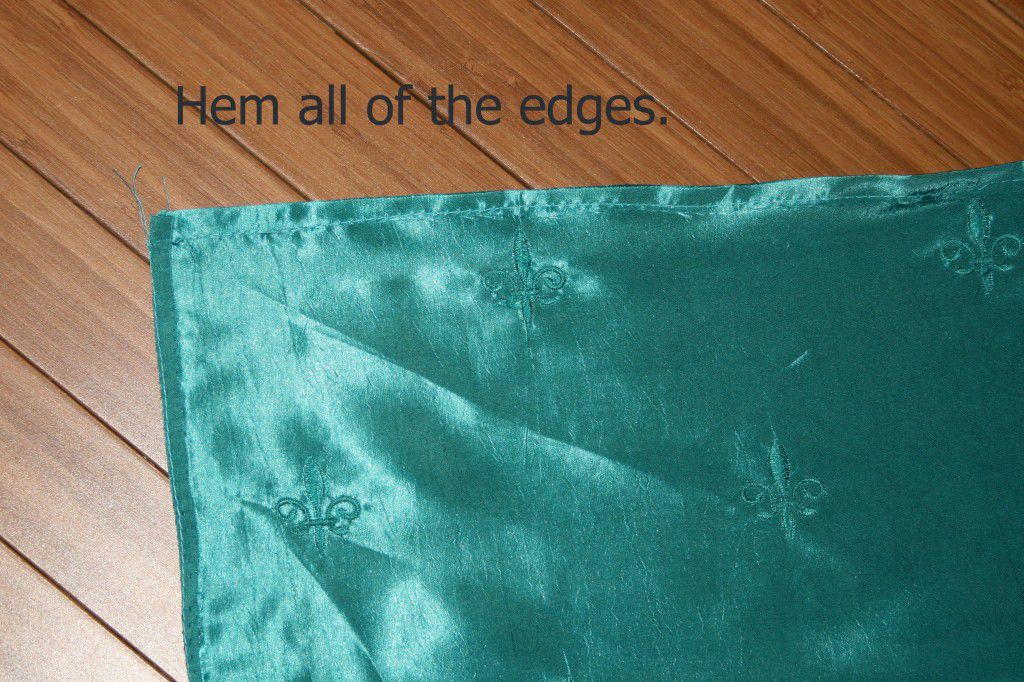
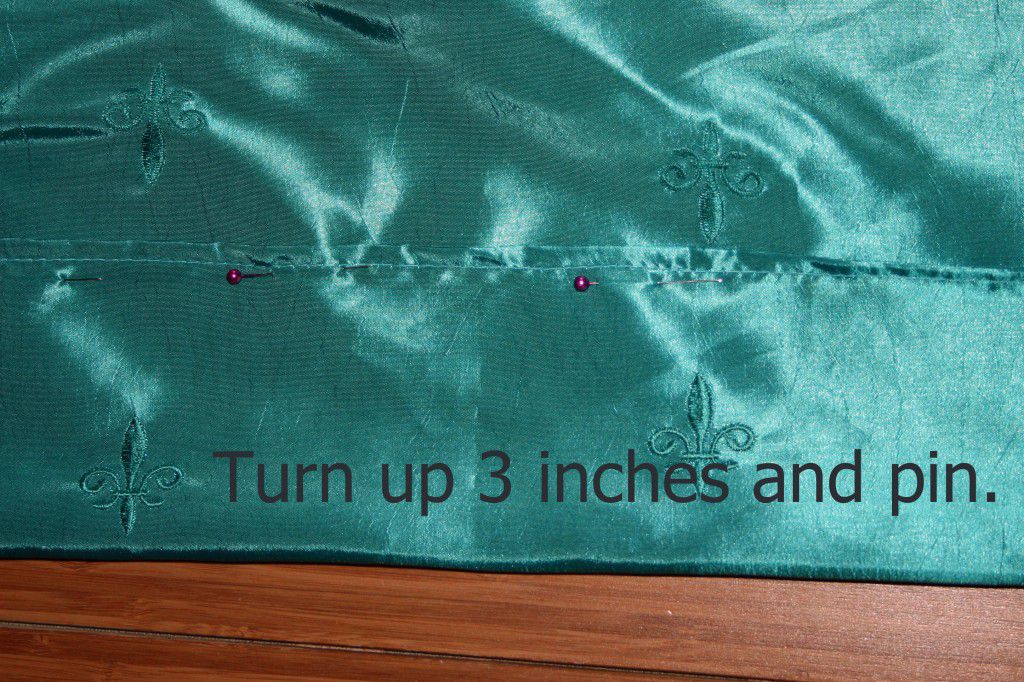
Turn the top and bottom under 3 inches and sew. You can sew the bottom open sides closed, if you prefer. You just need the top open so as to insert the rod.
Repeat this same process for the smaller curtain panels. I really wanted to use this eyelet fabric from my stash, but I didn't have enough yardage. Instead, I layered the eyelet fabric on the bottom half of the white panels. It's not perfect, but I'm happy.
Tie Backs
This part will only take a few minutes - I promise! Cut two 10inch by 8in strips. Fold in half and sew.
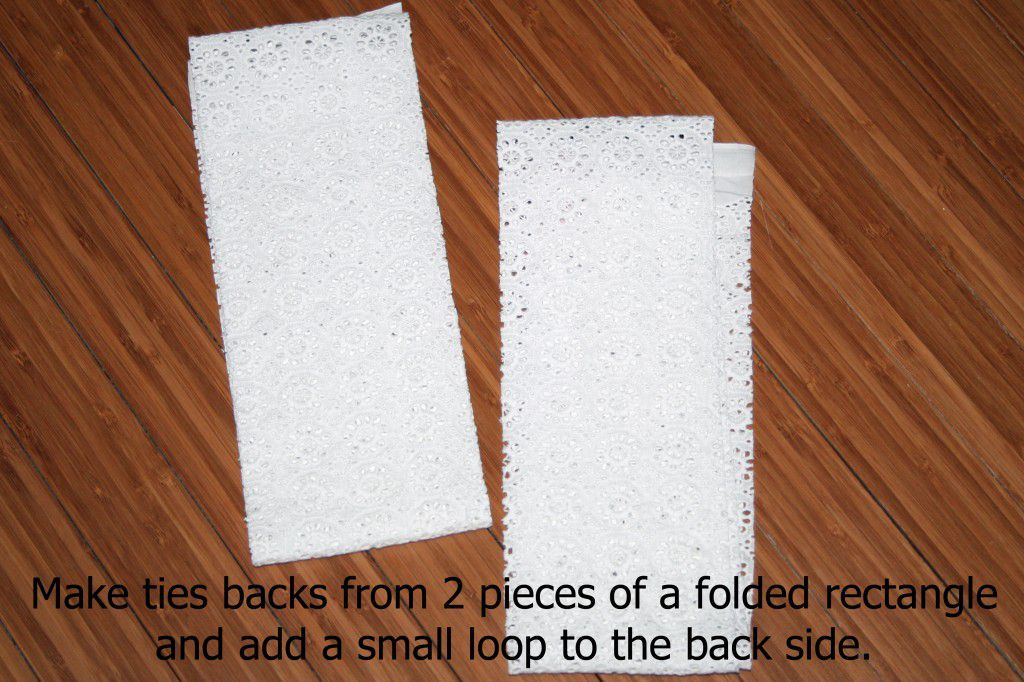
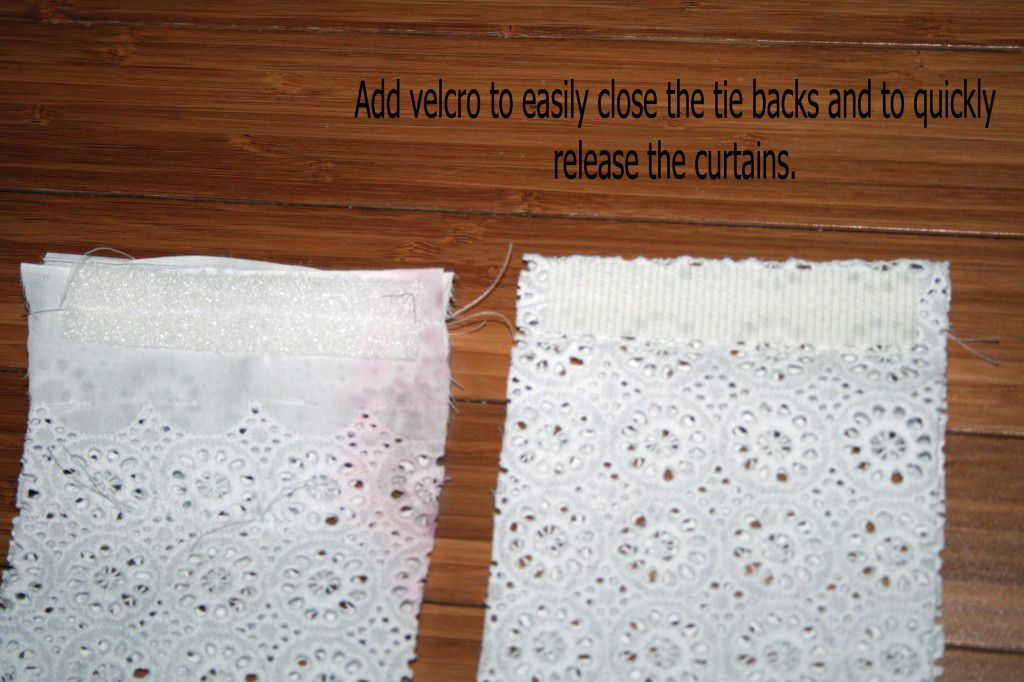
Apply sticky Velcro to the ends and sew in place (for extra security). Sew a small loop to the very edge of the outside end. Ta-da! Tie backs in a flash.
Homemade Curtain Rods - Damage Free!
First, you want to measure the rods to ensure they actually fit properly over the doors. For instance, I had to cut about 2 inches off the rod for the right side door.
Spray paint the rods, knobs, command hooks (or hardware), and the tie back hooks. I really stress following the instructions - light coats and well ventilated area. I was spray painting inside a condo and started feeling pretty weird after the second coat. After that, I opened a few windows and welcomed the 30 degree temperature.

Next, measure up from the door molding. According to HGTV, window treatments heighten the room if placed well above the actual window. In this instance, closet doors are in place of windows. I measured 6 inches above the closet doors and marked with a pencil.

Use rubbing alcohol to remove dust or residue where you plan to place the command hooks (skip this step if using hardware). Allow the area to dry for 5 minutes and follow the instructions listed on the command hooks. Really press on adhesive to ensure a tight grip.
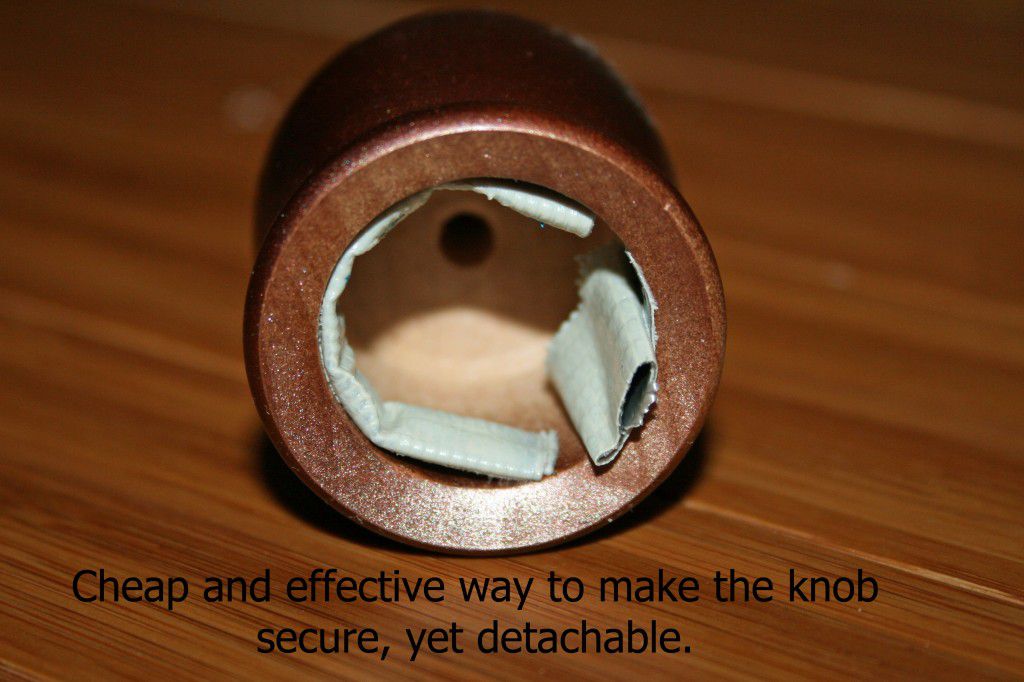
Use your hot glue gun to secure one knob on each rod.
Slide the rod into the top of the curtain panels.
Roll up duct tape and insert inside the remaining knobs to secure on the rods. I used duct tape so I have the option of removing the curtains later if needed. I'm constantly changing my decor, so this was a must-have.
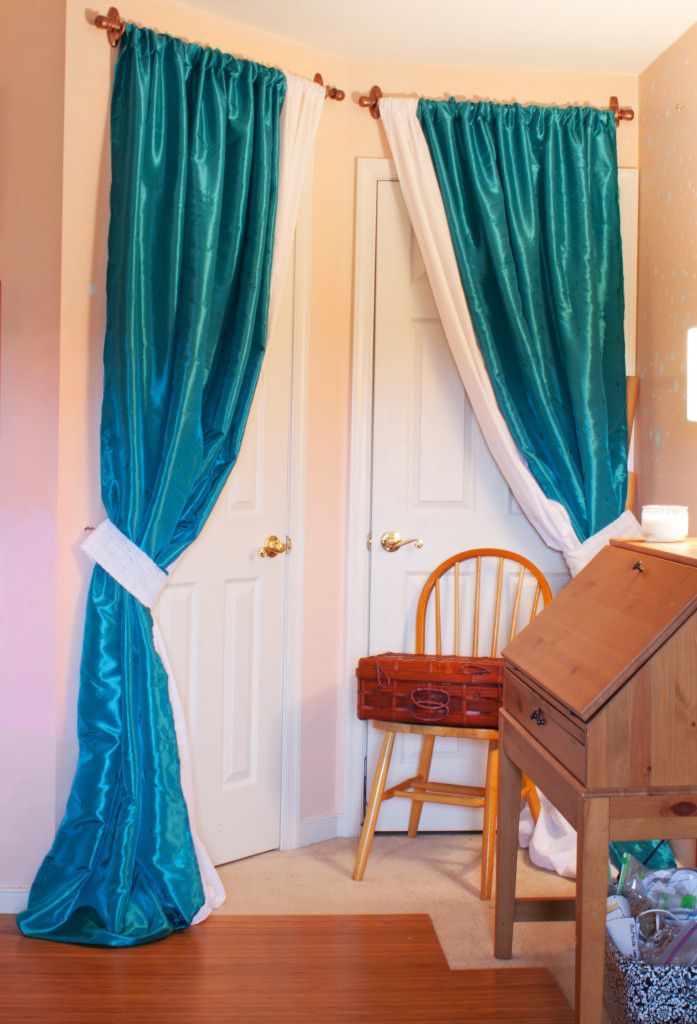
The last part is to simply set the rods on the holders. Use the tie backs to drape the curtains nicely.
Not too shabby, right? I can still get in and out of my closets and I can open the curtains whenever I want a nice backdrop.

How to you add interest to doors or windows in your space? We'd love to hear about your ideas and any questions you may have. Leave a message in the comment section below!


