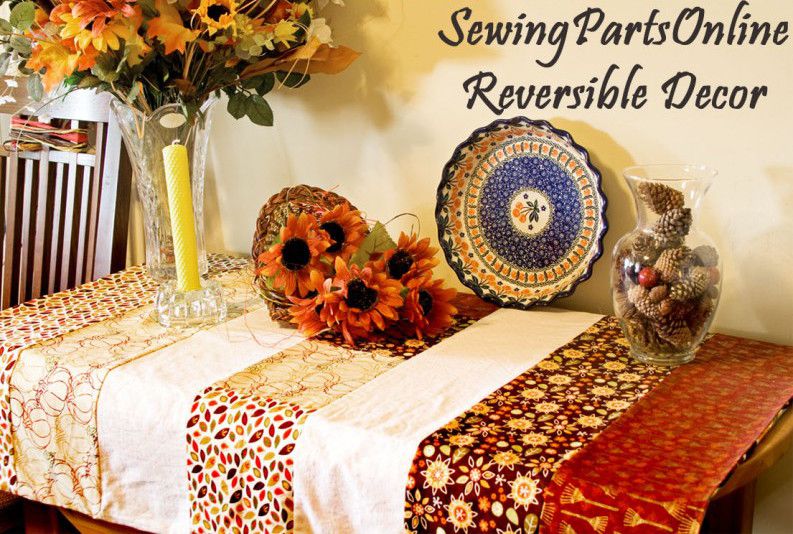

If you are going to spend precious time making holiday decorations, why not make them last longer? In this tutorial, we are making a reversible Halloween/ Fall decoration. But wait, there's more! This is a multipurpose project! That's right, multiple functions. It can be used as a wall hanging, curtain, table cloth or center piece. If you make yours a little larger, it is the perfect reversible throw blanket. For the Halloween side, I went with a candy theme. The Fall side is simply leaf patterns and colors that remind me of Autumn. From start to finish, this project only took 3 hours. And that includes all the times I had to bust out the seam ripper. If you are a beginning sewist or are teaching a child to sew, this is an ideal first project. Enjoy and Happy Sewing! Tip: If you know you will only be using this as a wall hanging, you don't have to prewash (I didn't). I decided not to put batting between my layers, but it would work just as well. If you decide to add batting, some quilting would look great, too.
Supplies
Halloween Fabric
1/4 a yard of 7 different printed cotton
Fall Fabric
1/4 a yard of 4 different printed cotton
1/2 yard of 1 white printed cotton
Thread
Scissors or Rotary Cutter and Mat
Quilting Ruler Universal Needle
Iron
Step 1 First, we want to line up the patterns to our liking. You can switch it around until you find a design that is pleasing to you.

Step 2
Before we do any cutting, iron all the fabric well. If you prewashed your fabric, I suggest adding some starch. To me, it makes it easier to stack the fabric so we can cut multiple pieces at once.
Step 3 Now, we need to cut out all of our pieces. Halloween Fabric 7 - 32 1/2 by 6 1/2 inch rectangles Fall Fabric 4 - 32 1/2 by 6 1/2 inch rectangles from printed fabric 2 - 32 1/2 by 6 1/2 inch rectangles from white fabric 4 - 6 1/2 by 7 3/4 inch rectangles from the printed fabric 2 - 6 1/2 by 2 inch rectangles from the printed fabric

Step 4 Sew all of the Halloween pieces wrong sides together using a 1/4 inch seam allowance. If you have a 1/4 inch Presser foot, I suggest using it simply because it makes things easier and more accurate. Follow this guide if you aren't sure what to sew:
|
Print 1 |
|
Print 2 |
|
Print 3 |
|
Print 4 |
|
Print 5 |
|
Print 6 |
|
Print 7 |
Repeat with all of the fall pieces. It's easier to sew all the smaller rectangles together first, but it's up to you.

|
P -1 |
|||||
|
P-2 |
|||||
|
White |
|||||
| P4 | P1 | P2 | P3 | P4 | P1 |
|
White |
|||||
|
P-3 |
|||||
|
P-4 |
|||||
Step 5
Time to go to the iron board and press all the seams to the right.

Step 6
Sew the top of the Halloween side to the top of the Fall side. We're still using a 1/4 inch seam.


Step 7
This part might get a little confusing. Where the autumn and the Halloween top meet (the part you just sewed), turn the fabric under 1/2 an inch. You only turn under for a length of 4 inches.(2 inches down the Halloween side, 2 inches down the Fall side). You do this on both edges.

Step 8 Sew the bottom of the Halloween and Fall end right sides together.

Step 9
Sew up the Right side (right sides together) until you reach where the fabric has been turned under. The fabric will kind of fold on itself.
 Step 10
Sew up the Left side of the fabric, but leave a hole large enough to pass your hand through.

Step 11 Clip the corners. This makes it easier to get a nice pointed corner when you turn it right sides out.

Step 12 Turn the whole thing right sides out. With your fingers, make sure to push the corners out so they form a nice point.
Step 13 Stitch the opening closed along the edge until you meet the previously sewn stitches. This is just like closing up a pillow.

Congratulations! You are finished! Here's an idea if you want to make this into a wall hanging, but don't want holes in your wall. Buy 2 Command Damage-Free wall hooks (the ones with the sticky backs) and a thin decorative curtain rod. Place the Command hooks on your wall, slide your project onto the curtain rod, and hand the curtain rod on the hooks. Viola!


