
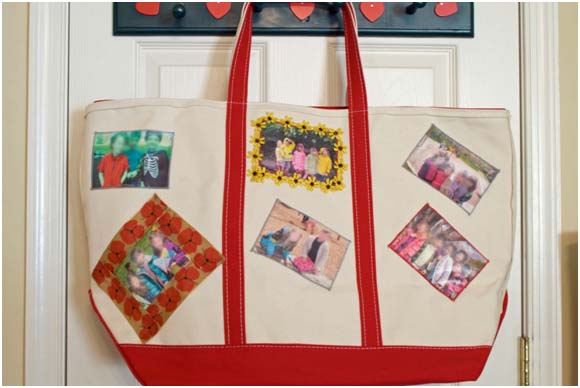
Teachers work hard and they deserve a little token of our appreciation. Whether your child is in preschool or just finished his or her 8th grade science fair, teachers love to be reminded of the great times they had with their students. Back in the day, an apple may have been the classic gift, but times have changed and your sewing machine is the ultimate gift-maker these days. We have a photo project for you that is sure to stay with your beloved teacher for years to come.
As a courtesy, all the faces have been blurred out.
 Supplies
Large piece of white muslin
Canvas Tote Bag (You can go big or small)
Lots of Photos
Hot Glue Gun
1/2 yard of trim for each photo you want to boarder
Needle Nose pliers (or some other hard metal object that will scratch up canvas)
Step 1
Print the images to photo transfer paper.
Step 2
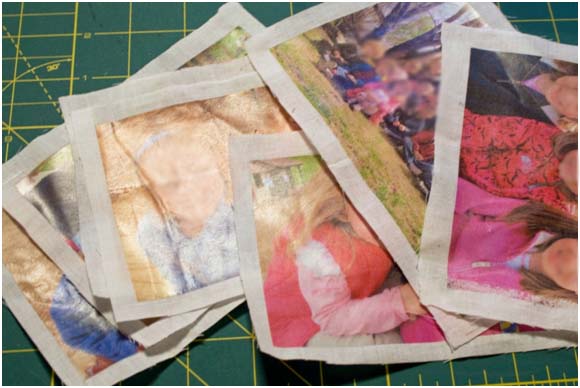
Iron the images on your cotton fabric per the instructions. You'll know the image is ready when the edges of the paper begin to curl up. Slowly peel back the paper.
Step 3
Cut out the images leaving at least a 1/2 inch boarder.
Step 4
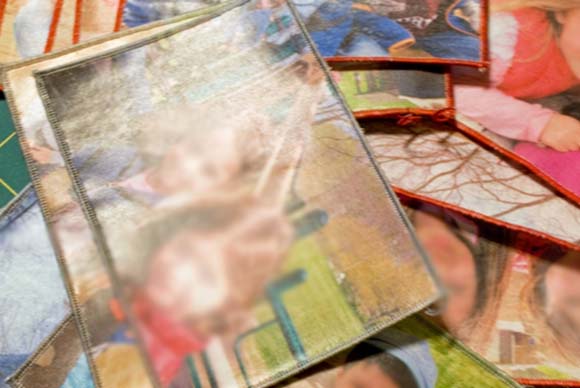
Hem the edges of all photos. The hem can also act as a frame for the photos without trim. I used a rolled hem on my serger (Singer Profinish RN:3 UL: 9 LL:9). However, feel free to use whatever method you are most comfortable sewing. You can simply turn the fabric under twice or zig-zag the raw edge. If you're feeling extra fancy, use a scalloped edge with decorative thread.
Step 5
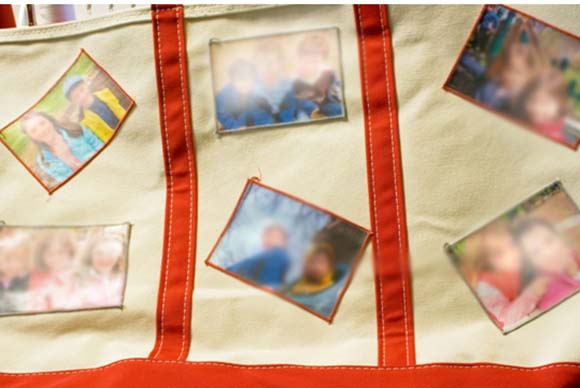
Using basting spray, position your photos on the canvas bag.
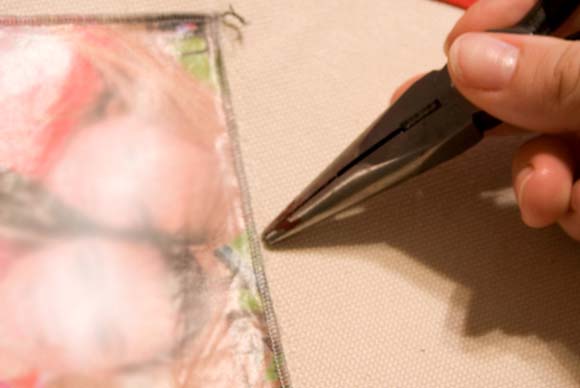
Step 6
Lift the corners of your photos and score the canvas surface (using your pliers or any other metal object with a thick point) under each corner. This helps the hot glue adhere to the canvas.
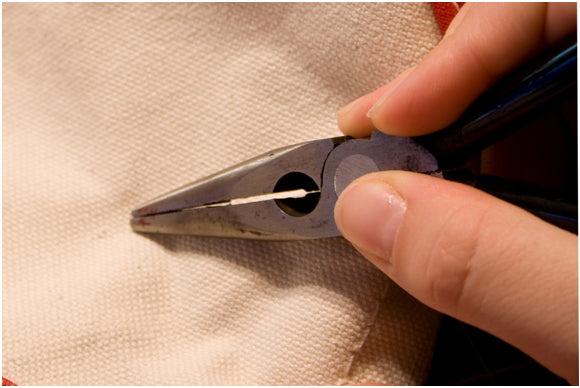
I was most successful with the hot glue on the hottest setting and to smear it around under the corner. Then, press the photo down firmly for a few seconds (be careful not to burn your fingers!).
Step 7
Go back and apply glue to the sides of the photos where any fabric can be lifted up. You don't need to score the canvas again.
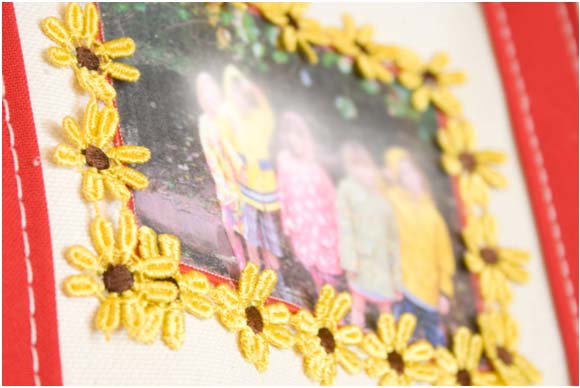
Step 8
Hot glue the trim to the bag the same way you glued the pictures. Make sure to score the canvas everywhere trim will be glued. Cotton trim glues best, but if you are gluing light material, switch your hot glue gun to a lower temperature.
I hope your teachers love showing off their new gift!


