
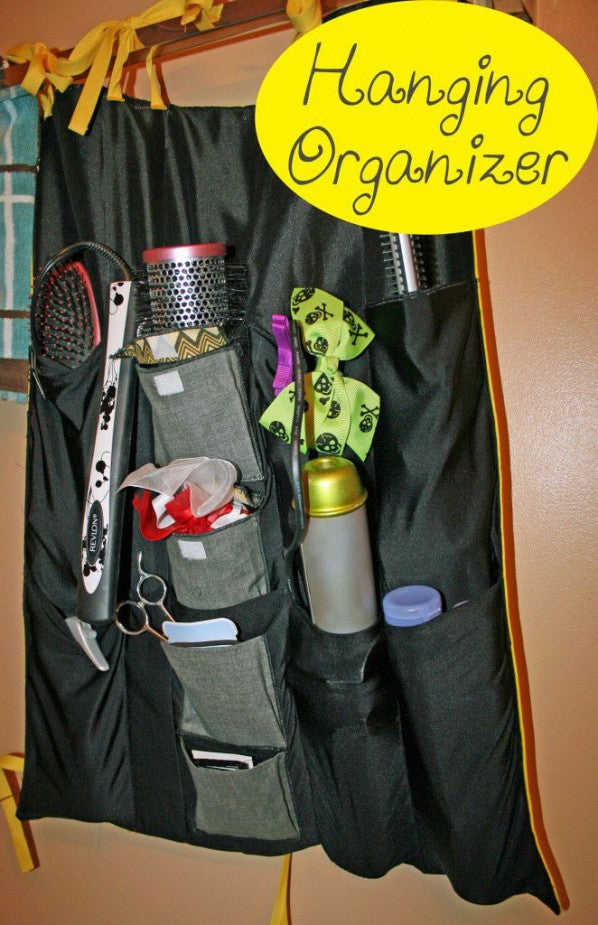
Ever had something bad turn into something awesome? Just happened! I've been trying to make a new and improved drumstick bag for a friend, but it didn't turn out as planned. Not even close. Epic fail. I was half way finished and realized...spandex fabric is never going to hold up against this man's drumming. For example, he has two canvas drum bags...both totally falling apart. Could be cheap manufacturing, or it could be that he turns into a total drumming maniac when he starts a beat. Either way, spandex wasn't cutting it. But I can't stand to see a project go to waste, especially when it has some potential. But what? ::cue light bulb:: Hair. I have a decent collection of hair styling tools that need to be better organized. I hate searching under my sink every time I go to do my hair. Frankly, it makes a huge mess. Nothing ever stays neat. And, I'd like to be able to easy fold it up for traveling. Let me introduce, the hair-accessory hanging extraordinaire! (The name's a work in progress).

Before we go any further, just a heads up; sewing spandex/elastane is kind of a pain if you aren't use to it. In fact, for me to make this project I had to do a little research. I was about to give up entirely until I found some helpful hints online. Check out our post "Tips for Sewing Lycra / Spandex / Elastane" for helpful suggestions.
Supplies
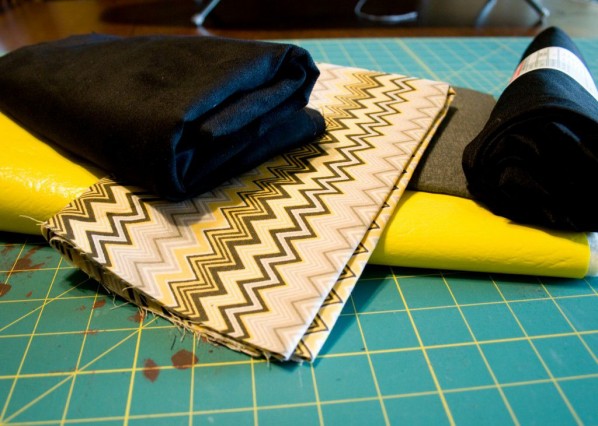
1/2 yard Lycra
1/2 yard backing (cotton is fine)
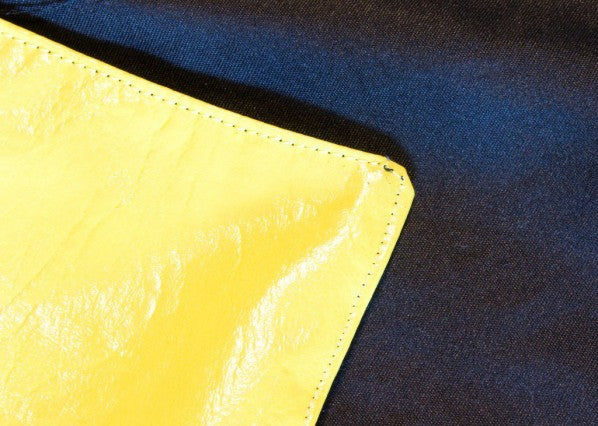
1/2 yard vinyl
1/4 yard grey cotton (or any color you like for the pockets)
1/4 yard of print for contrast (optional)
Ballpoint Needle 90/14 universal needle
Binding Tape
Velcro
Matching Thread
marking tool
ruler
scissors or rotary cutter and mat
walking foot
Step 1
First, let's get all of our pieces cut. Here is what you'll need:
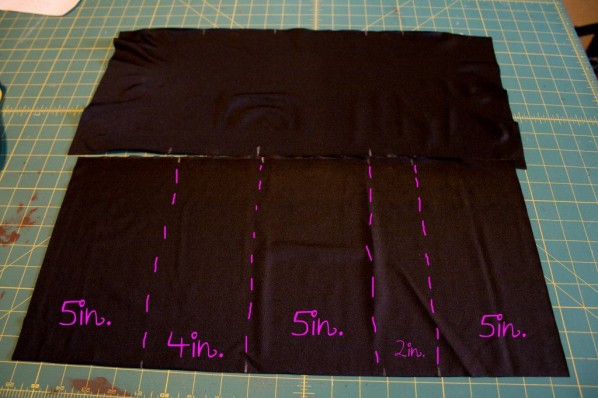
Cut two 21 in. x 26in. - One of backing fabric and one of vinyl fabric.
Cut two 21 x 10in. of lycra material
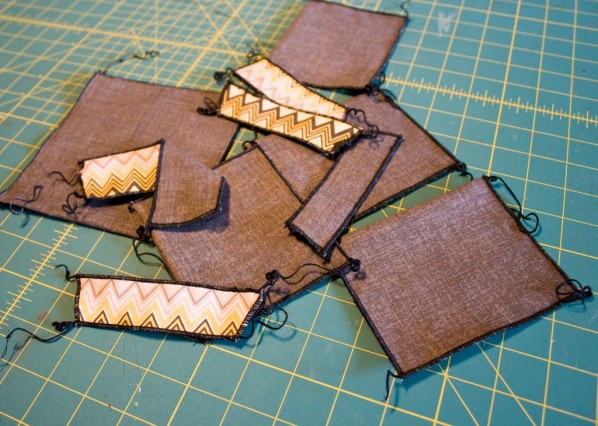
Cut four 5in. x 8in. of pocket material
Cut one 6in. x 12in of pocket material
Cut four 2in x 4in. for pocket flaps
Cut two 2 1/2in. x 5in for pocket flap
Step 2
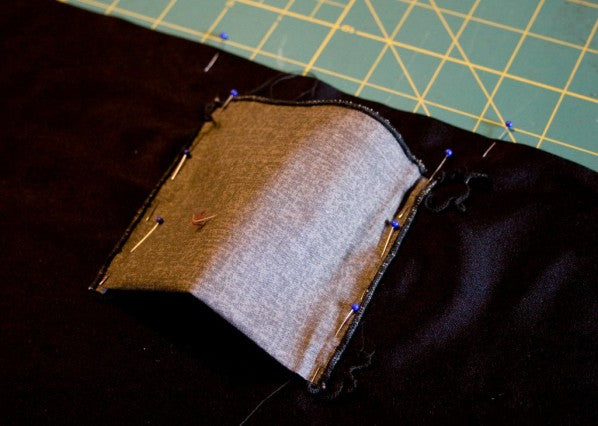
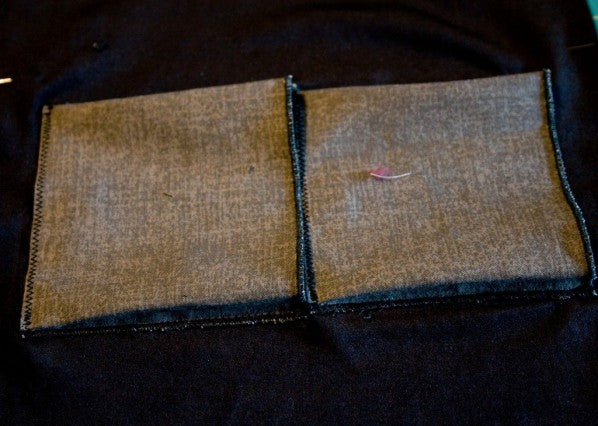
Fold pockets wrong sides together hamburger style and serge the ends using a rolled edge. If you don't have a serger, a narrow zigzag stitch and some fray check will do fine. Place flap top and flap lining wrong sides together and serge/zigzag the raw edges.
Step 3
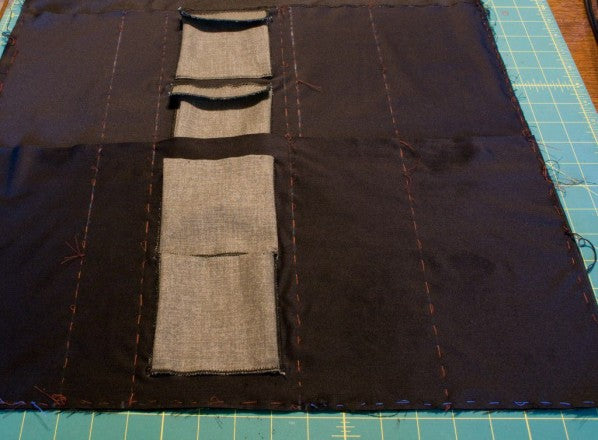
Measure the lycra pocket locations according to the photo below and mark with chalk on both pieces. They should line up.
Step 4
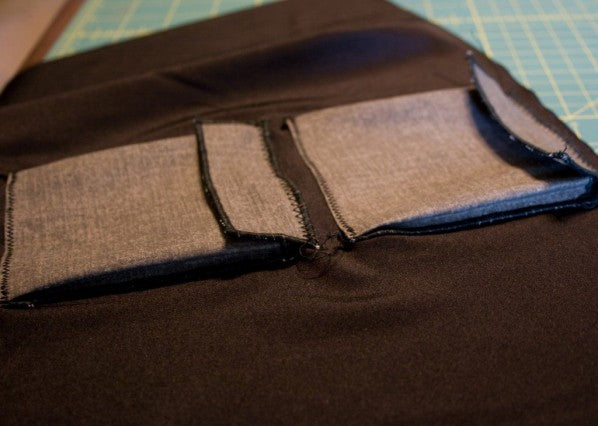
Attach the pockets so that a arch forms. Then pleat just the bottom edge and sew across.
Attach the flaps above the pockets. Sew 1 seams along the top edge.
Step 5
Measure 10 inches up from bottom on the backing piece and mark. This will be the first set of lycra pockets.
Mark from 8inches up from bottom to 18inches from bottom. This will be the location of the second set of lycra pockets.
Step 6
First, place one lycra piece between the 8in and 18 inch markings and hand baste in place. Hand baste within a 1/4 of the edge.
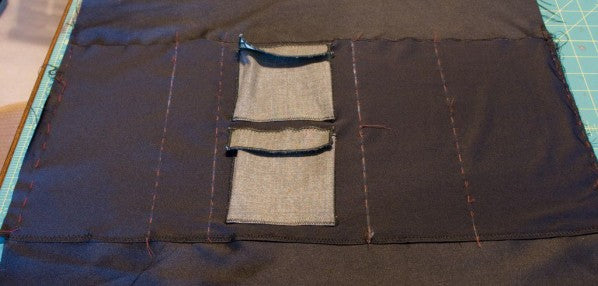
Second, place the other lycra piece from the bottom of the backing piece to the 10inch mark. There should be a two inch overlap between the two lycra pieces. Again, hand baste in place.
Step 7
Extend the lycra pocket lines to the top of the backing piece using your marking tool. This will help you later. Now, install your Walking Foot and sew along all the basted lines. This creates the permanent lycra pockets and attached them to the backing piece.
Step 8
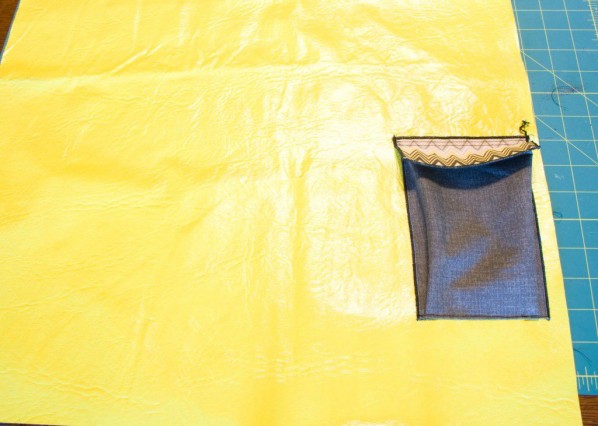
Attach your largest pocket to the outside third of the large vinyl piece. Attach this pocket using the same method as the previous pockets. For the flap, you may sew two seams along the top edge, 1/4 inch apart.
Step 9
Layer the vinyl piece and backing piece right sides together and hand baste a 1/4 inch seam.
Using you walking foot and 90/14 needle, sew along the basting stitch. Make sure to leave a opening large enough to turn everything right sides out.
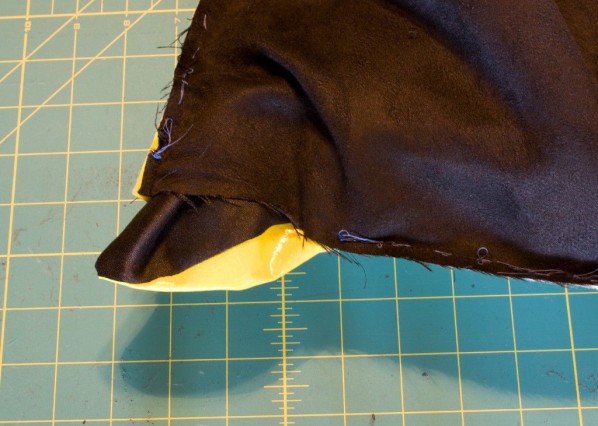
Step 10
Turn everything right sides out and sew the opening closed.
Step 11
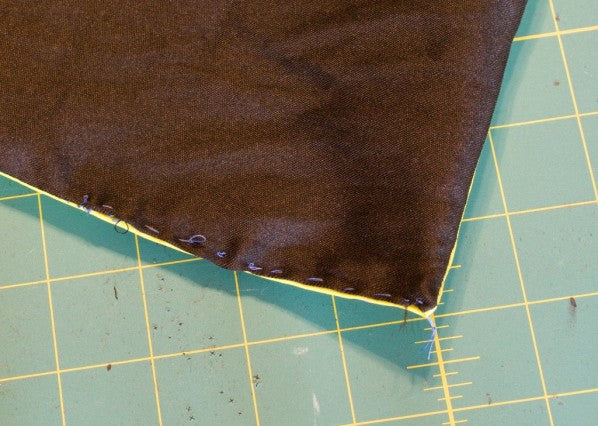
Using an edge stitch, sew along the very edge of the two pieces to that the seam lays flat.
Now, sew another line along the pockets to attach the backing fabric to the vinyl fabric.
Step 12
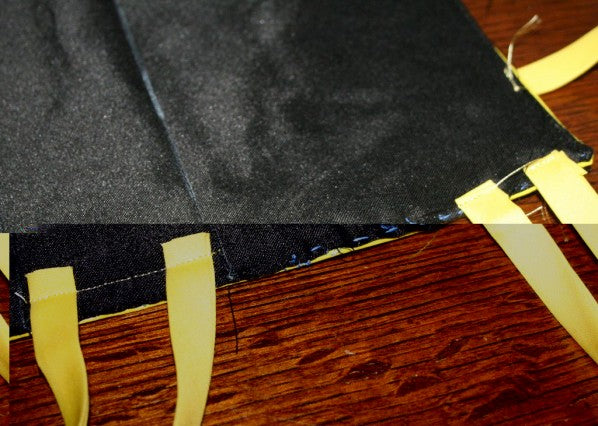
Cut six 8in. long pieces of binding tape. Turn the raw edges in and sew down at even interval along the top of the project to make the hanging ties.
Step 13
Cut four 5in. long pieces of binding tape. Fold your project into thirds and determine where you need to sew the binding tape so that you may tie the project closed when folded.
If you have any questions, be sure to leave them in the comment section below and thank you for reading!


