Creating your own quilt binding will allow you so many more creative options for the overall look of your quilt. Finally, you are no longer limited to premade biased and binding tapes! Not to mention, saving you money, which if you’re like me is going right back into the Fabric Jar Piggy Bank. These 8 simple steps will take your quilt from homemade to professional.
Required Supplies:
1. Fabric
5. Ruler
6. Iron
Step 1.
Measure the perimeter of your quilt and add 18 inches. This is how long you want your binding to be.
Step 2.
Cut fabric into 2 ½ inch strips using Rotary Cutter and ruler.

Step 3.
Place fabric strips right-sides together as shown.

Step 4.
Using a ruler and pencil, draw a diagonal line from the top left hand corner to the bottom right hand corner.

Step 5.
Pin in place and sew strips together on the pencil line.


*Repeat steps 3 through 5 until you have the appropriate length for your quilt.
Step 6.
Cut off the extra fabric making sure to leave a 1/4 inch edge.

Step 7.
Press seams open.

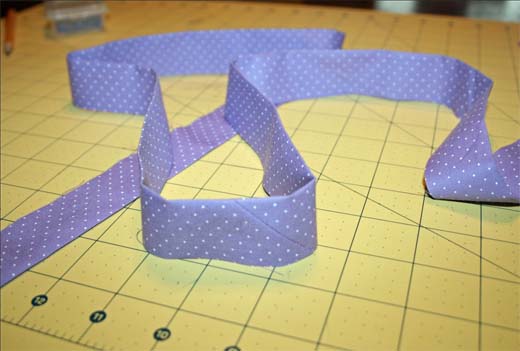
Step 8.
Fold the strips in half and press.

Voila! You have made your very own quilt binding!

Oh, but this little trick isn’t limited to just quilts. You can use this technique for an unlimited amount of projects! Check out our blog post entitled 10 Bias Tape Ideas You’ll Use All Year for more projects.


