
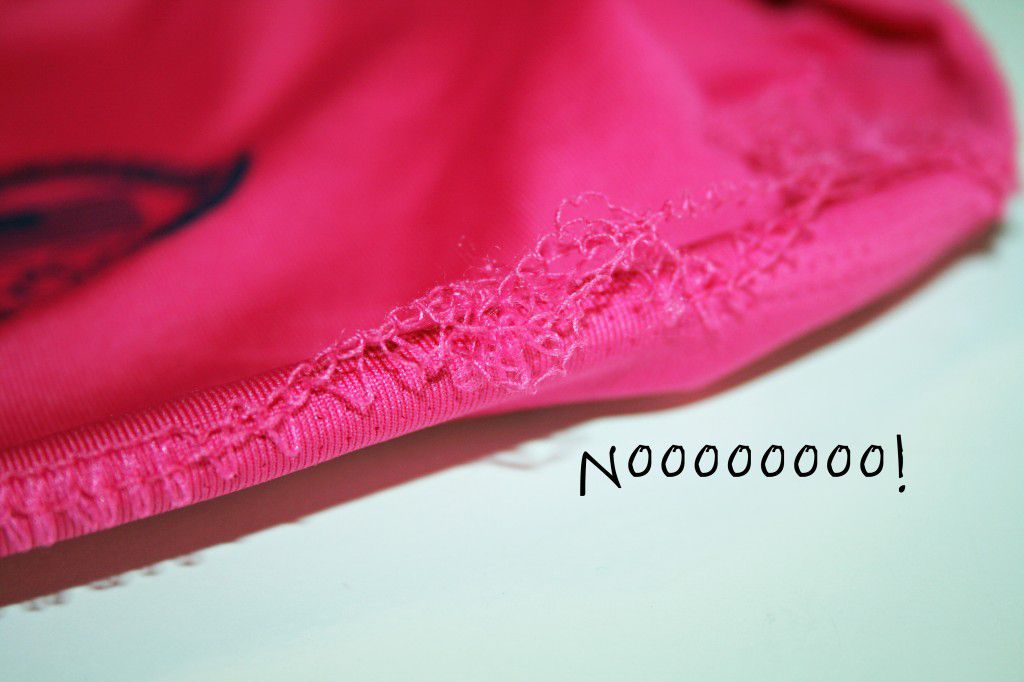
So you have an athletic shirt that needs a good old fashion hem. Except, with lycra/spandex/stretchy magic fabric, there is nothing old fashion. The manner in which you hem athletic or dance clothing is completely different then hemming a simple pair of pants. The concept is the same, but with a few tweaks.
To really match the previous hem, you'll need a Serger/Overlock machine. First, because the original hem is usually a flatlock seam, and second, sergers provide the most amount of stetch. If you were to use a straight stitch on your conventional sewing machine, the thread would not stretch causing breakage. This in turn causes sadness and chocolate binges.
If you've never serged a flatlock seam, no worries! Follow our step by step instructions for a clean finish. Before you start any sewing, find similar fabric to test your flatlock settings. Every serger is a little different, so my tension settings might not be exactly the right match for your machine, however, it's a place to start. When I do find a setting I like, I write everything down to refer to later. I actually keep a serger scrapbook with lists of settings I used on different fabric with different stitches and different threads.

Supplies
3 Serger Thread Spools matching garment
Serger Needle with Slight Ballpoint
Large Upholstery Needle
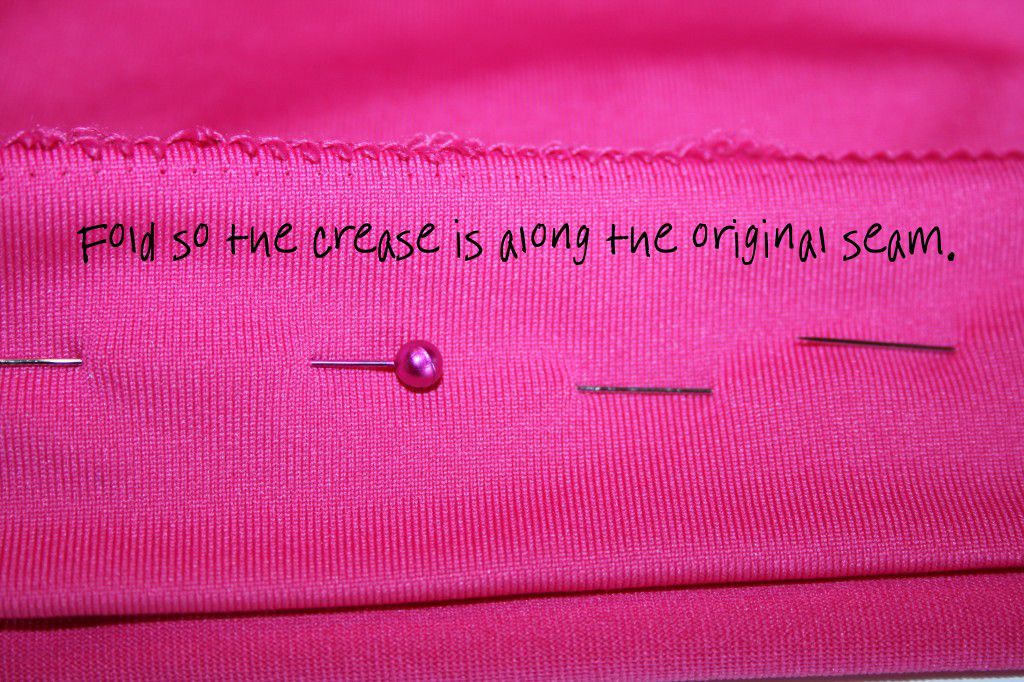
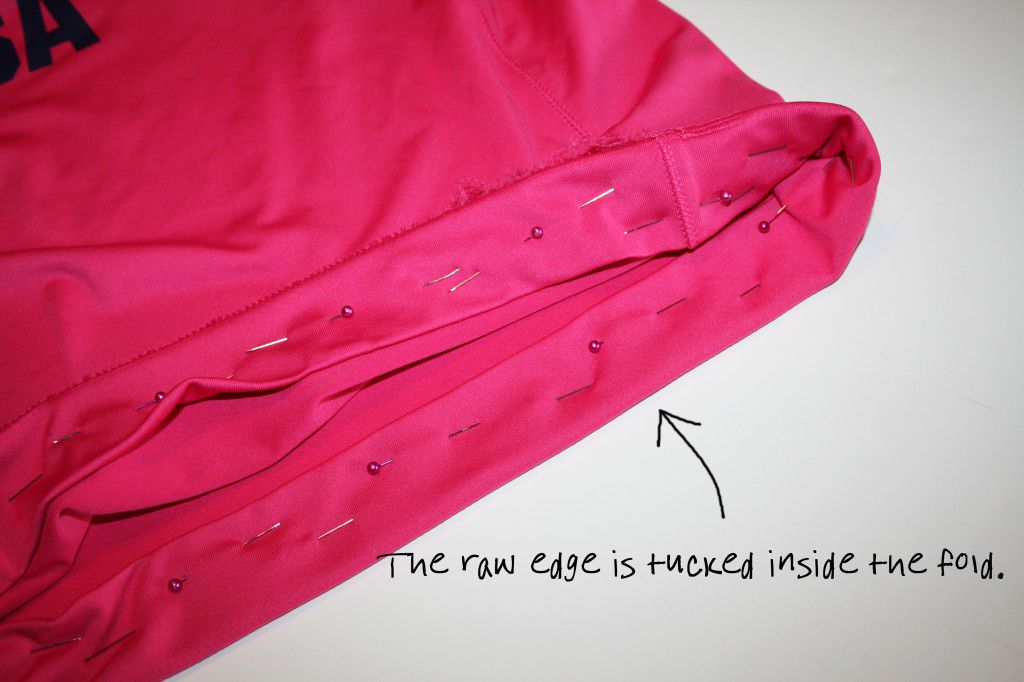
Pin the Hem
If you are simply fixing an existing hem, you can pin along the original hem crease. Then, you fold the fabric again so that the flatlock seam falls along the fold. This may sound little confusing. The raw edge of the hem is sandwiched inside the flatlock fold. Eventually, you will serge along that fold, then open the seam up so that the stitches lay flat. Whoosh, that is a lot to take in.
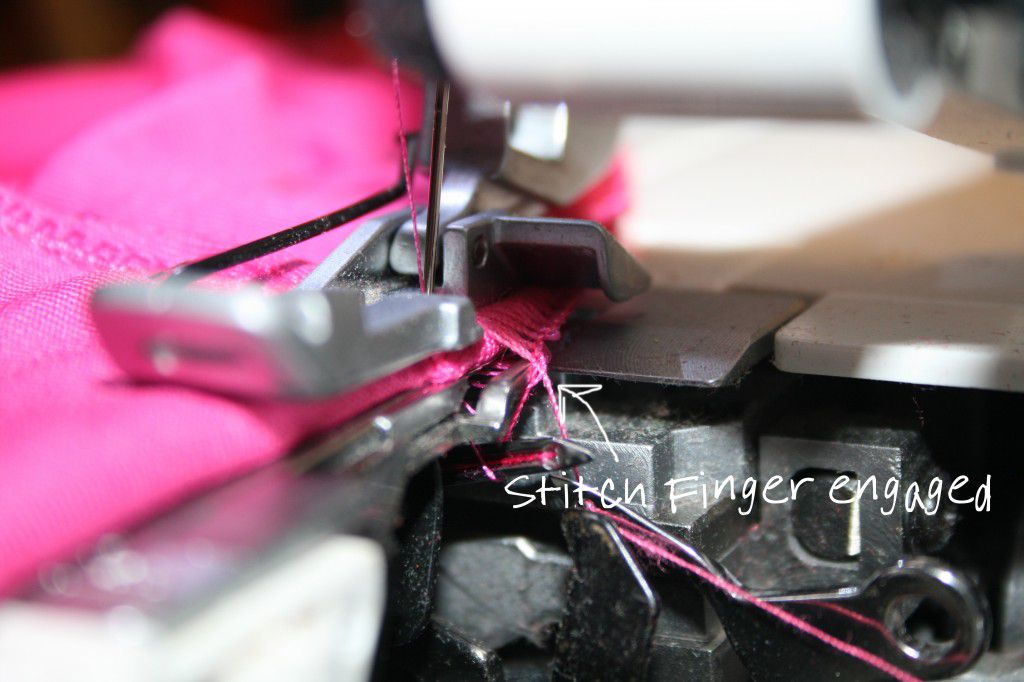
If you are shortening, measure up from the hemline and pin. If you have a hem ruler, this is an ideal time to bust out that bad boy. Serger Time Set your machine to a 3 thread flatlock. You also want to disengage the cutting blade and engage the stitch finger. The trick to a flatlock is to have as little needle tension as possible and high tension in the loopers. Here are my settings:
|
Left Needle |
Right Needle |
Upper Looper |
Lower Looper |
|
0 |
Not in use |
8 |
8 |
Stitch Length: 2.5
Stitch Width: Medium
Differential Feed: 1
Use these settings as a guide for your machine. Serger settings are not universal, what might work on one machine may be slightly different on another machine. It's just the nature of the beast. I find it best to always practice on a scrap of the same weight and fabric. I know most of us just want to jump right in, but I promise this one little step helps.
Making a Flatlock
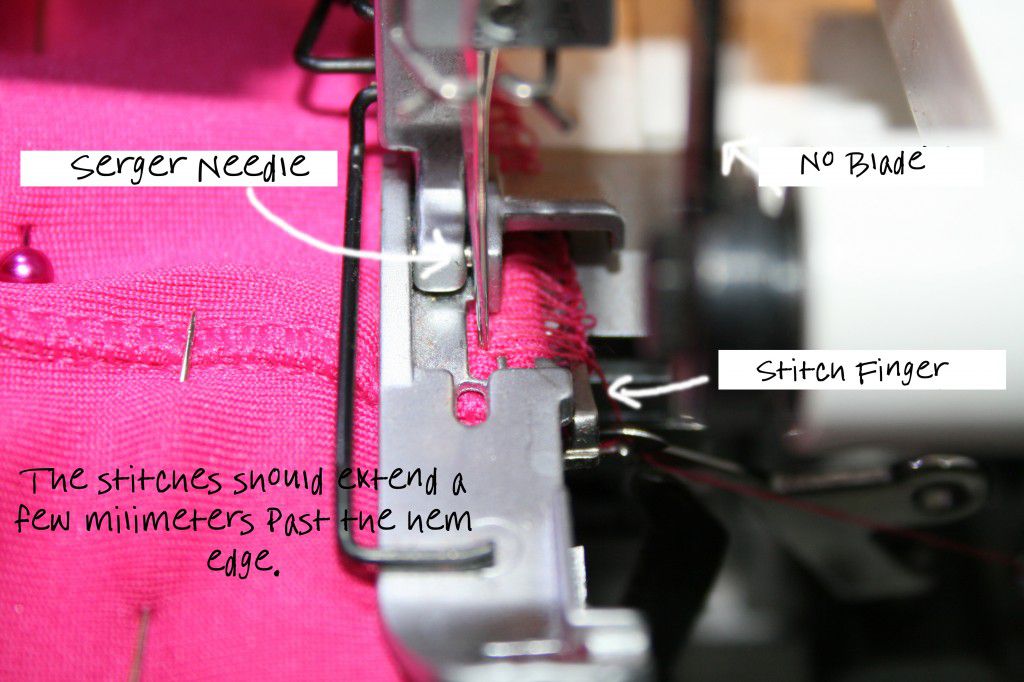
First, insert a serger needle (slight ballpoint) and sew a thread tail before you put any fabric under the foot. Take a deep breath and place a starting point under toe of the foot. Don't shove it all the way back there; the feed dogs will guide the fabric.
Reminder: Did you disengage the blade? We don't want to cut off any fabric.
The trick to an even flatlock is the stitch finger. You need enough thread loops to hang over so that it can accommodate the fabric when laying flat. The idea is to have half the seam width on the fabric and the other half hanging over. For thicker fabric, you need a wider stitch. I like to have about a millimeter hanging over.
Keep Control
The most difficult part of serging, for me, is controlling a lead foot. It feels like sergers go from 0 to 60 in a second. Go as slowly as you can until you have mastered a flatlock. Even now, I catch myself getting a little too brave and I have to pull back.
Finishing the Seam and Secure the Thread Tails
When you circle around the beginning, overlap the stitches for about 1/4 an inch and taper it off.
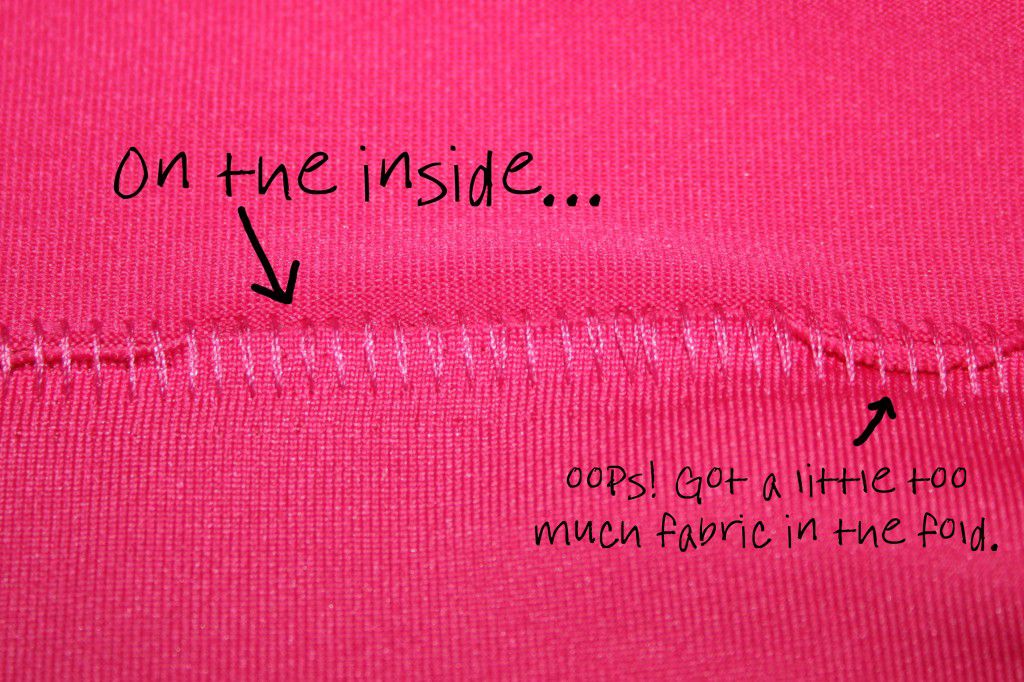
Gently pull on the fabric on both sides of the seam so that the stitches lay flat. Don't pull too hard, because the spandex fabric will ripple.
You can secure the thread tails a couple different ways. You can cut and apply Fray Check or you can thread the tails back into the seam. I really, really recommend the latter. Grab a larger upholstery needle and pass one tail through the eyehole. Then, pass the needle back through the stitches to hide and secure them. Repeat with the other thread tail.

That's all there is to it! If you have any questions or comments, feel free to leave us a comment in the message section below. We'd love to hear about any tips or tricks you use when sewing difficult fabrics.


