
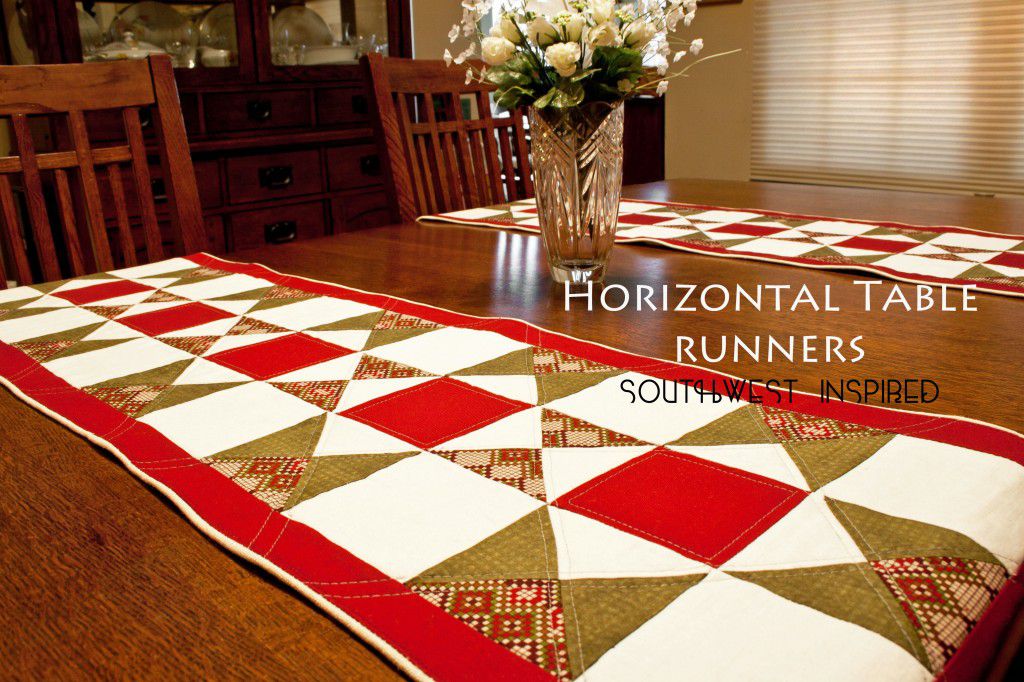
UPDATE (12/2014): This is my Dad's Christmas set up with the runners set up. I think it looks great! I might even have to make a set for myself...


Original Post (2013):
My Dad is really into southwest decor - like really into it. His lamps are in the shape of a Kokopelli, his has a huge metal sun on the wall, and the entire kitchen is chili-themed. The man even goes camping in Death Valley. Southwest is in his blood. So, when he asked me to make him a table runner, the theme was pretty easy to pick out. He mentioned he wanted 2 horizontal table runners instead of one long runner. Twice the cutting. Twice the quilting. Twice the ironing. ::ugh:: Thankfully I have an Accuquilt Cutter because I am absolutely terrible at cutting. Just awful. I always manage to move the ruler after meticulously lining up everything. I'm also not so good at calculating my quilt blocks. I don't know what it is about numbers, but math is not my strong suit. Plus, cutting requires concentration and my ADD is firmly against any form of focus.
With all the cutting finished in minutes, I can get to the fun part - Piecing! The best thing about piecing a quilt is all you have to really pay attention to is 1/4 inch seam and keeping the triangles in order. SO much fun to watch some NCIS or Bones while piecing a quilt! Now I'm tempted to stop writing and go piece another quilt... Focus, Sarah, Focus!
Supplies
.25 yards of green and printed fabric
.5 yards of white and red fabric
1.5 yards of backing fabric
Accuquilt Cutter
Quarter Square Triangle die
Iron
Note: Make sure you are ironing all of your seams and press toward the darker fabric. All seams are 1/4 of an inch.
Step 1
To be completely honest, I don't know how to make these blocks without using my Accuquilt cutter. However, here is a link demonstrating how to.
First, let's get all of our quilt pieces cut out. You'll need 48 green triangles, 40 white triangles, 40 printed triangles.
You'll need 10 red squares and 24 white squares.
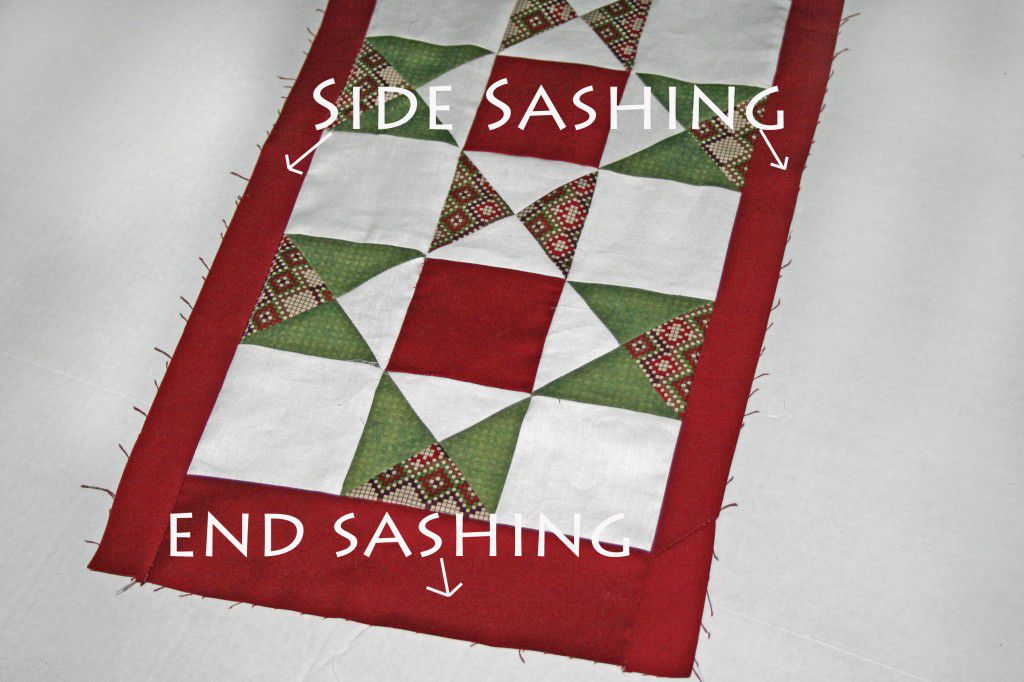
For the border (sashing), you'll need two 2 x 49 inch stripes and two 3.25 x 12 inch strips.
Cut the backing fabric in half.
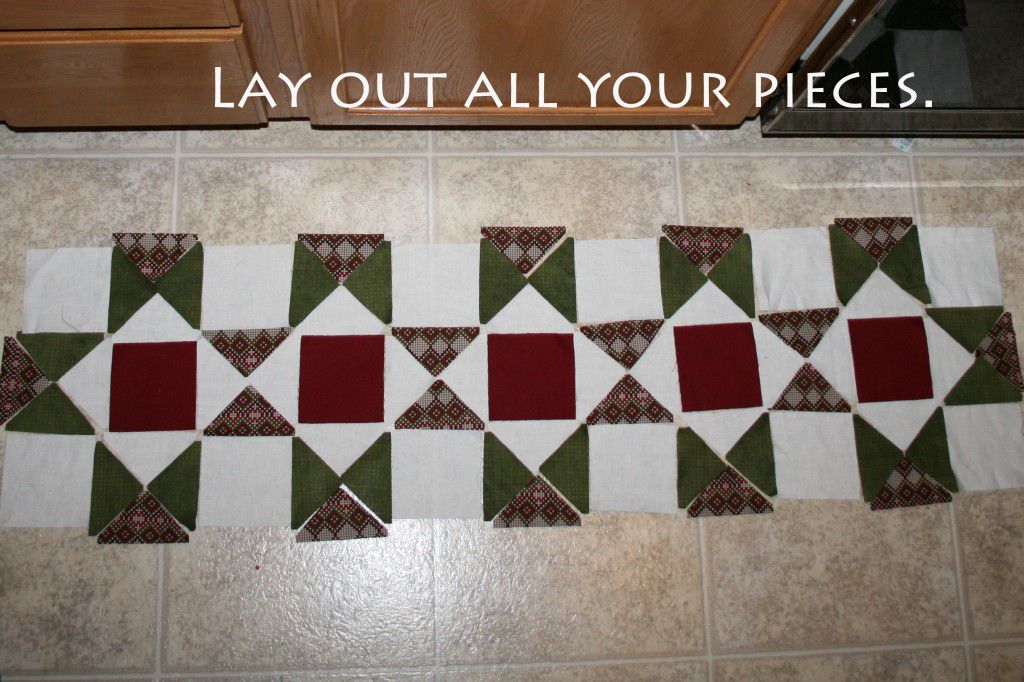
Step 2
When I start a quilt, I have a vague design idea in my head, but I have to lay out and rearrange the design until I'm completely set on the pattern. Next, I stack up the pieces in order of the quilt block and head to the machine. I also take a picture of the design on my phone to refer back to if I get lost.
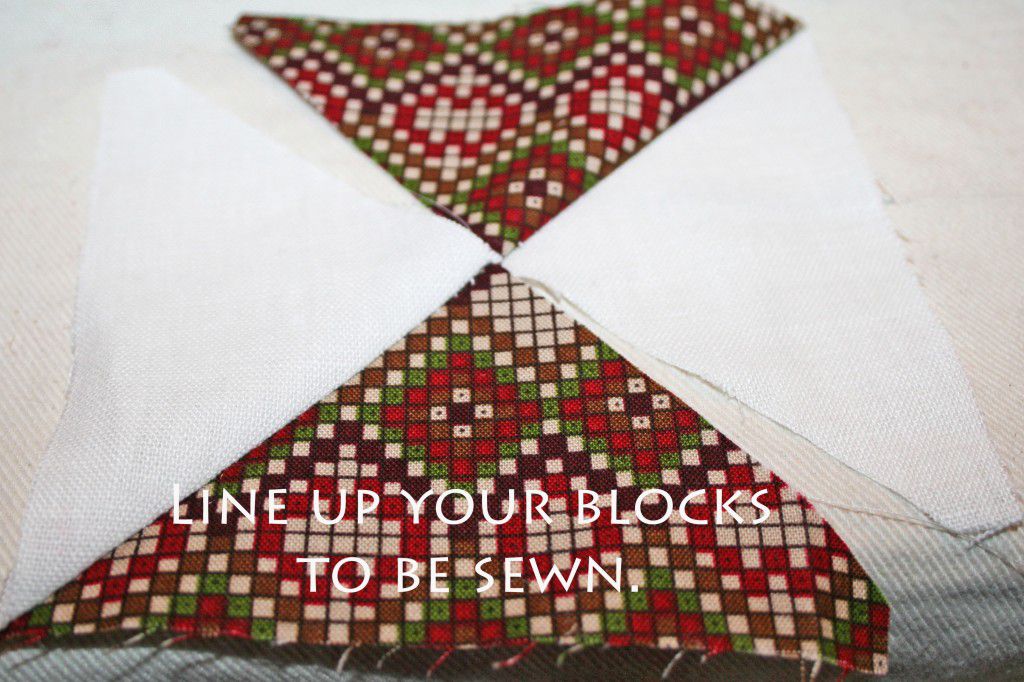
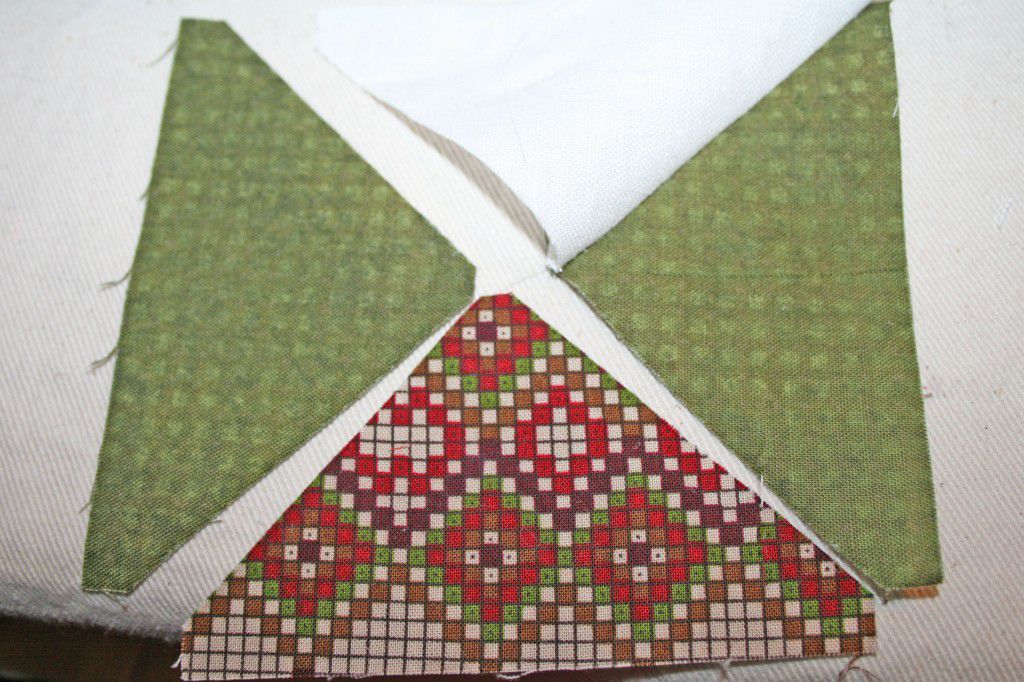
Step 3 I like to sew the simplest blocks first. For these runners, that means the middle section. First piece the triangle blocks together. Then sew the red blocks in between.
Step 4 Next, I work on the outside sections. Sew the triangle pieces first, then add in the white blocks for the top section and bottom section.
Sew all three sections together to make the quilt top.
Step 5
Time to add the borders! First, sew the ends (the shorted strips). Then, add the long strips to the sides.
Step 6
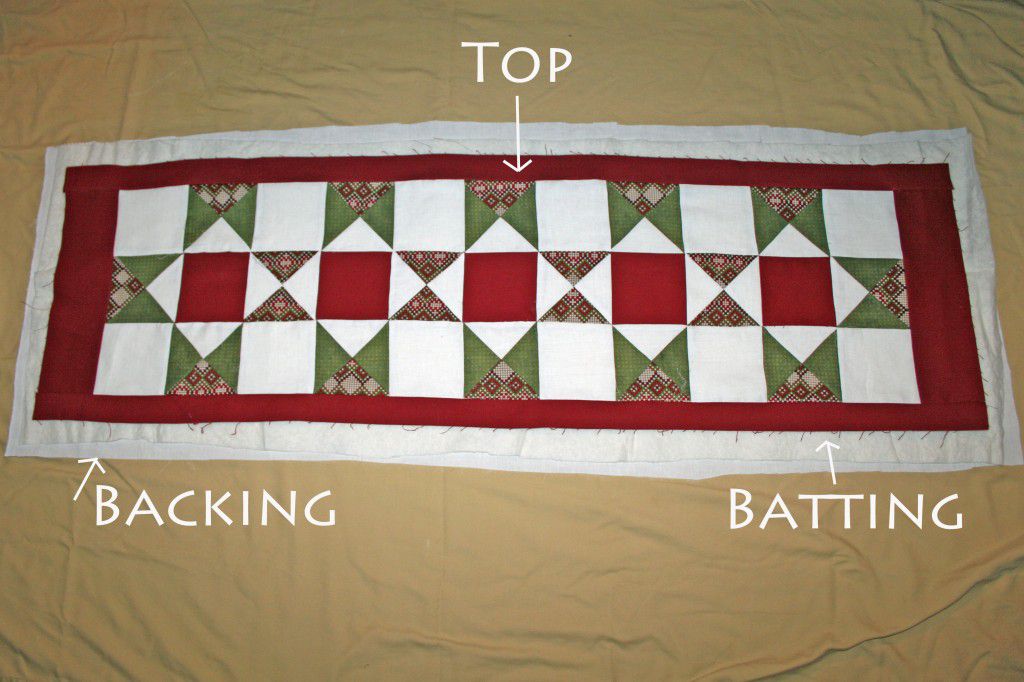
When I'm getting ready to sandwich the top, backing, and backing together, I've found that it is most effective when done on the floor. I use and old sheet folded in half and spread it out on the carpet. Then I layer the backing, batting, and quilt top. Your backing and batting should always be a little bit larger than the quilt top. It's just an easier way to make sure everything lines up.
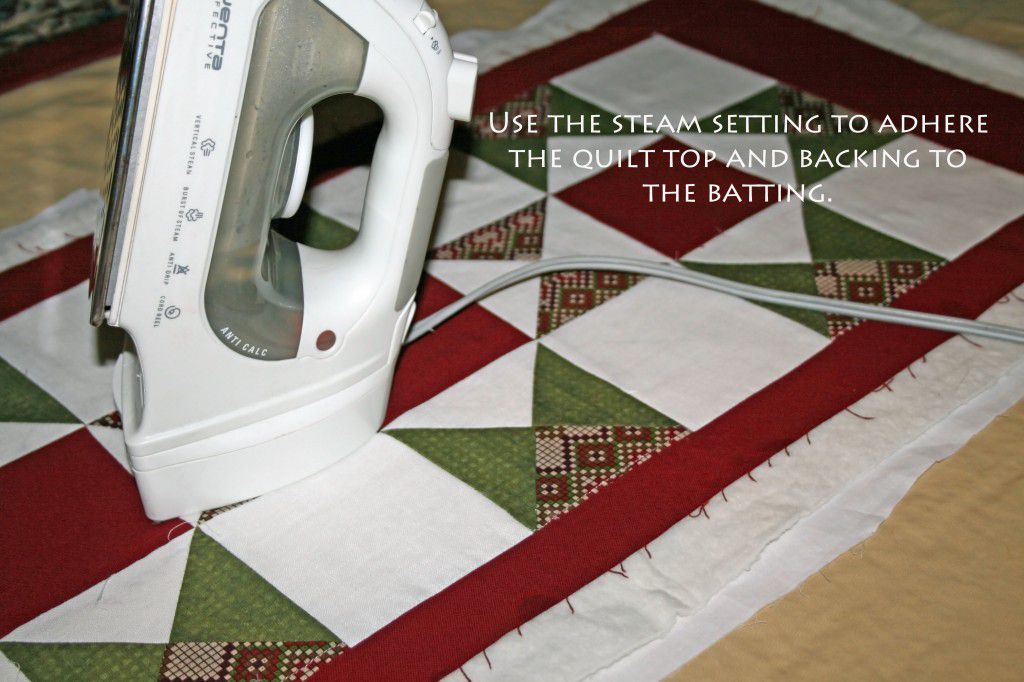
For me, fusible batting is the easiest and more accurate method of adhering the layers. Use a steam iron and follow the directions on the package. Mine said the start in the center and press down for 3 seconds. Then work my way out to the edges.
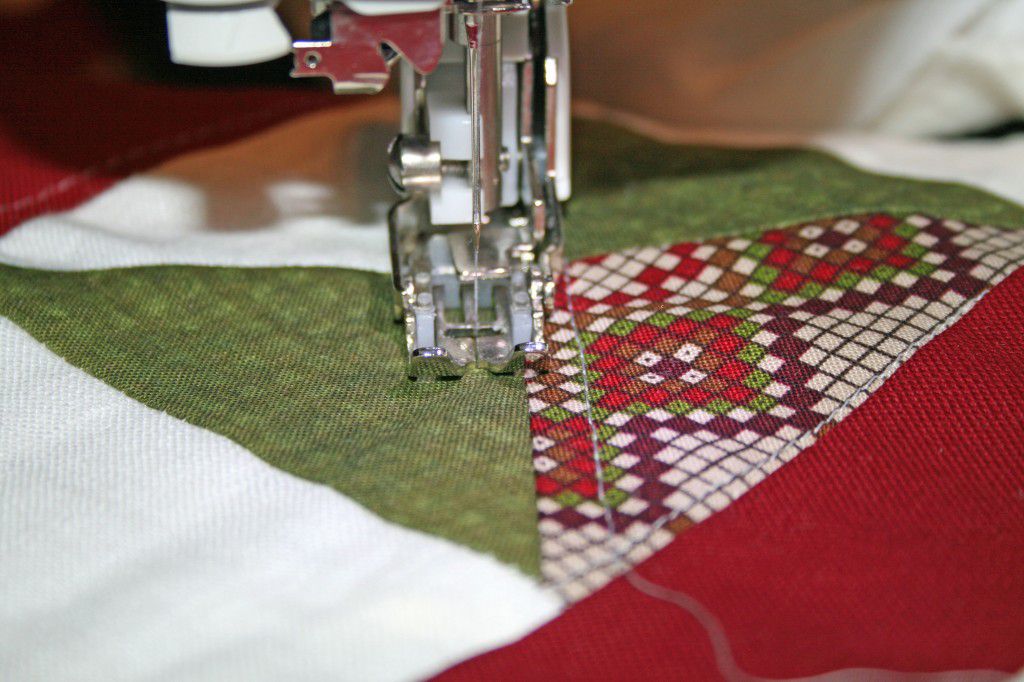
Step 7
Bring that bad boy over to the machine for some quilting. I love this part! Is it just me, or is quilting oddly hypnotic? Attach your Walking Foot and quilt 1/4 inches inside the center red squares.
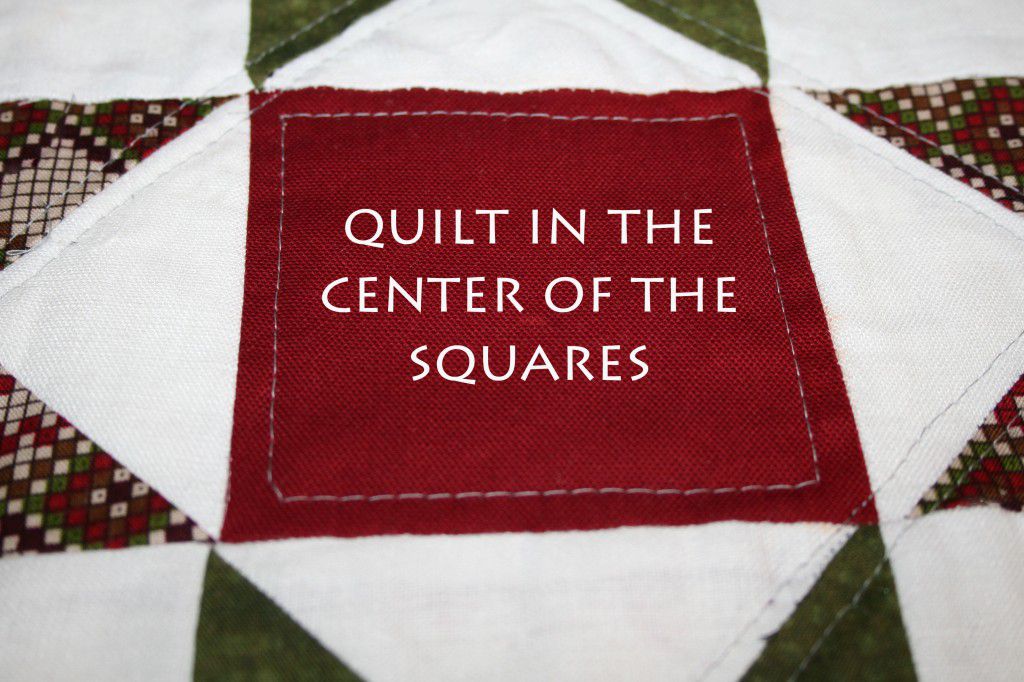
Next, follow the diagonal lines of the quilt design. Quilt 1/4 inches inside and outside the seams criss-crossing the quilt top.
Step 8
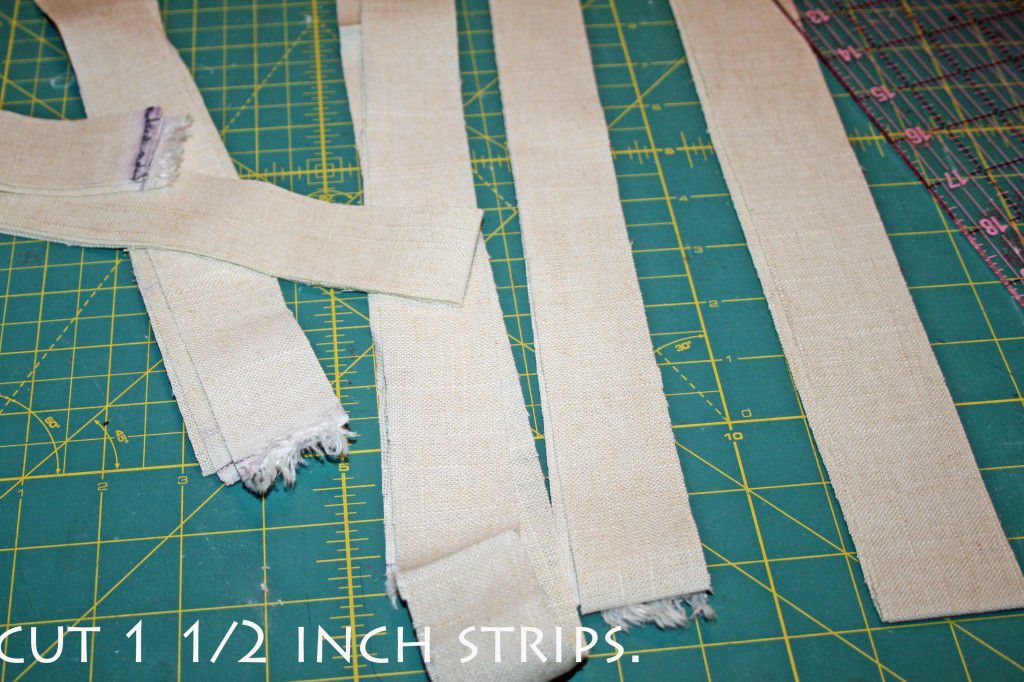
If you can buy binding or make it. Personally, I prefer to make my own binding, only because binding is usually the last thing I think about and I'm too lazy to go out to the store. It's actually not too difficult. Cut four strips 1 1/2 by 50 inches long from off white fabric. Cut four 1 1/2 by 15.5 inches long from red fabric.
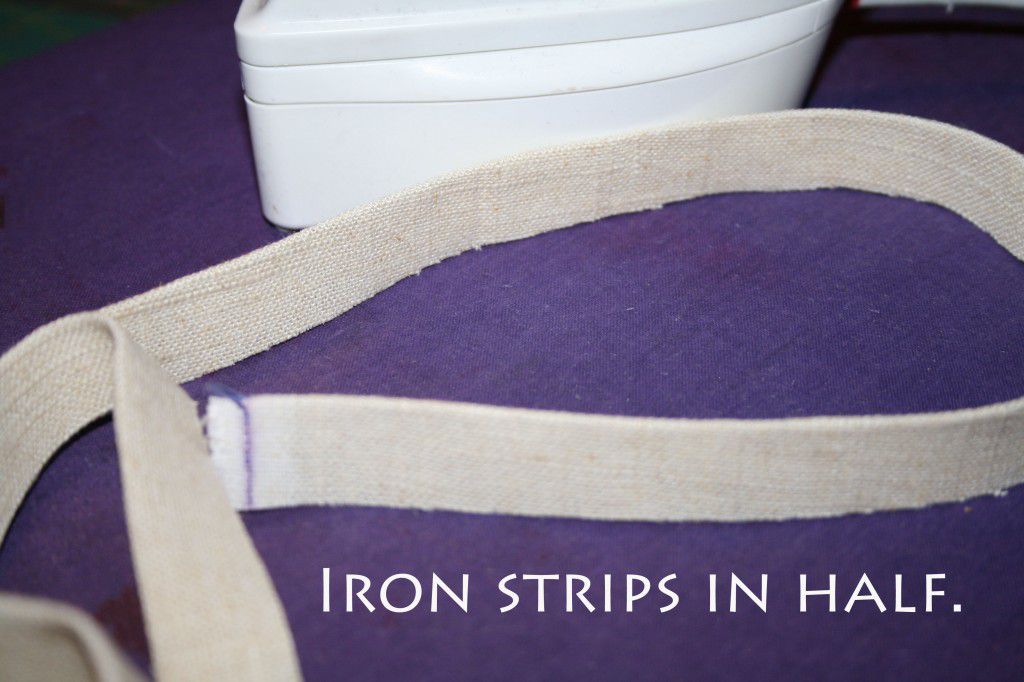
Fold the strips in half and iron.
Step 9
Attach the raw edges of the red binding to the ends of the quilt top using a 1/4 inch seam.
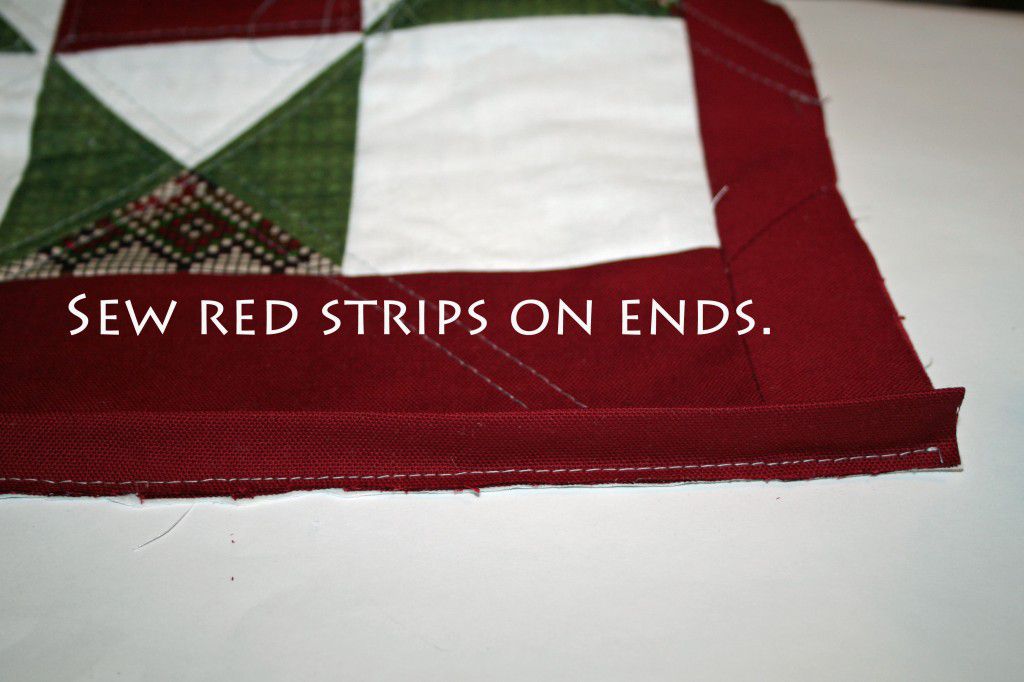
Turn the folded end under to the back of the quilt.
Attach the white strips to the sides of the quilt with raw sides lining up to the raw edges of the quilt.
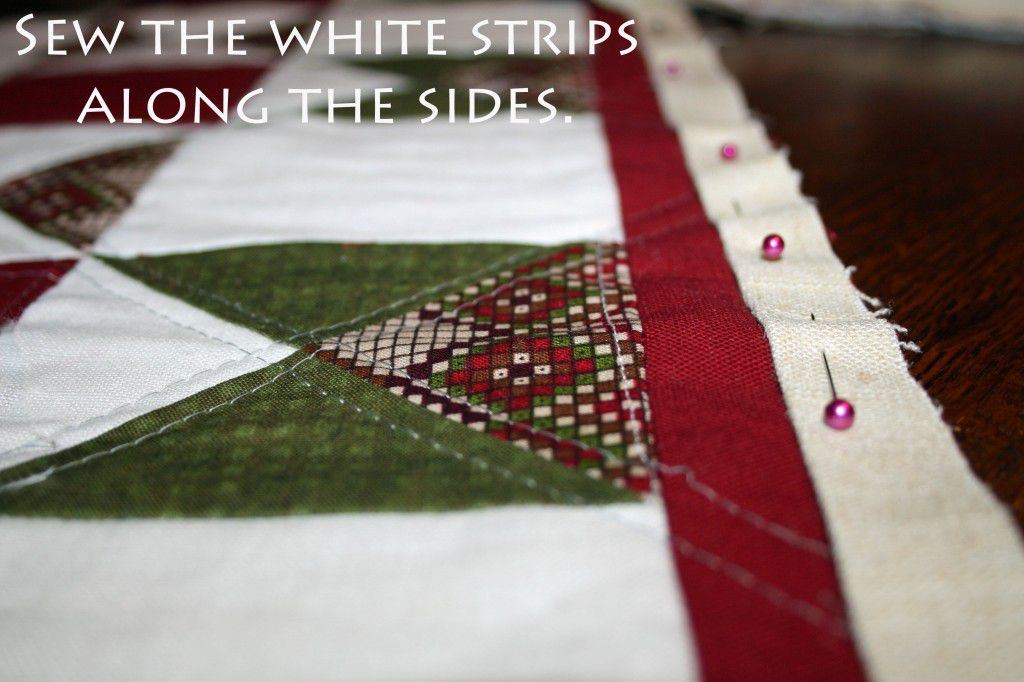
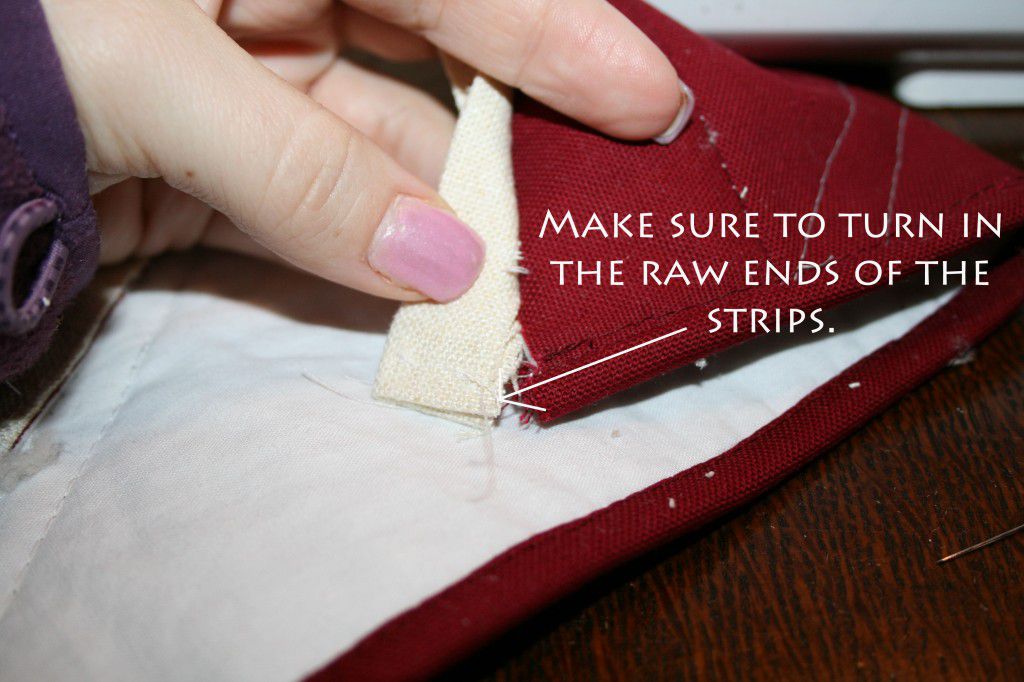
The end of the strips is slightly longer so that you can turn those raw edges under.
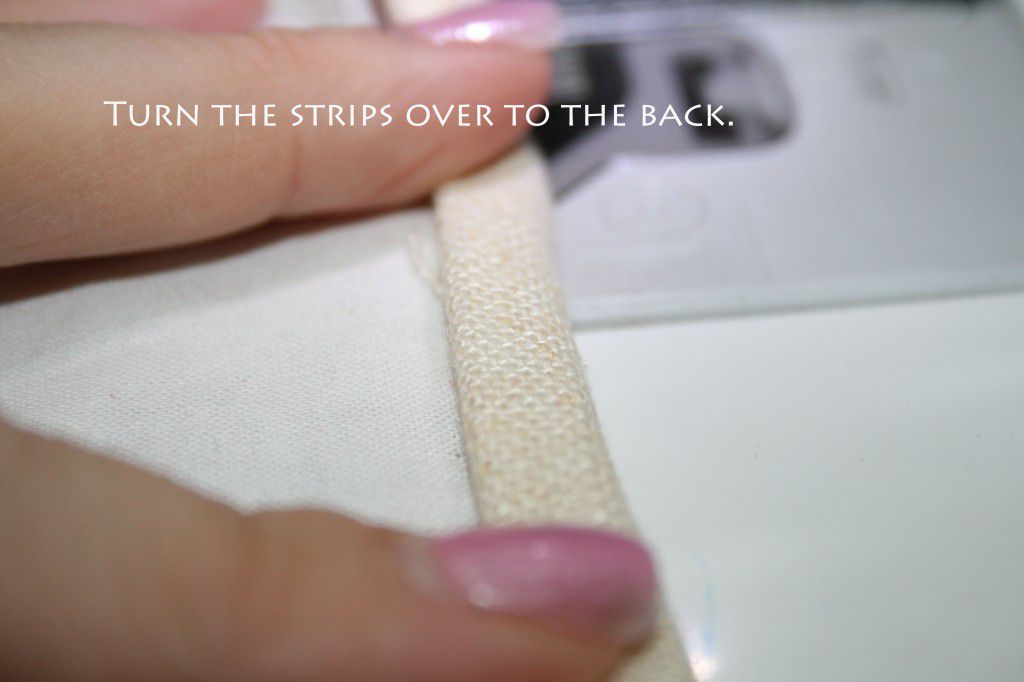
Turn the white binding to the back side of the quilt. Basically, you are rolling the binding over the raw edges. It should also be covering the red binding.
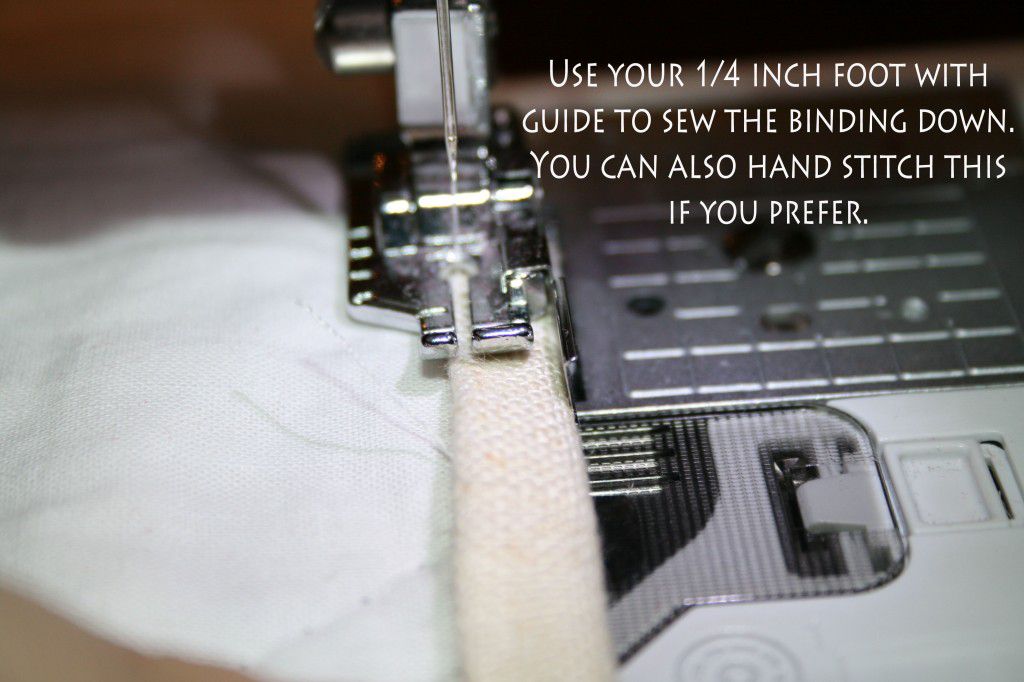
You can either sew the back of the binding down on the sewing machine or hand stitch. I prefer to sew on the machine because it's faster.
Step 10
Repeat steps 2 through 9 for the second table runner.
Thank you for reading and I hope you enjoy your table runner! Happy Sewing!


