Anyone else have 3 large trash bags filled with scraps? I can't be the only one holding on to 1" by 1"trapezoids, am I? I love fabric so much, I just can't simply throw it in the garbage, I see a 1/2 inch scrap and think, "I'll use that for something"...but I rarely do. New projects seem to pop up one right after the other and my scrap pile was turning into a scrap mountain. One time I actually dumped all my scraps on the floor and let my son jump in it. Like a pile of leaves. Oh boy...
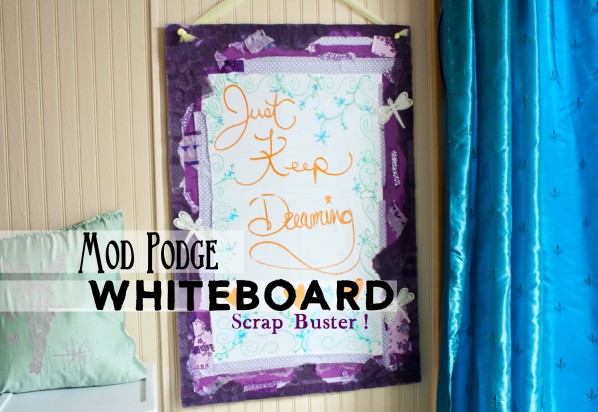
The other night I came up with an idea to make my own whiteboard. Dry Erase and chalkboard 'paper' is actually sold on rolls and panels with a sticky side. You can slap it on a wall or refrigerator and peel off when you're finished. Pretty neat! In this tutorial, we're going to chill out and do some meditative crafting with our sewing scraps. Grab your Mod Podge, a great playlist, and some scraps!
Supplies
Scraps - Pick scraps of the same color range, but different prints for contrast
Large, thick poster Board
Whiteboard (dry erase) self stick roll
Mod Podge
Brush
Strip of Tulle or Ribbon
Bowl of water
Step 1
Center and apply the self stick whiteboard roll to your poster board. This takes some time and patience. Smooth out any bubbles little by little.

Step 2
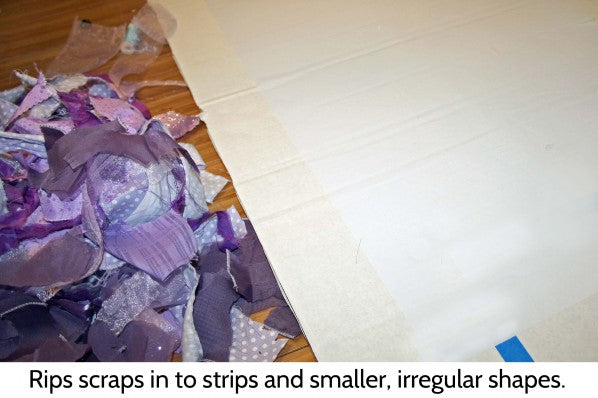
Rip your scraps into a combination of long strips and smaller, irregular shapes. You can cut if you prefer a neater look, but I really like the frayed edges for this project. Plus, tearing is kind of therapeutic. You can even use your fingers to pluck at the ends and cause more fraying.
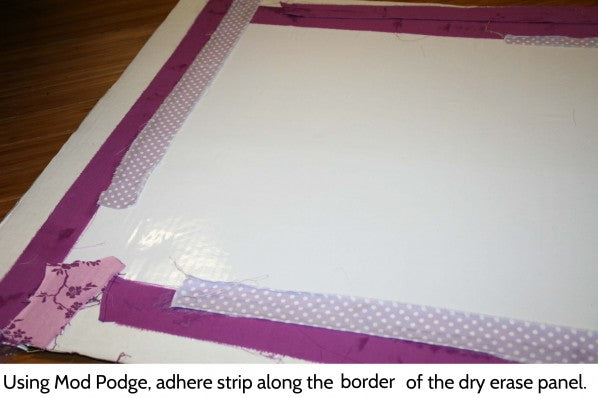
Step 3
Start to apply the larger strips along the edges of the dry erase panel as a boarder. Dab you brush in the water, then dab the brush in some mod podge. Next, apply some mod podge to the back of the fabric and to the board. If you want your fabric to lay super flat, use a roller to flatten the fabric completely. I wanted my fabric to maintain a 3D quality, so I skipped using a roller. Wait 15 minutes.
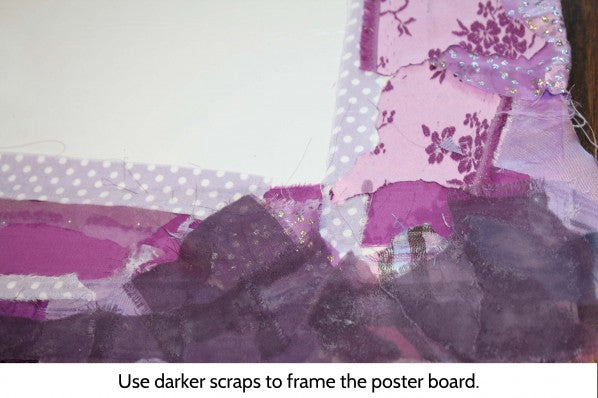
Step 4
Once you have all the strips applied, fill in the empty spaces with the remaining scraps. I recommend saving the darker, sheer scraps to frame the outside of the poster board. Wait 15 minutes.
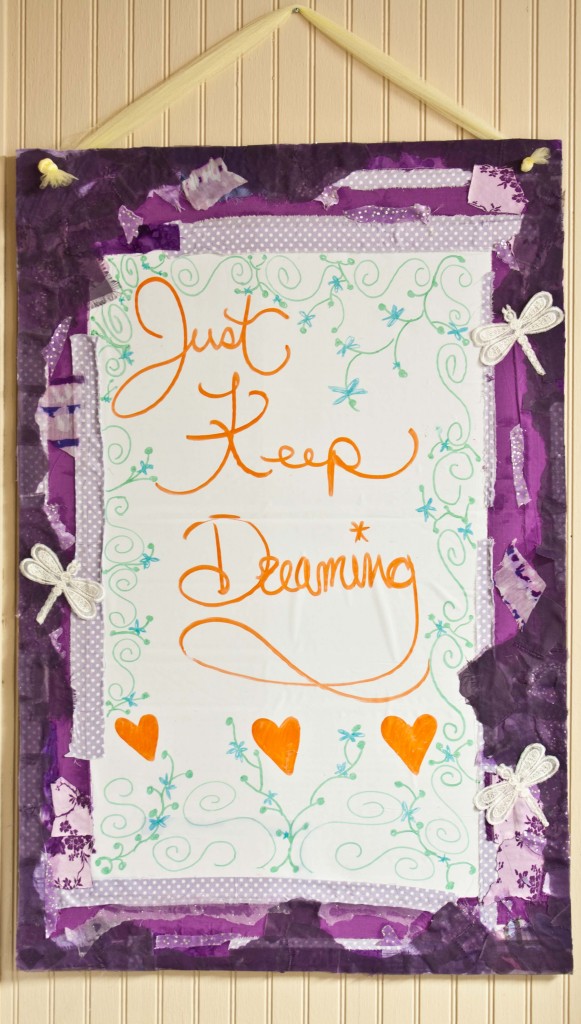
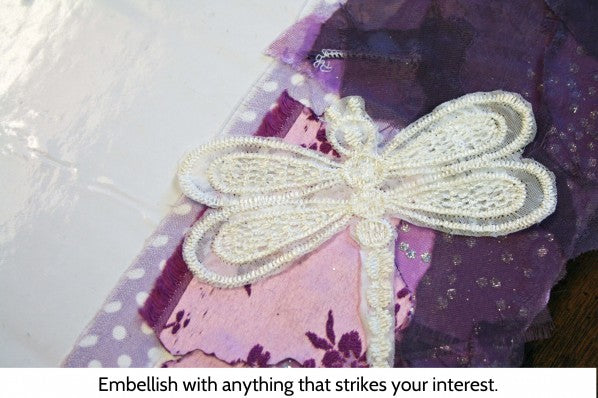
Step 5
Add any embroidery patches, gems, glitter or other decorative items that catch your interest.
Step 6
Measure and mark on each side of the board where you plan to thread the tulle/ribbon.

Step 7
Puncture a hole through the poster board on both sides.

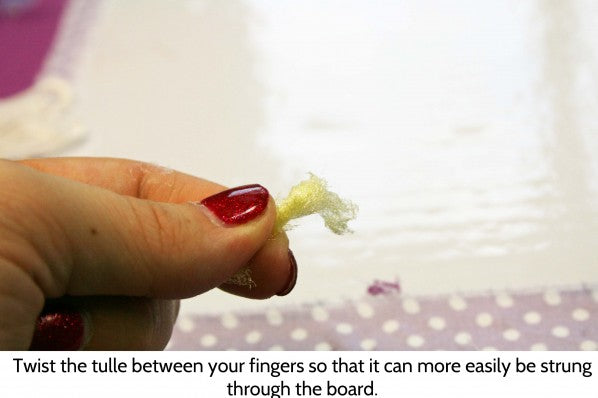
Step 8
Twist your ribbon/tulle between your fingers and shove through the hole from the back to the front and knot it. This is how you will hang your awesome dry erase board.