
Hey, sewing friends. Let's chat. We all have that accessory that we want to use, but then when we go to try it, it won't work! That was the sewing machine hemmer foot for me. I'm happy to report, I have learned some tips and tricks and that is no longer the issue. I now love this presser foot.
What Is A Hemmer Foot?
So what is the purpose of sewing machine hemmer feet? The foot has a funnel that folds your fabric in on itself so you can easily hem light to medium fabric. It gives you a professional finished edge.
What Do They Look Like?
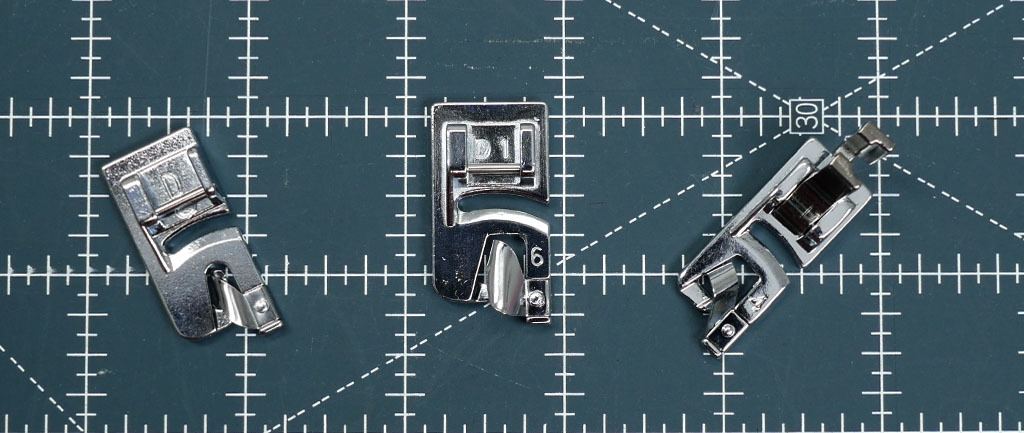
Hemmer feet come in several sizes. Some of the common options are 1/8, 3/16, and 1/4. They can also be labeled 2mm, 4mm, and 6mm. It just depends on the brand. If a hemmer foot came with your machine and you aren’t sure of the size, just flip it over. The width of the groove is the size of your hemmer foot. Also this is what the size of your finished hem will be. The heavier the fabric, the larger hemmer foot you will need. If you are a beginner, I would highly recommend working with the 1/4 inch hemmer first. The larger funnel makes it easier to work with.
What Can You Sew With Hemmer Feet?
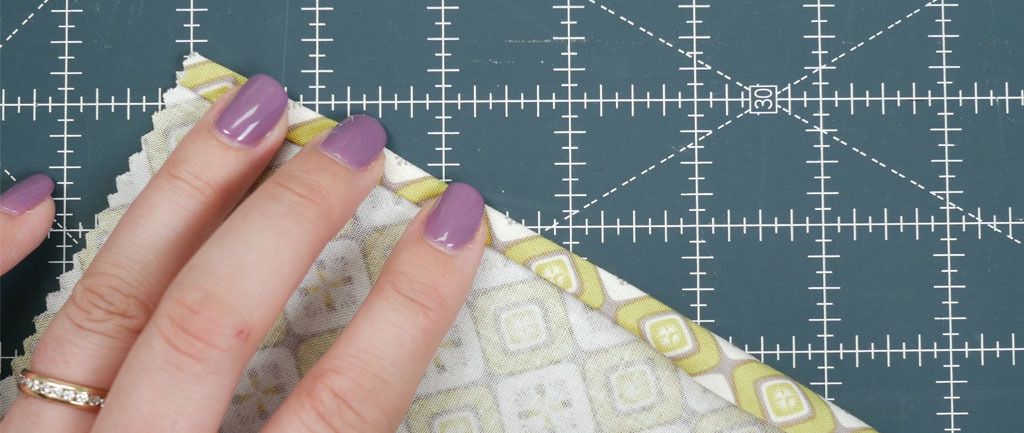
Some fun projects where you can use hemmer feet are for scarves, napkins, light weight shirt or skirt hems, and much more. Always test on scraps prior to working on your project just to ensure that the fabric isn’t too heavy for the foot. We have another video on hemmer feet. I included a link for it at the end of the above attached video. Recommendations are based on different fabrics that you are using. Make sure to check it out.
How Do I Prepare My Fabric?
To prepare your fabric, you need to think about the size of your sewing machine hemmer foot. Say you are using the ¼ inch hemmer. Whatever the size foot you are using you will be doubling the amount of fabric that you will be feeding into the foot. So first, you want to finger press 1/4 inch. Then fold another 1/4 inch and finger press again. Finger press several inches. Because I initially had issues with the hemmer, at this point, I actually tried pressing the fabric with an iron, thinking that would help. It didn’t. You don’t want to do that. The fabric needs to be pliable in order to feed into the funnel correctly. Now that you have folded the hem, pin it vertically.
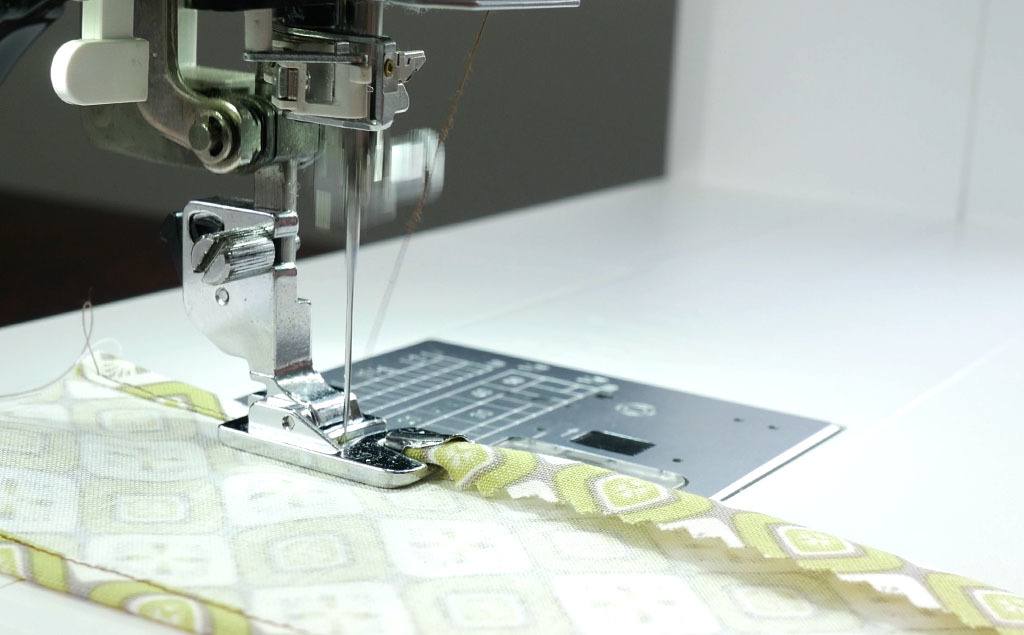
Prepare Your Machine For The Hemmer Foot
Set your machine to a straight stitch and adjust your stitch length according to the fabric you are using. Install the hemmer foot. First, you want to have a thread tail when you begin sewing so if needed, pull up the bobbin thread and bring several inches behind. Place your prepared fabric under the foot. Lower your sewing machine needle into the fabric; then lower your foot. Now grab your thread tail and tug slightly as you begin to sew. Sew 3 or 4 stitches. Leave your needle in the fabric. Lift your presser foot. Here is where I was having so many issues. I just could not get the fabric in the funnel. I found that using pointy tweezers helped tremendously. Grab the fabric with your tweezers, right by the foot. Then push it into the funnel and bring the fabric over to the left. This will position the fabric correctly and you won't be fighting with the fabric.

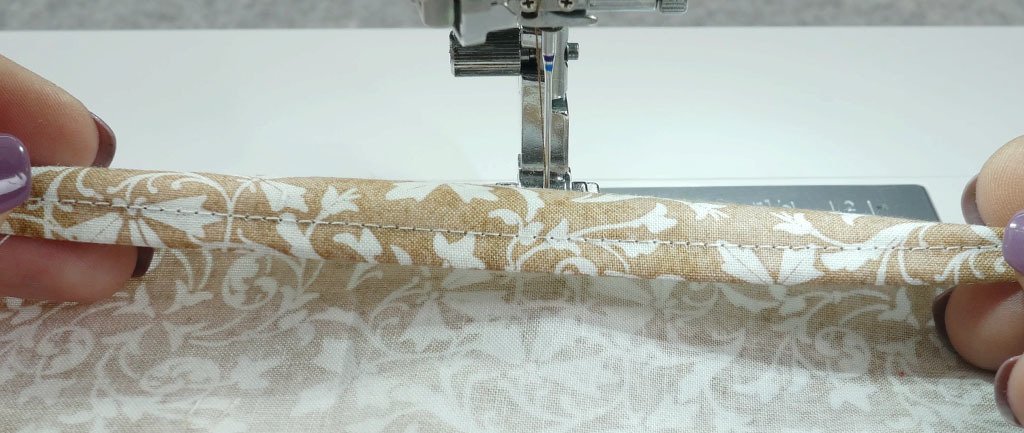
Sewing With A Hemmer Foot
Remember, you want to feed in double the amount of fabric as the size of your foot. I find it's easiest to fold the fabric and hold it with my finger while sewing. At the same time, line the raw edge of the fabric up with the left guide on your foot as you sew. Start off slow and as you get more comfortable, you can speed up. As you come to the end, pull the fabric diagonally towards you to ensure that it doesn’t hang off the edge. To have nice, neat corners. Finish all the way to the end and then prepare the next side as you did the first. Repeat as needed.

I’m glad that I didn’t give up on the hemmer foot, because it is really going to come in handy. I hope you enjoy it. Until next time, Happy Sewing, Everybody!


