
Let's Talk Stabilizers!

Stabilizer options can be a little overwhelming when you enter the embroidery world. What type do I use, how many layers do I use, what fabric do I use with it? In this second episode of our Beginner's Guide to Embroidery, I hope to answer some of these questions for you. We are going to be talking about stabilizers.
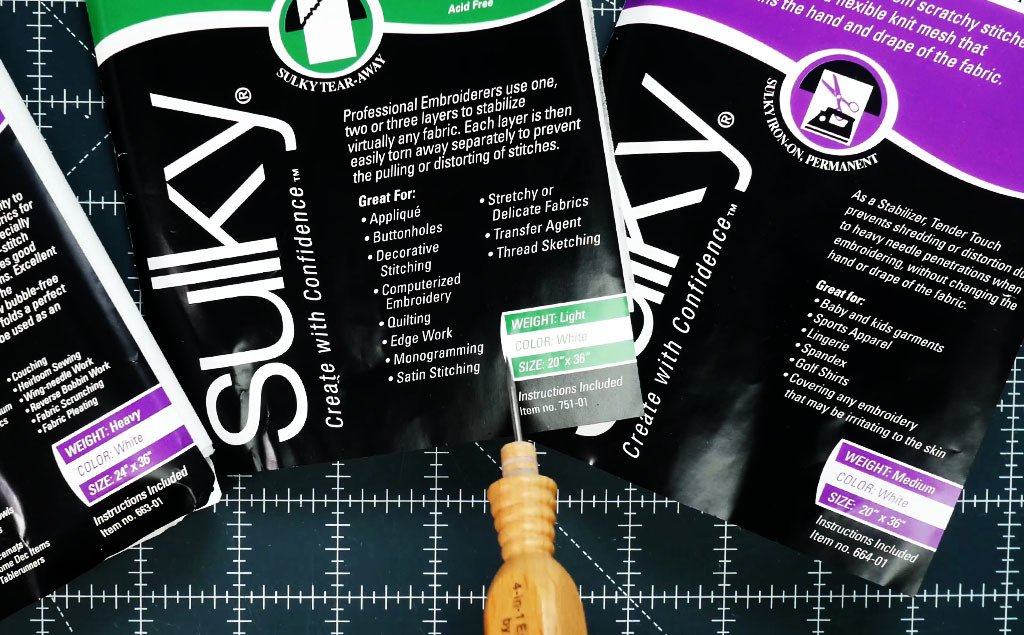
On the packaging, you are going to see the type, the weight, and how it's applied. Let's break that down a little bit.
TYPES
There are several types:
Cut-Away Stabilizer
Cut-Away stabilizer is great to have on hand because it's so versatile. It is used with knits to provide stability. It is considered a permanent stabilizer, which means it will stay affixed to your project upon completion. Cut-Away stabilizers eliminate pulled or sagging stitches and it's excellent for stretch resistance. It is also very reliable. Because it is a permanent stabilizer, it remains with the fabric for continued stabilization through laundering and wearing.
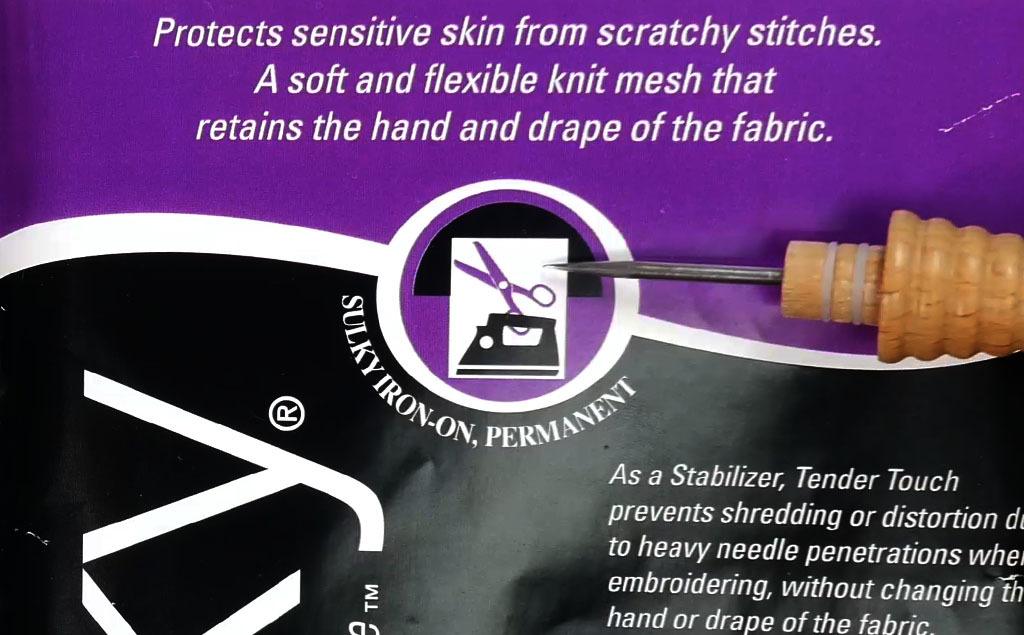
Some examples of Cut-Away stabilizers are: Sulky Cut-Away Plus, Fuse n’ Stitch, Tender Touch
Tear-Away Stabilizer
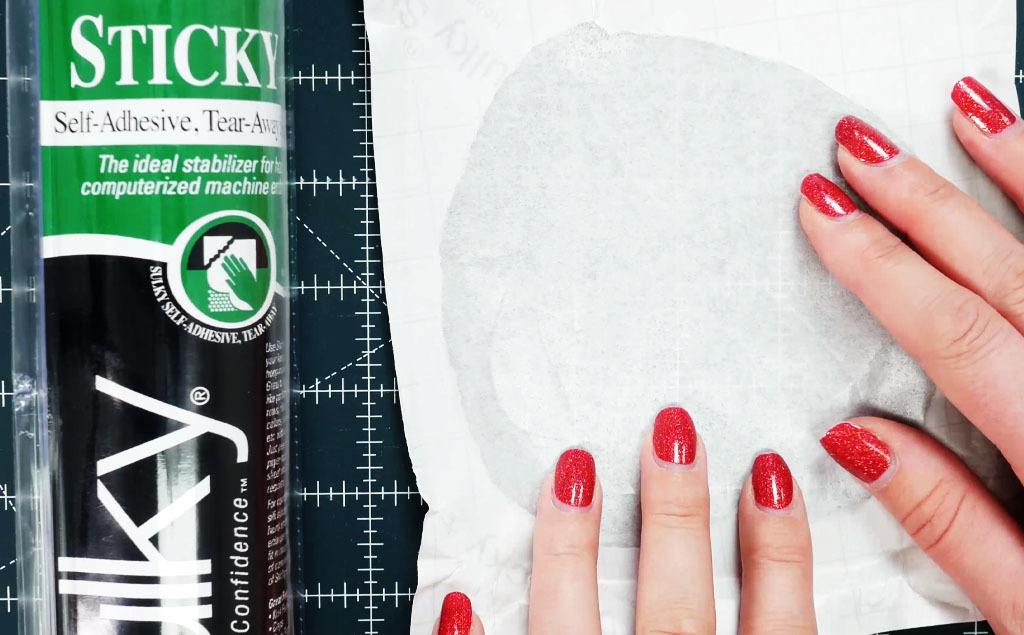
Tear-Away stabilizer works great when there is no stretch to the fabric, making it ideal to use with woven fabric. Unlike cut-away stabilizers, tear-away is a temporary stabilizer, meaning that it will not remain with your project. After you have stitched out your design, you just carefully tear the stabilizer away. I like to hold onto the stitched part of the design as I'm tearing. This type of stabilizer also helps prevent stitch distortion. The tear-away stabilizer is very versatile. If more support is needed, you can use multiple layers of stabilizers. When your project is complete, carefully tear away each layer of stabilizer.
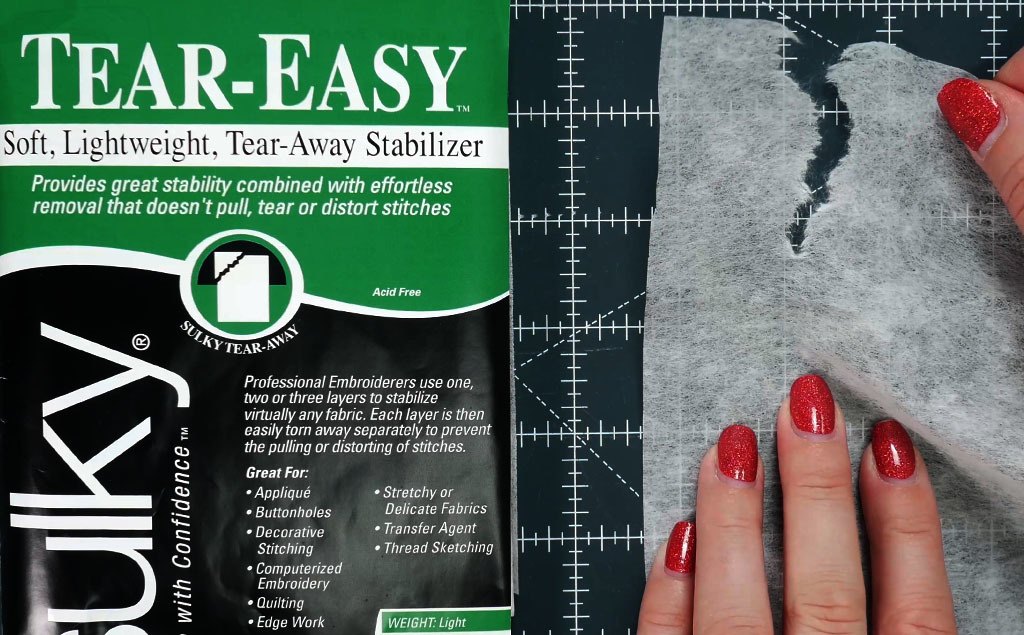
Some examples of Tear-Away stabilizers are: Sulky Tear-Easy, Totally Stable, Sticky and Stiffy
Wash-Away Stabilizer
Wash-Away stabilizer, you guessed it, disappears with water. This product is also a temporary stabilizer. It is ideal for lightweight, delicate fabrics. A few things to note about the wash-away stabilizers. It can become dried out. Because of this, after you open it, either place it in a Zip-Lock bag or store it in its original container (if it is designed for that). Also, in an up-coming episode on needles, I mention that when using wash-away stabilizer, it is recommended that you use a Sharp needle. This will pierce the stabilizer and prevent tearing.
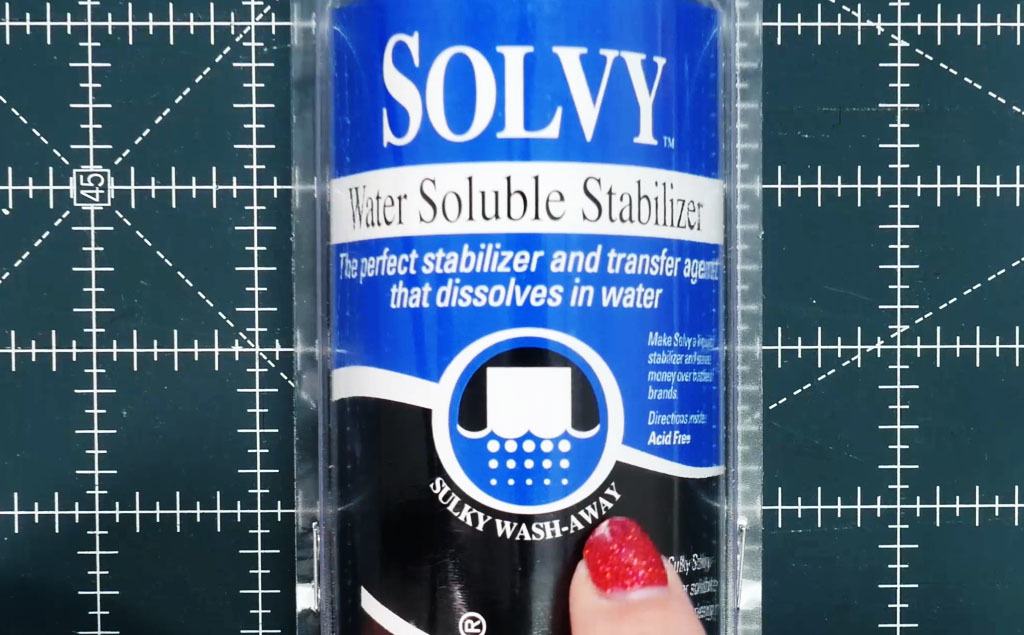
Some examples of Wash-Away stabilizers are: Sulky Solvy, Super Solvy, Stick n’ Stitch, Fabri-Solvy
Heat-Away Stabilizer
Lastly, let's look at Heat-Away stabilizers. It, too, is a temporary stabilizer. After applying heat with an iron, the product easily brushes away. This is perfect for when wetting or tearing would cause distortion to the fabric and damage stitches, making this great to be used with delicate fabrics.
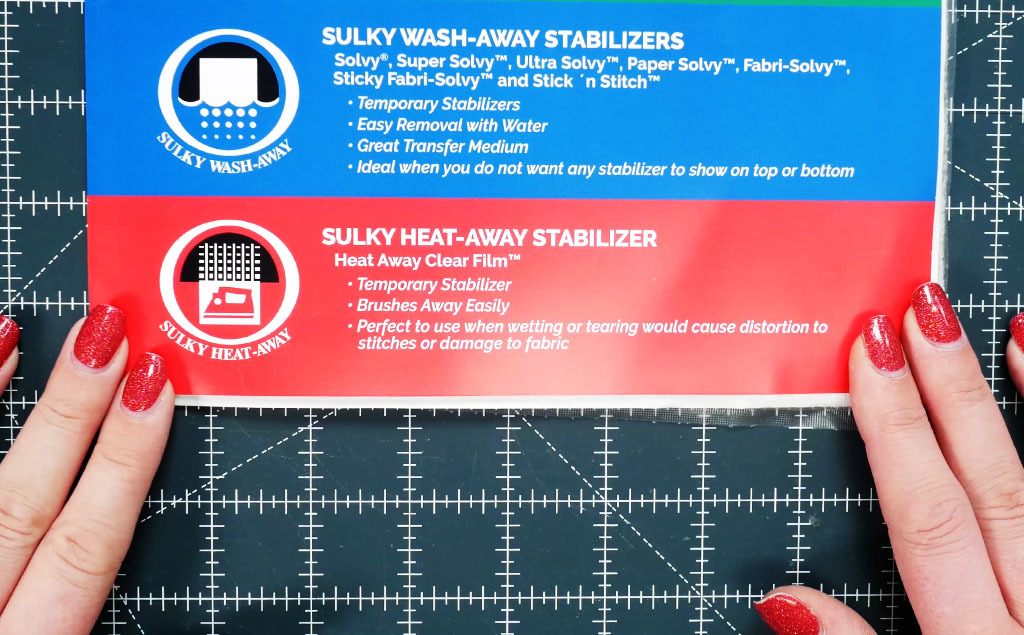
An example of Heat-Away stabilizer: Sulky Heat Away Clear Film
WEIGHTS
Now, let's talk about the weights. The packaging will say Light, Medium, or Heavy.
In this area, there are conflicting opinions. Some state that it is recommended to match the weight of your stabilizer with the weight of your fabric. So, if you're using lightweight fabric, use lightweight stabilizer -medium weight fabric, use medium weight stabilizer.
Others state that you want to balance your project, so if you're using lightweight fabric, you should use a medium or heavyweight stabilizer. If you're using a heavyweight fabric, you should use a lightweight stabilizer.
Initially, when I came across this conflicting information, it made me pause. I am a list person, so I wanted a nice, neat list saying, with this fabric, use this stabilizer. Without that information, I thought, maybe embroidery wasn't for me. :) Then I remembered a class that I took about stabilizers. The gentleman that was teaching had been embroidering for many years. He stated that, when it comes to stabilizers, everybody does it differently! He pointed out 3 of his coworkers and began discussing one project. Guess what, they all did something different to complete their project.
He stated that you just have to get in there and do it. You'll quickly learn what works and what doesn't. You'll find what your favorite brand is, whether or not your machine likes it, and just your overall preference.
And if you really just don't know where to start, grab a medium weight option. That way, you're in the middle and you'll be able to assess from there!
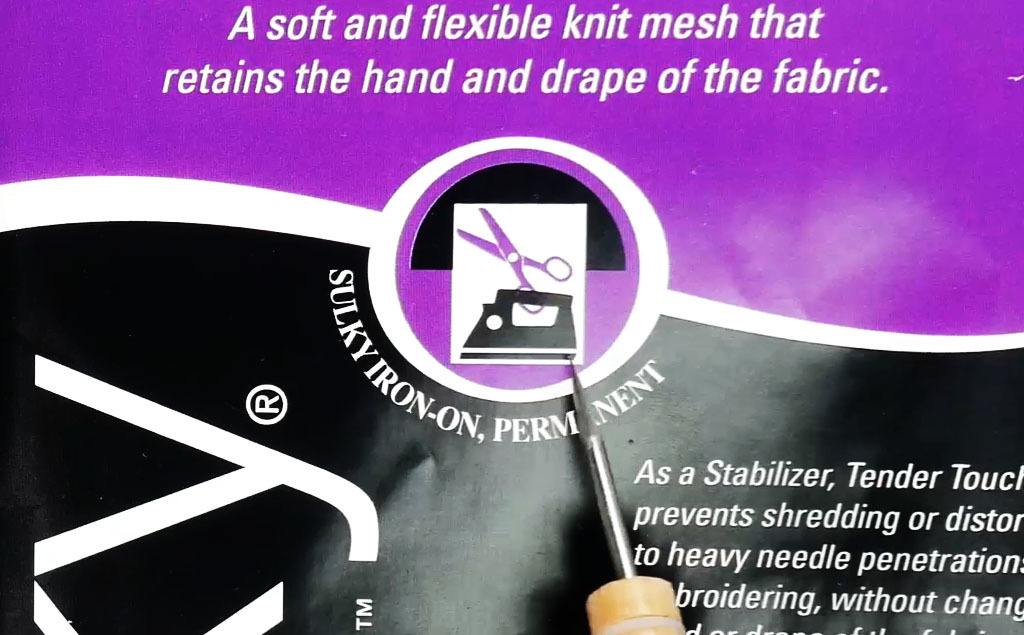
APPLICATION
Let's talk application. This is also going to be stated on the packaging. A few common applications options are iron-on, self-adhesive, and adhesive spray.
Iron-On
On the packaging, there is usually a little picture of an iron; otherwise, it will simply state Iron-On. With this option, one side has a type of dry glue. You can tell because there are little bumps on one side. When laid on your fabric and pressed with an iron, the glue dots melt and the stabilizer then "sticks" to the fabric. It's pretty neat.
Self-Adhesive
This is exactly how it sounds. Just think of a sticker. Peel off the back and the fabric will stick to it. It is very convenient.
Adhesive Spray
There are other methods that can be used, like an adhesive spray. This is commonly used when floating. Floating is when you hoop your stabilizer, then use the adhesive spray to attach your fabric. Your fabric is not hooped with the stabilizer. We'll cover more on this in an upcoming episode on hooping.
Conclusion
You can find so much good information on stabilizers, but honestly, it is best just to get in there and see what works for you. As with any project, always test on scraps before you begin your actual project. Soon, you'll be embroidering beautiful projects flawlessly!
Until next time, Happy Sewing (Embroidering :) ), Everyone!


