It’s that time of the year again! Halloween is right around the corner! And that means it is time to get started on all of those fun Halloween inspired sewing projects. Personally, Halloween is one of my favorite holidays because it gives us the opportunity to create wacky projects and get crazy imaginative (without getting too many strange looks). I have for you a one of a kind home decoration sure to grab the eye of your Halloween party guests: Giant Candy Corn Pillows! Candy Corn is a classic Halloween treat, and now it makes the living room look so much more festive. Since I plan on giving this pillow to my mother as a Halloween gift (did I mention I love Halloween?). I chose to use soft shades and texture to go with my mother’s living room décor. However, feel free to go wild with your design. Use prints, beads, or sequins, you can even change the color palette. Heck, throw in some faux fur if you’d like, it’s Halloween, go nuts!
Necessary Supplies:
1. White, Yellow, and Orange Fabric
2. Rotary Cutter & Rotary Mat or Fabric scissors
5. Sewing Machine
6. Candy Corn Template (I suggest drawing it on freezer paper or downloading and printing from this blog)
10. Poly Filament (Pillow Stuffing)
Helpful Supplies:
1. Walking Foot
2. Gathering Foot
This is the template used to make my pillow. You can always adjust the size to fit your style.


Pin the template pieces on the fabric and cut out. You should have 1 oval bottom and 6 Candy Corn Sections.

I want to add a little texture to my orange fabric, so I have sewn on this coral sheer fabric.

Next, I decided to add some volume to the yellow section with yellow tulle that I gathered on the top and bottom. I just kind of slowly bunched the fabric under the foot while I sewed. I suggest using a gathering foot if you have one to make this step go faster.

Next, stay stitch the curve of the top section piece. This will keep it from warping when you sew the two completed pieces together. Now pin all sections together and sew. You should now have 2 giant candy corn triangles. Pin on your batting and sew.

Once you have the 2 pieces sewn to batting, pin them right sides together and sew up the long sides and around the curve. Basically, you should have a candy corn cone. If you have a walking foot, USE IT! It will make sewing all those layers so much easier. It also prevents unsightly tucks and puckering.
Congratulations, you have made it to the home stretch! Is it looking good? Are you getting hungry? Too bad, the project must go on!
Grab that oval piece you cut out earlier and pin it to the bottom of your cone. Remember to keep everything right sides together (inside out). I accidently sewed my pieces backwards...twice…
Here is what it should look like:

Be sure to leave an opening to turn your candy corn right sides out. Now you can get stuffing! Once you have filled your pillow with poly filament, hand stitch your opening closed.

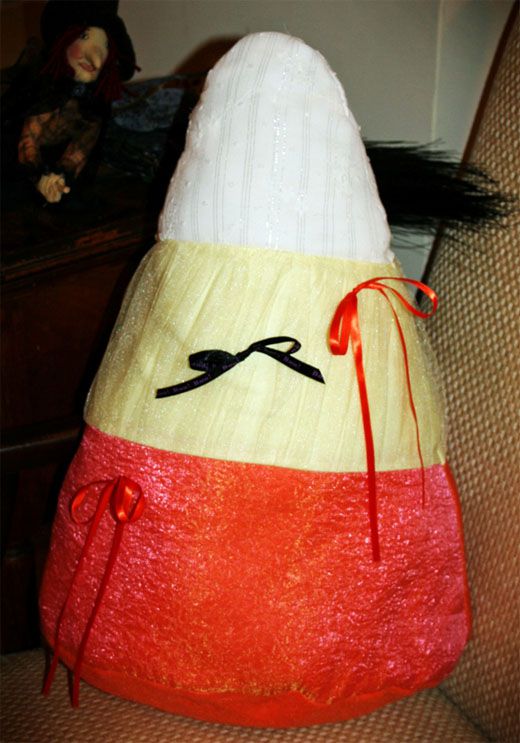
I added a few accent bows, but you can add whatever embellishment you want to make that candy corn POP! You have officially created awesome Halloween art! Sit that sweet little cone of comfort on your favorite piece of furniture and admire what YOU have created! Congratulations!


