
Grilling Apron Tutorial
Father's Day is around the corner (well, for me..it may not be for you depending on when you're reading this!), and I was wondering what I could sew as a personalized gift. I figured that a grilling apron would be the PERFECT gift - not only is it functional, but it can also become really fun when you pick out fabric to make it unique for the dad you're sewing it for!
To follow along with the specific pattern, instructions, and dimensions, I'm using this pattern by Abbey Lane Quilts.
One of my favorite things about this grilling apron pattern is that it has sizes 2-4, 6-8, and 10-12 for boys, and a men’s standard 32” long, so you can make matching versions for a father and son!
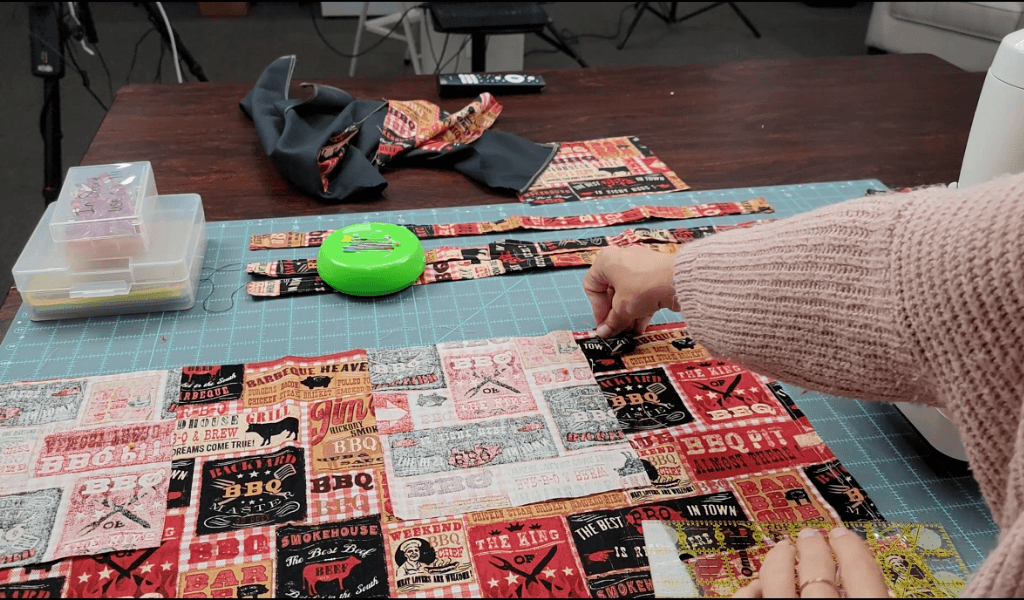
WHAT YOU'LL CUT
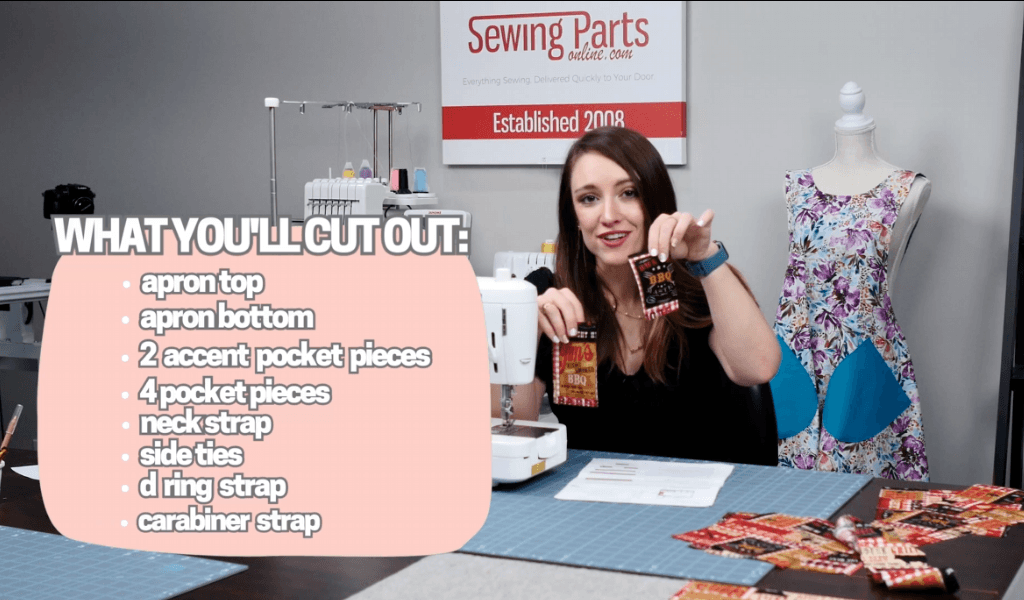
When you open the pattern, you'll find all of the specific lengths and sizes that you need depending on the size grilling apron you're sewing! Above are all of the pieces you'll end up with.
PRESSING AND IRONING
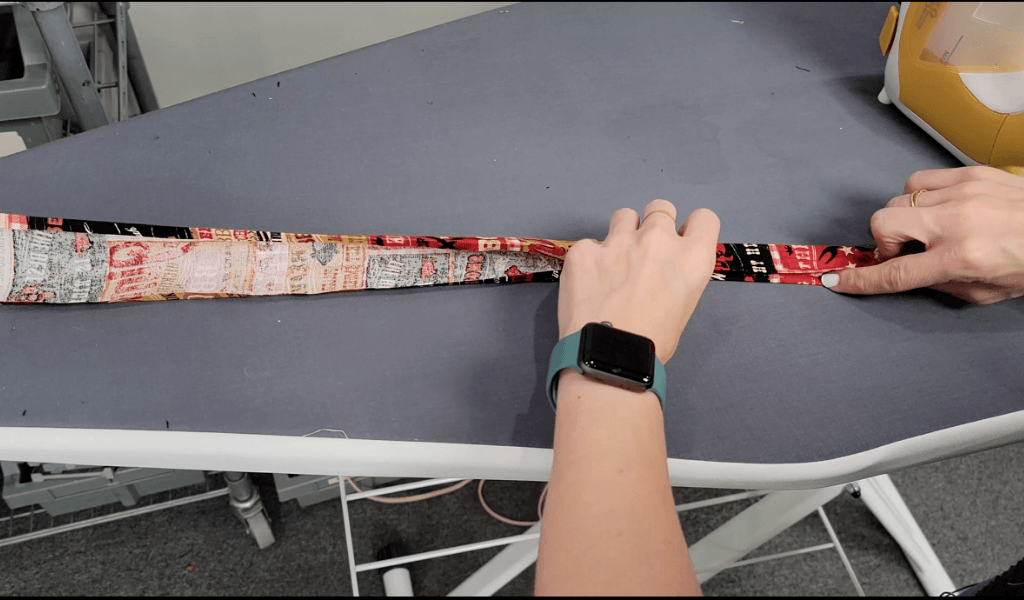
After you've cut your pieces for your grilling apron, you will then take your neck tie, side ties, carabiner strap, and d-ring strap and fold 1/4 inch along each edge. You'll press those edges with your iron.
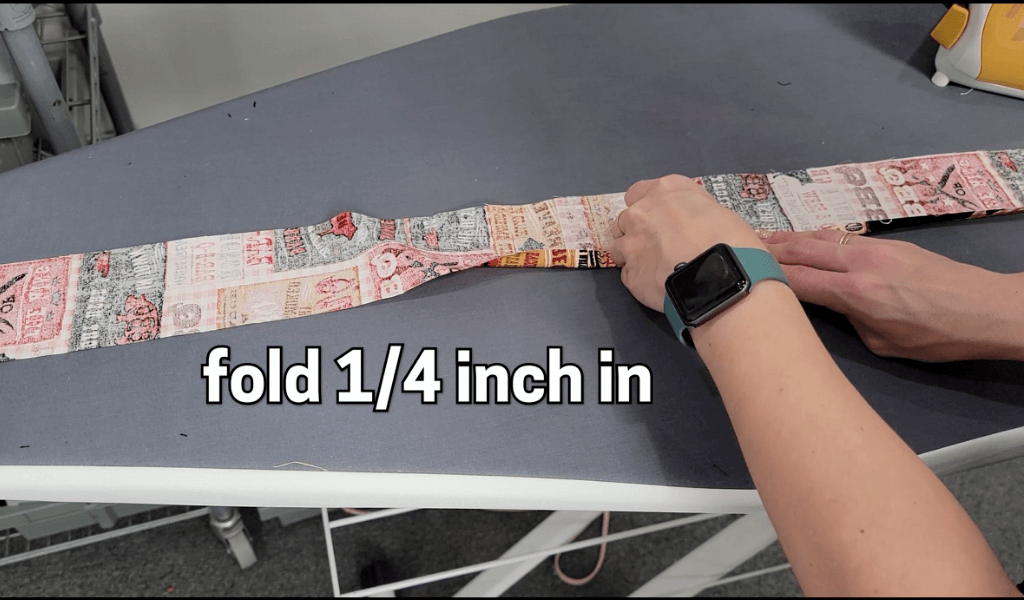
Then, you'll fold those pieces in half and press again! When you're finished pressing, you can move on to your sewing machine and sew 1/4 inch along the edges of your neck tie, side ties, carabiner strap, and d-ring strap.
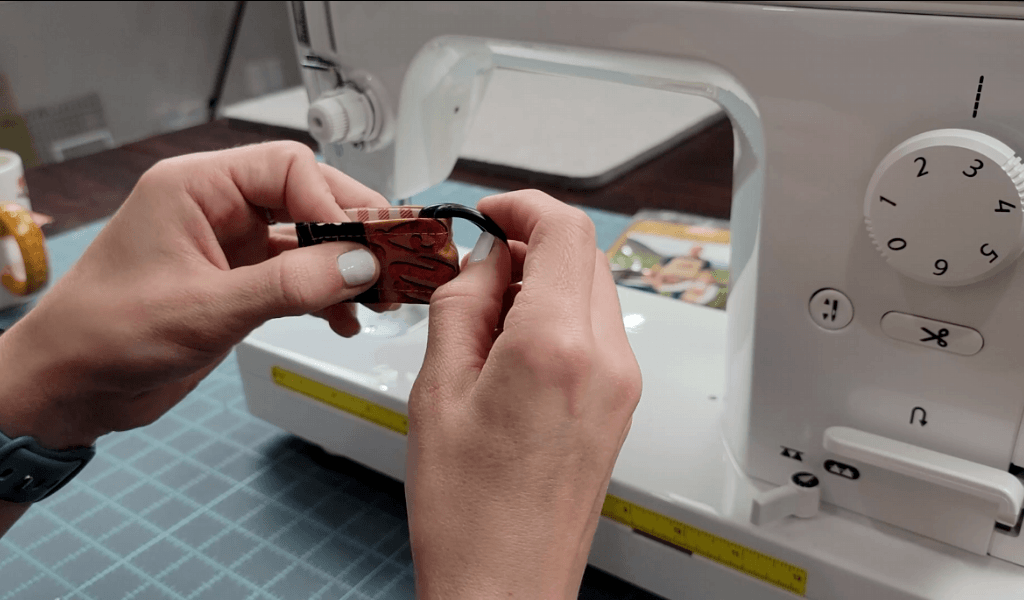
D RING STRAP
When you finish sewing your d-ring strap edges, you'll want to also sew on the d-rings. You'll do this by looping the two d-rings through and folding the strap so that the bottom edges touch. Bring this to your sewing machine and sew as close to the d-rings as you possibly can.
CREATING YOUR APRON TOP
Now it's time to make a shape for your top! You'll do this by laying out your top piece fabric (TIP: iron it first), and then folding it horizontally.
Place the Sloppy Joe's Abbey Lane Quilts pattern (in the size you're creating this for) on the top, left corner. Using a rotary cutter or fabric scissors, cut along the pattern edge. When you open your fabric, you'll see two empty spots on either side!

We will now head back to the iron to fold in the edges and press for sewing. BUT - this is a bit different than the neck and side ties! Instead of folding once, we're actually going to fold twice.
We will fold the curved and side edges by 1/4 inch (ignoring the bottom edge). Press, and then fold those same edges 3/8 inch and press again.
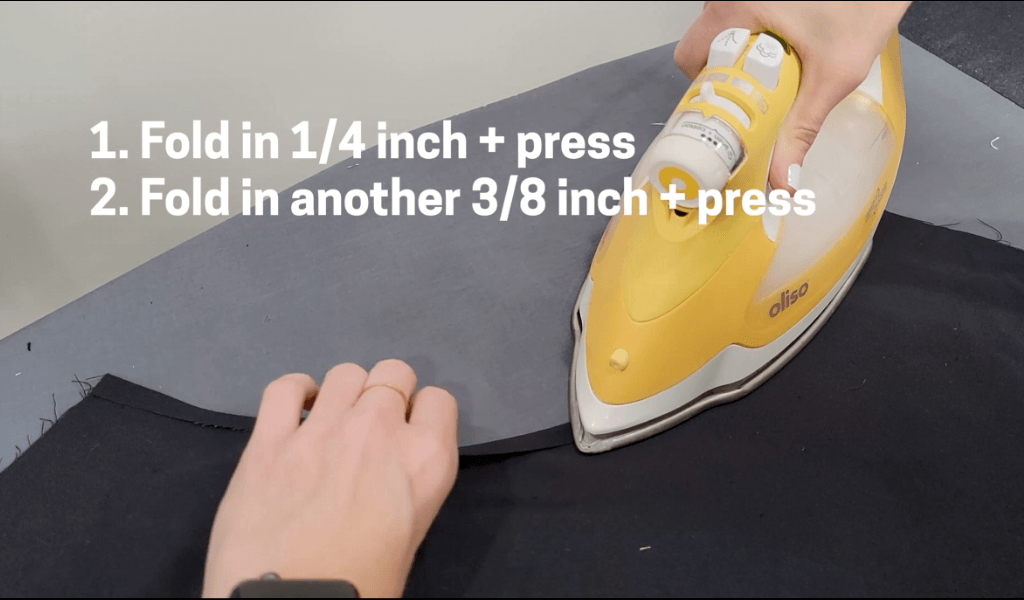
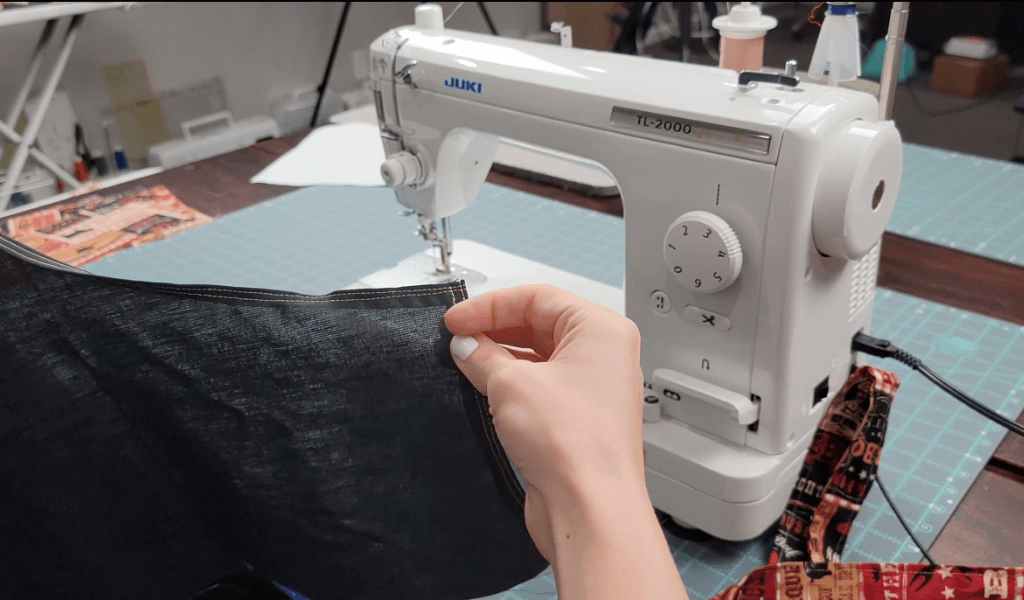
When we're done pressing, it's time to sew!
Just as we folded and pressed twice, we are also going to sew twice for each side we just worked on (again, ignoring the very bottom). We will first sew 1/4 inch, and then we will sew 1/8 inch.
MAKING THE BOTTOM POCKETS (part 1)
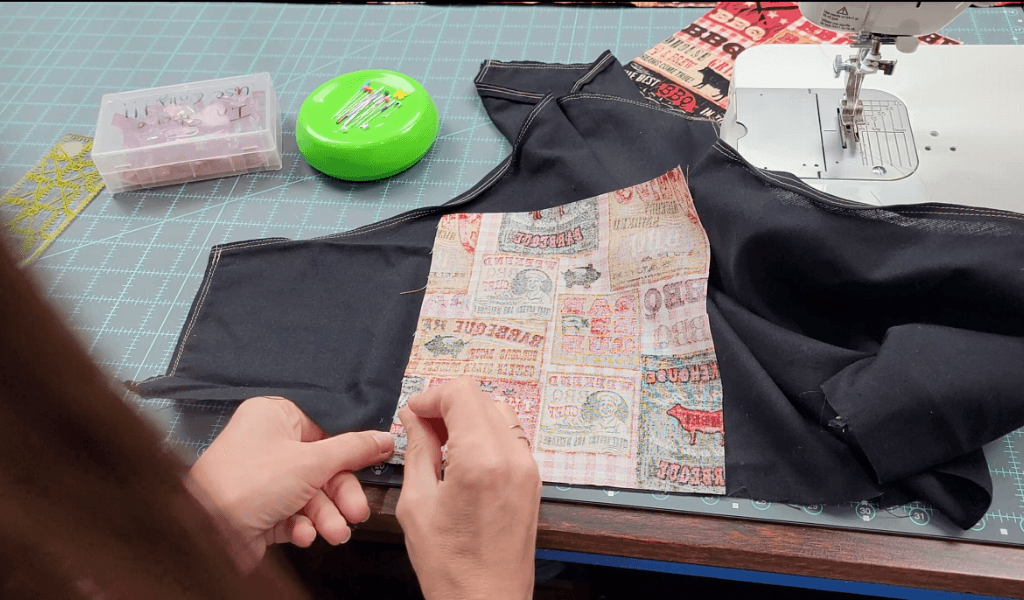
We have 4 pieces cut out for our bottom pockets that will end up creating two full pockets. We are going to do this by sewing two at a time onto the top part of the apron and then the other two on the bottom part of the apron.
Starting with the top part of our grilling apron, we will measure 6 inches from the bottom part of the left and right sides. Mark your spot, place each pocket pretty side to pretty side (in other words, the "right" side of the pocket should face the "right" side of the grilling apron top), and pin them in place, making sure the edges are touching each 6-inch mark.
Bring your grilling apron top with its pinned pockets to your sewing machine and sew a 1/2-inch seam along the bottom edge.
After sewing, fold the pocket fabric down so that you can see the "pretty side" and press the seams of both pockets with your iron.

SEWING BOTTOM OF GRILLING APRON
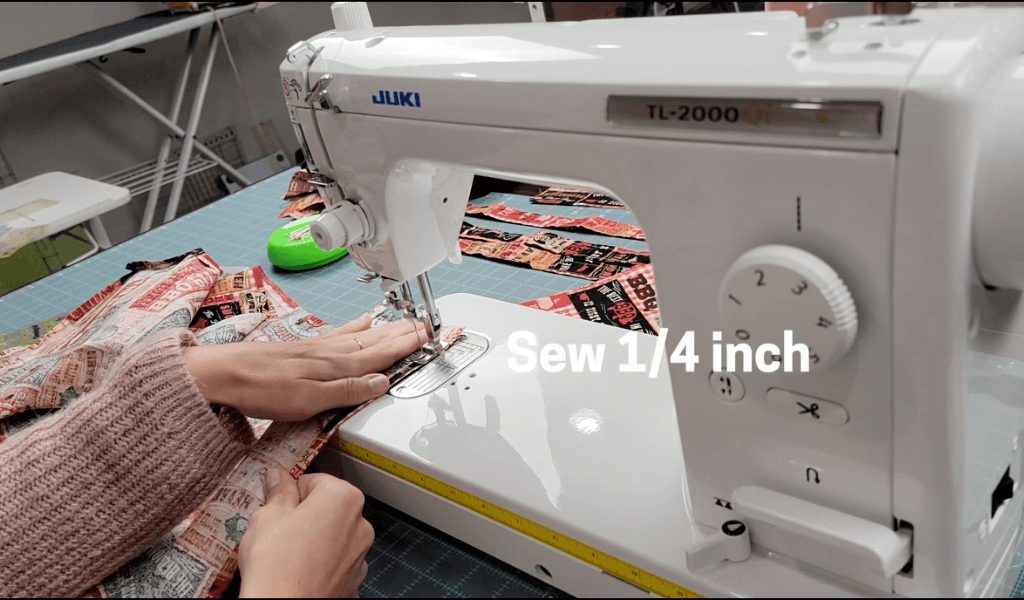
Before we piece together the other two parts of our pockets, we need to finish off the bottom of our grilling apron! We will take our fabric and fold in the two sides and very bottom edges 1/4 inch, press, and fold again 3/8 inch and fold (just like we did for the top part of our apron).
We will then sew 1/4 inch along the sides that we just pressed!
MAKING THE BOTTOM POCKETS (part 2 + carabiner)
To attach the other two pieces of fabric for our pockets, we will repeat the same steps that we did for the other two, but on the top part of the apron! Mark 6 inches in at the "top" of the fabric (the unsewn side - not the bottom portion like the other fabric we worked on), and pin the pockets into place. Make sure that you check your pockets before sewing - fold them down to see where your pattern lays when it will be completed so that you don't accidentally sew it upside down.
We also need to add the carabiner strap! You'll fold this in half and pin it one inch from the right pocket (or when you're wearing the apron, the left pocket).
Sew the pockets and carabiner strap with a 1/2-inch seam and repeat the same steps we completed for the top part of our apron - fold down the pockets and press!
ATTACHING THE TOP AND BOTTOM OF THE GRILLING APRON
It's time to attach the top and bottom of our apron!
Lay down the top part of the apron with its pretty side facing up. Place the bottom of the apron over the top with its pretty side facing down. (In other words: lay both pieces together "pretty side to pretty side").
The IMPORTANT PART: line up the ends of the pockets together as best as you can! If you notice that your measurements are off, you can trim the longer pieces a bit so that they match up more and ensure that you don't accidentally miss parts while sewing (like I did, haha). You'll want to pin these together after matching them up and then head back to the sewing machine.

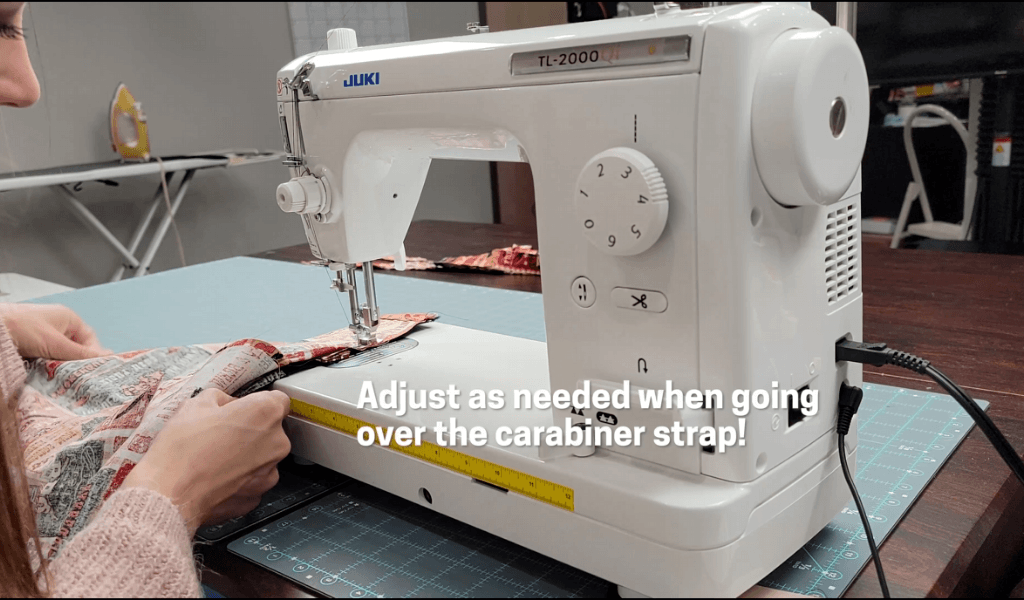
When we sew these together, our sewing measurements will change slightly here and there! You'll start with the side of your apron with a 1/2 inch, sewing towards your first pocket. Once you reach the pocket, you'll change to sewing a 1/4-inch seam. When you've completed a pocket and are sewing the main part of the apron body (top) and bottom together, you'll switch back to a 1/2 inch.
TIP: you'll be sewing over your carabiner strap as well! Because of the bulk, your fabric may shift. Take this part slowly and make sure to stop and check your fabric here and there to keep everything aligned.
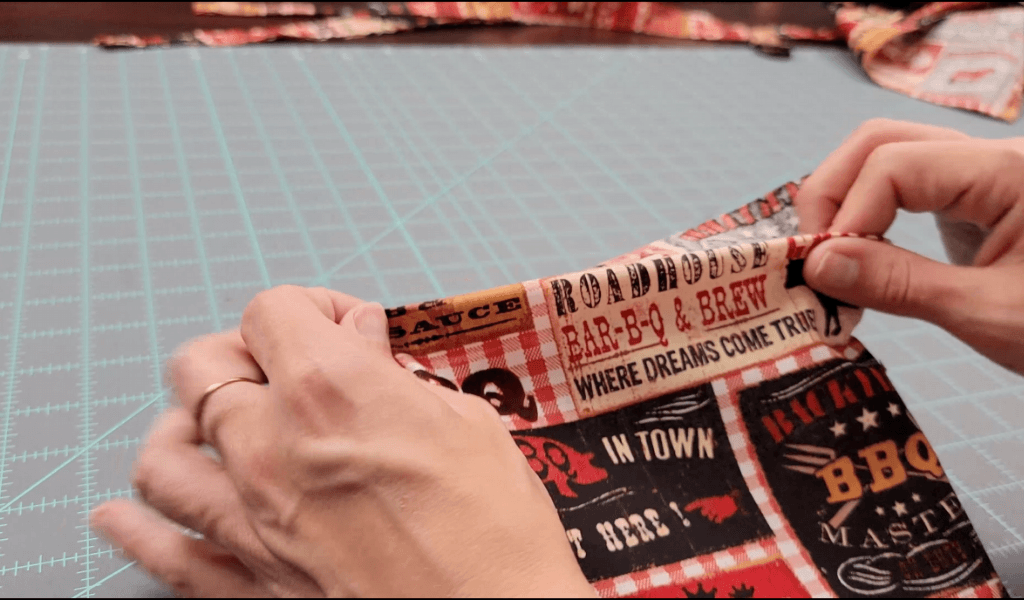
When you're finished, you'll want to trim some of the excess fabric around the seams to eliminate any bulk that might occur when we turn our pockets right side out. Make sure not to cut the actual seam!
FINISHING THE APRON BODY
The Abbey Lane Quilts Sloppy Joe's Grilling Apron pattern tells us to finish off our apron with a zigzag stitch along around the pockets and where the top and bottom meet, but I just did a topstitch along the top/bottom connecting area.
SEW TOP POCKET
We now have to add our last pocket to the top of our apron body!!
You'll place the two top pocket pieces together pretty side to pretty side and sew 1/4 inch along 3 out of the 4 sides (the two sides and the bottom, leaving the top untouched)

Next, cut the corners to remove the bulk when we turn them right-side out (avoiding the seams). Then, take the front piece of the top of your pocket and fold it inwards about 1/2 inch. Press it and sew two stitches - 1/8 inch and 1/4 inch.
You'll bring your sewn pocket back to your apron top and center it as best you can, measuring about 3.5 inches down from the top. Pin it in place.

Fold in the top part of the pocket that will attach to the apron itself and sew along all 4 edges (making sure to not sew it closed) 1/8 of an inch all the way around.
ATTACHING SIDE TIES, NECK TIES, AND D-RING STRAP
It's our very last step!! It's time to sew all of our ties and straps to our grilling apron to officially make it functional for us (or the man in your life) to wear!
Pin your two straps an inch from the waist part of your apron and sew a full square, finishing off with an "X". You'll do this by turning your apron at each square corner and then sewing diagonally from a corner to create an "X". See image below for an example.

You'll do the same for the neck tie and d-ring strap from the very top of your grilling apron top!
After you complete this, you can loop your strap through the d-rings to adjust the height!

CONCLUSION
Congratulations - you just sewed together a grilling apron top!! I hope that following along the Abbey Lane Quilts pattern as well as my written and/or video tutorial was helpful. I would love to know in the comments how it went for you if you end up completing it!


