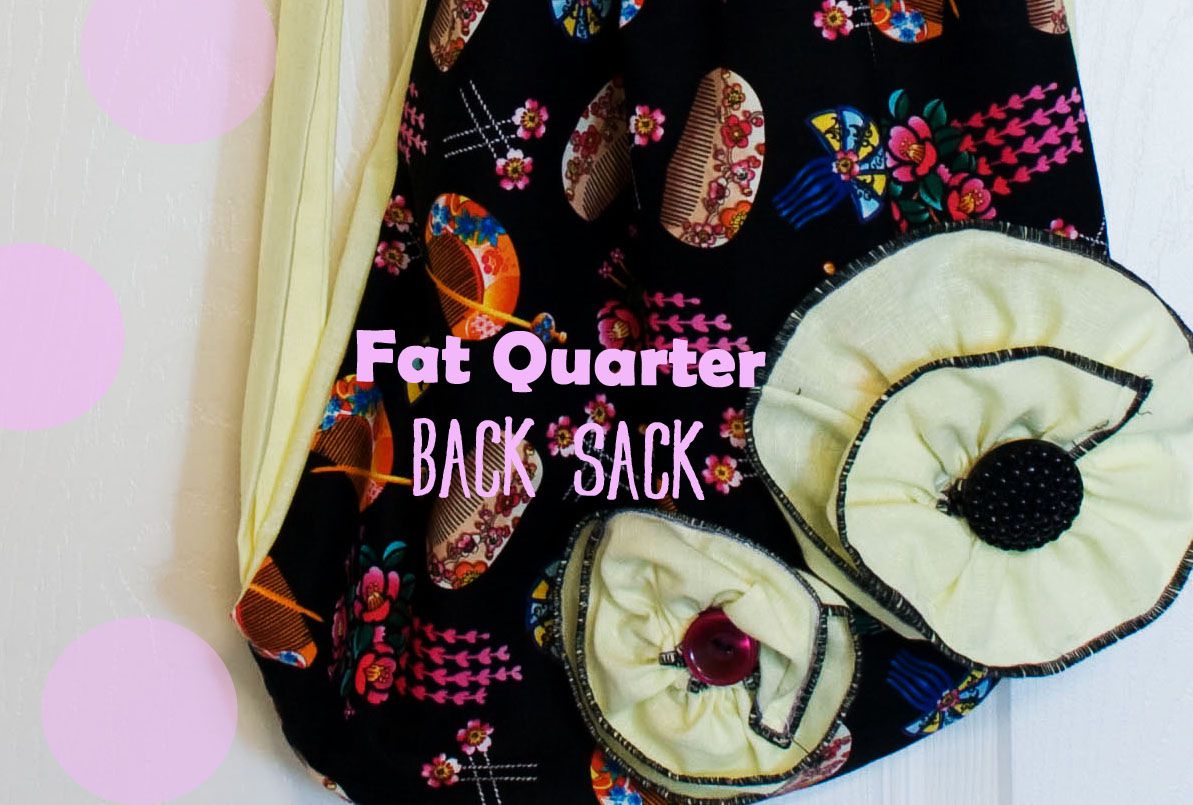
Can we ever really have too many bags? Well, maybe, but not until we have one for every occasion and season! We all love purses, but carrying them around can get annoying, especially if you're trying to chase down a two year old. Or keep him from removing every spool of ribbon from the rack. These are the times when having a hands free alternative is essential. These are the times when we need a back sack. Just something simple - grab and go - back sack. I use mine to carry around diapers, wipes, and a changing pad. It's exactly what I needed to get through a trip to the store, stroller rides, or church. They are simple to make (two rectangles and straps) and fun to jazz up with funky prints, appliqués, embroidery, quilting, or pockets. The design is so simple, you can get away with adding a bunch of embellishment (yes!).

Want to make a matching back sack for your little boy or girl? Simply reduce all the measurements by about a third (more or less depending on your child's height) to fit your little one.
Supplies
Two Fat Quarters (Body of Back Sack)
Two 3 by 56 inch strips (Straps). You can sew smaller strips together to make the one long strip.
One 2 1/2 by 22 inch strip (small flower)
One 3 by 40 inch strip (Large Flower)
Ruffler Foot (Optional, time saver)
Hemmer Foot (Optional, time saver)
Serger (Optional, for a rolled hem)
Step 1 Hemming
Hem all sides of the large rectangles by using a 1/8 hemmer foot.
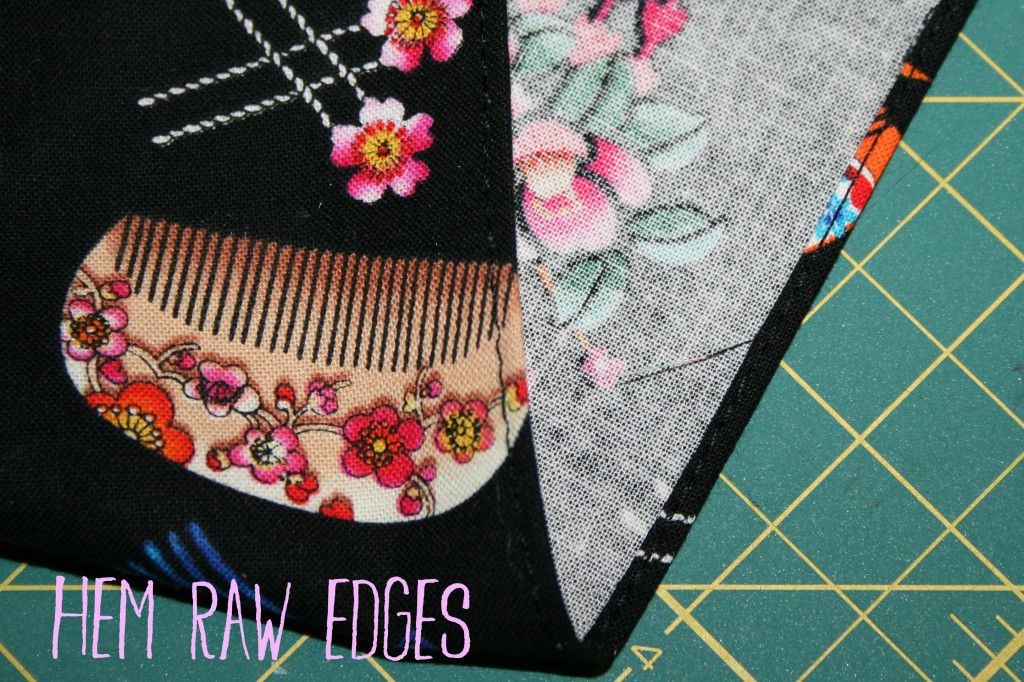
If you don't have a hemmer foot, simply turn the fabric under 1/8 an inch and sew.
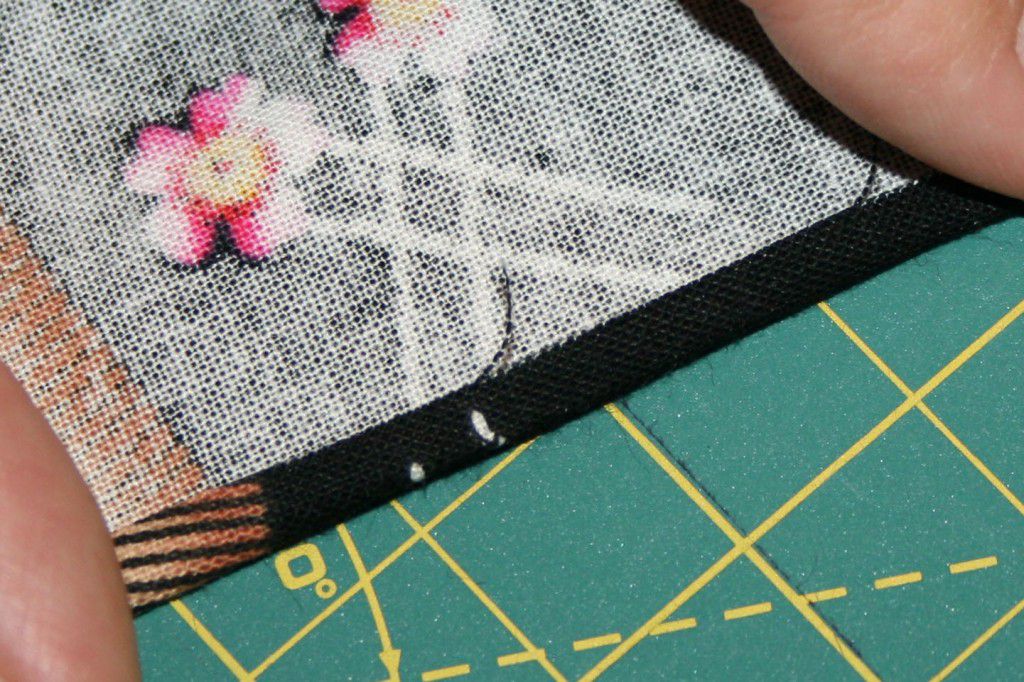
Turn under another 1/8 an inch and sew again.
Step 2 Making the Strap Casing
Turn the top of both rectangles under 1 1/2 inches and sew.
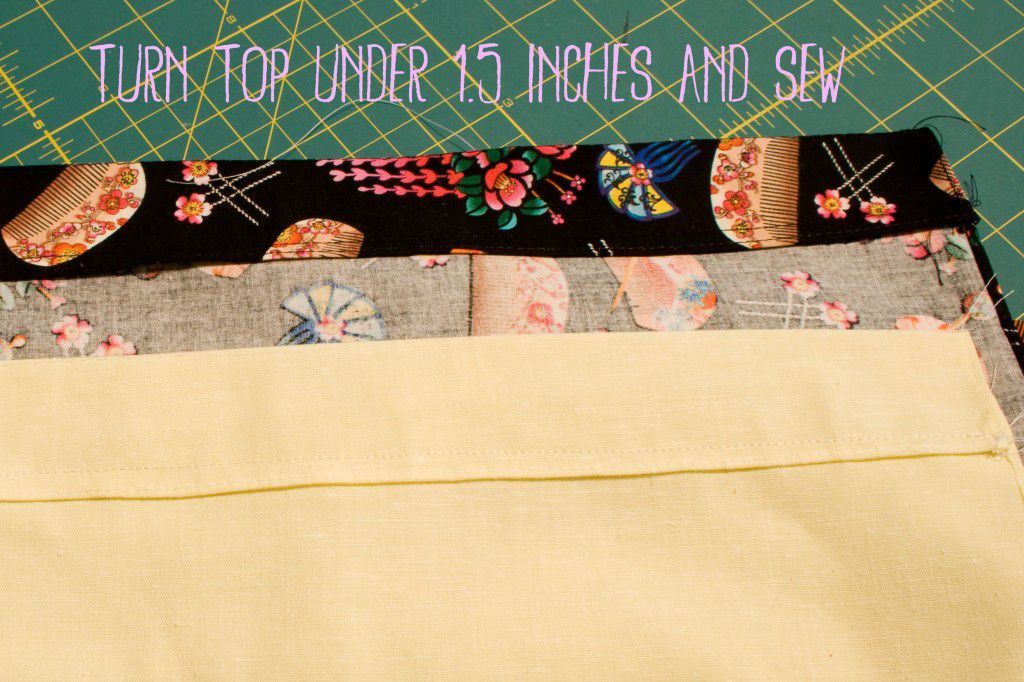
Tip: I like to sew a 1 1/2 inch basting stitch first as a guide for my iron. I find this saves time and creates a more even measurement.
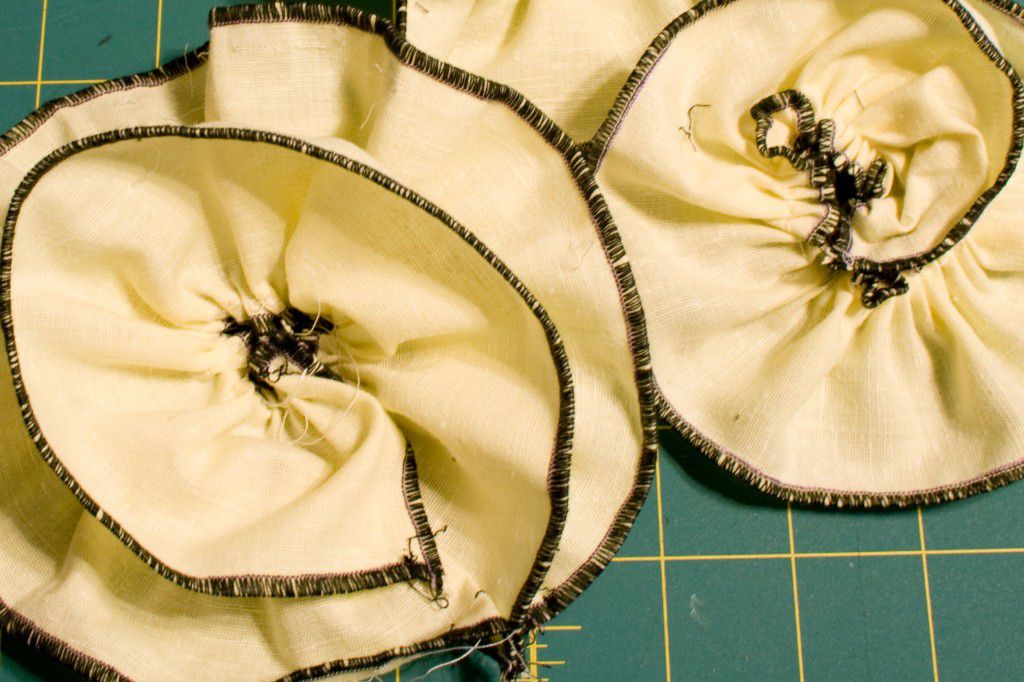
Step 3 Making the Flowers
First, you want to hem both edges of your small and large flower strip. You can either use a serger (narrow rolled hem), a zigzag stitch, hemmer foot, overcast foot, or turn the edges under manually as previously mentioned.

You can either use a Ruffler Foot (Ruffler Foot Setting: 1, Stitch Length 2.5), Gathering Foot, or gather the strips by hand to create the flowers. If you are unsure how to use a Ruffler Foot or Gathering Foot, click the highlighted link for video instructions. You want the gathers to be very tight. Roll the gathered fabric into a flower shape and use matching thread and a hand sewing needle to tack the flower together.
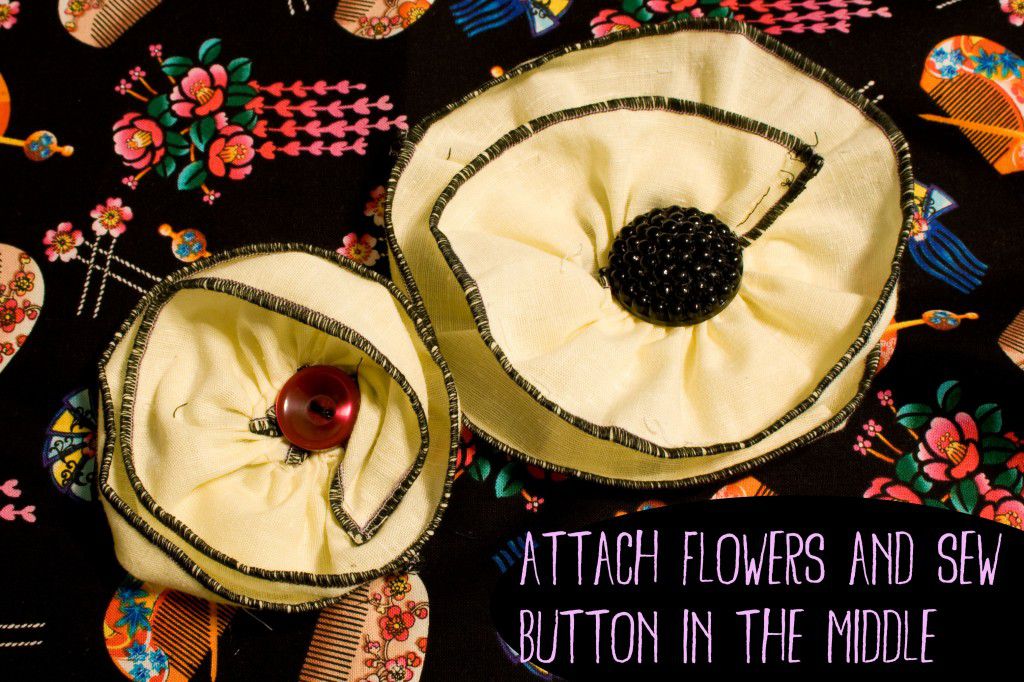
Next, tack the flower onto the large rectangle you intend to be the showing side of your back sack.
Sew your buttons in the center of the flower.
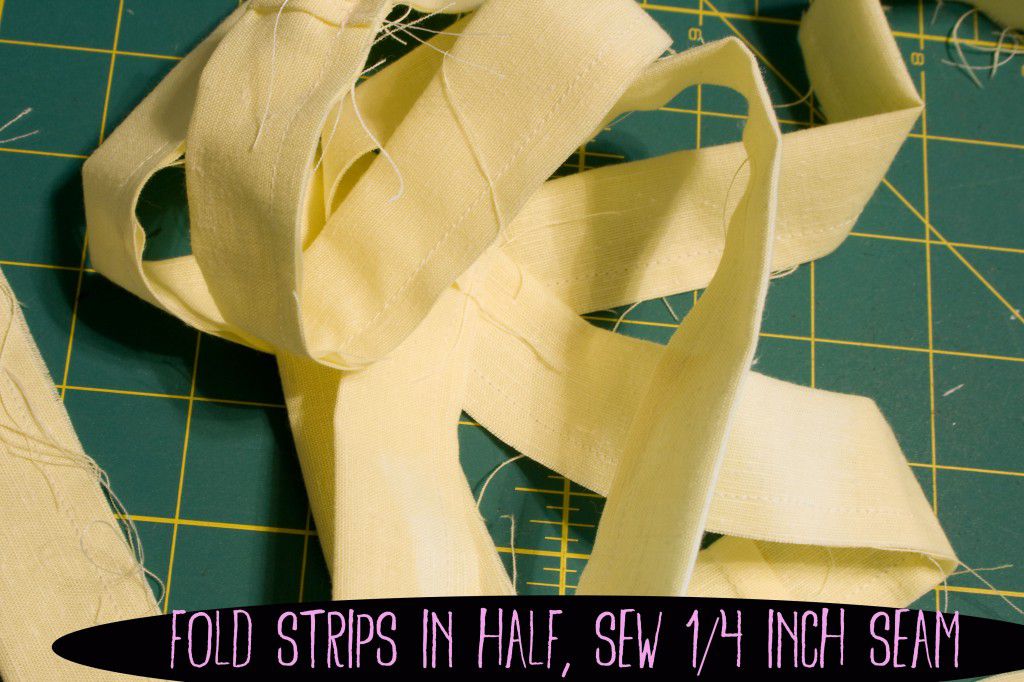
Step 4 Making the Straps
Fold the long strips in half hot dog style, wrong sides together, and sew a 1/4 inch seam.
Using a safety pin, turn right sides out.
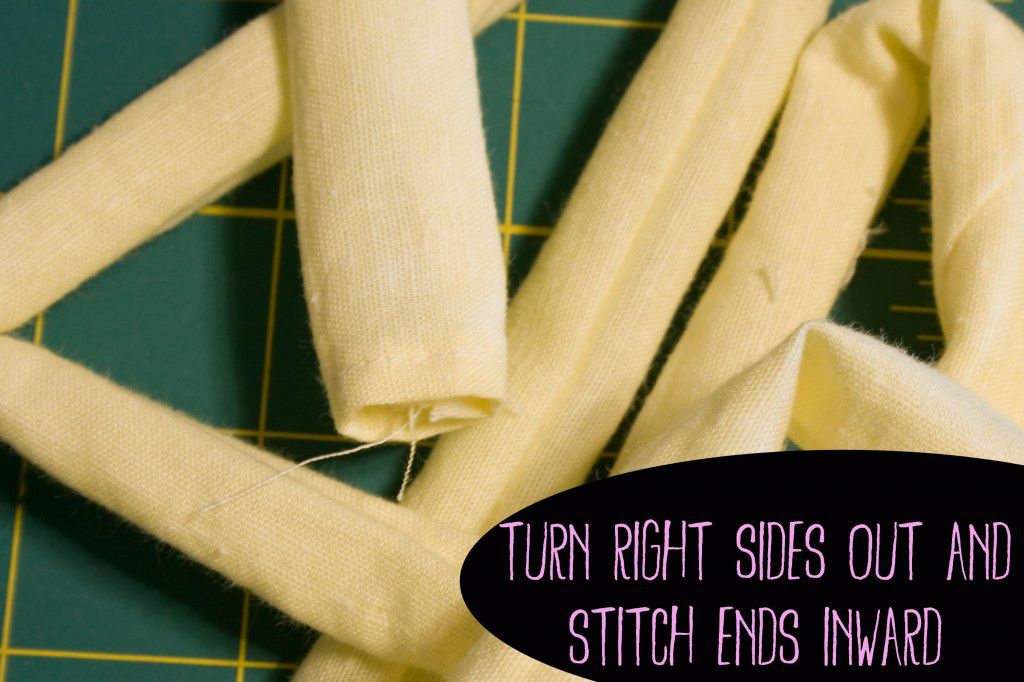
Turn the ends inward and stitch down.
Step 5 Putting it together
Use your safety pin to slip each strap into one of the strap casing at the top of the bag.

With wrong sides together, sew the back sack body pieces together using a 1/2 inch seam.

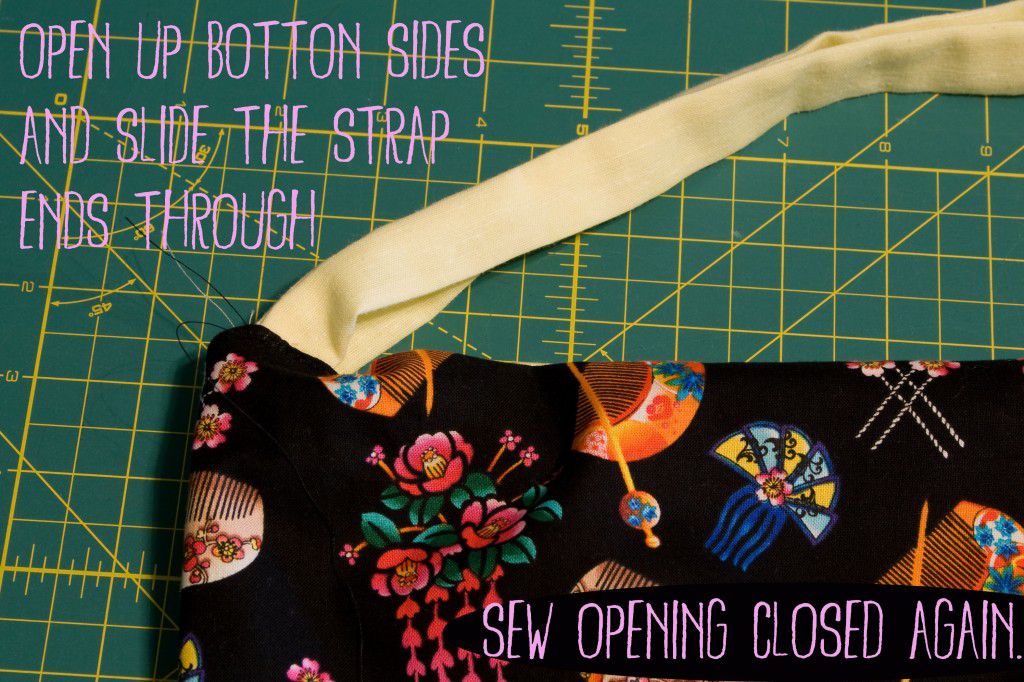
Use your seam ripper to make an opening on the bottom side of your bag large enough to fit the strap ends through. Sew down.
That's all there is to it! What do You use your Back Sack for? Thanks for reading and Happy Sewing!


