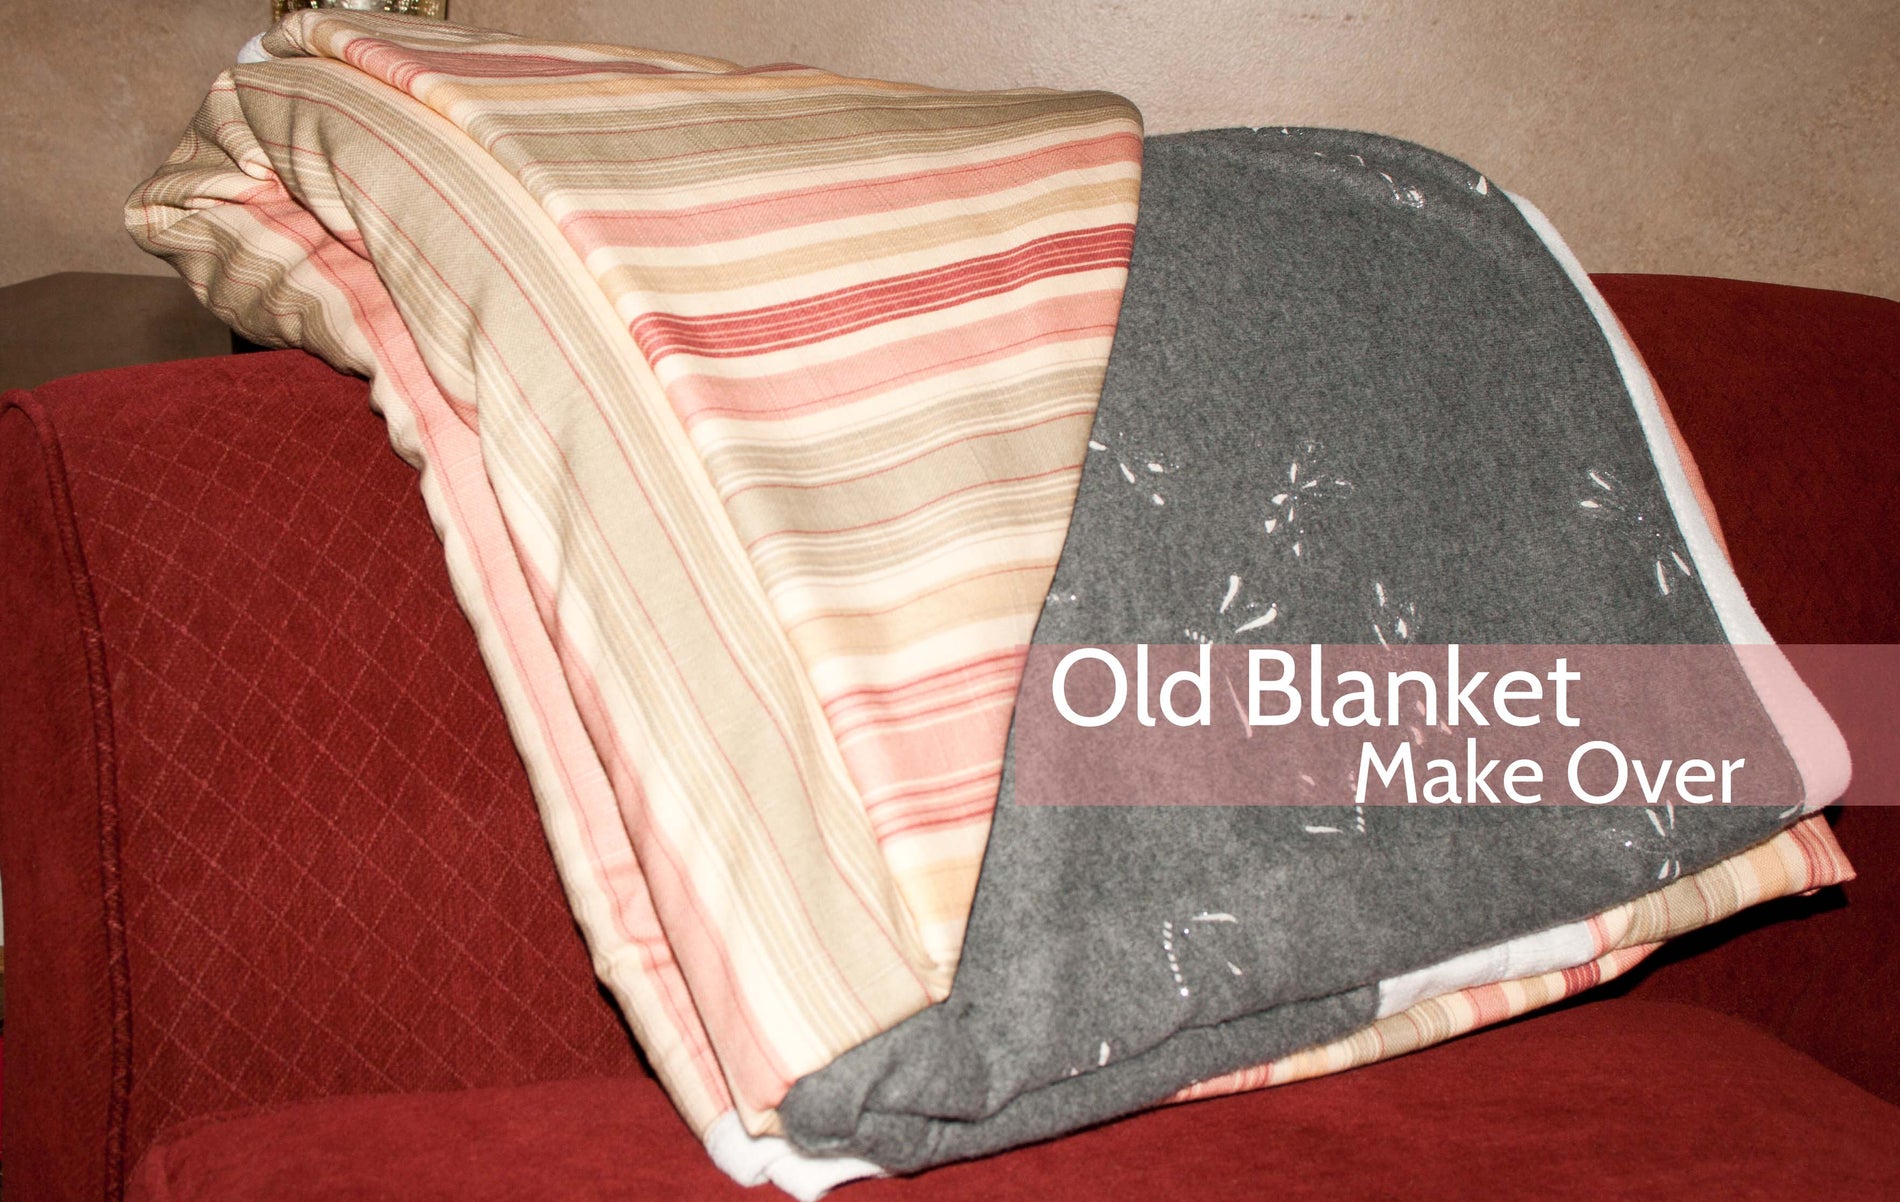
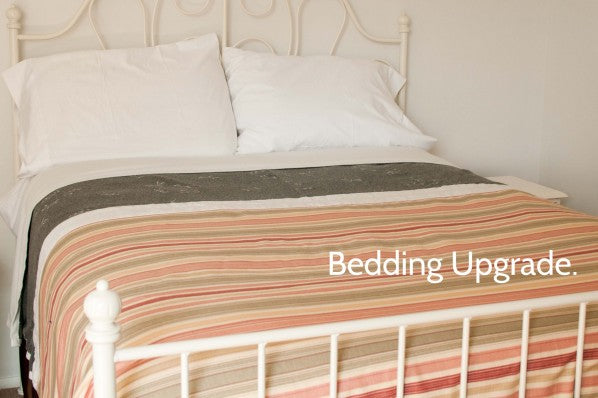
A few months ago, I lucked out big time with some free fabric. A family friend gave me 4 bolts of Waverly fabric! She told me she had planned to make a new bedding set and curtains, but didn't have the time. Score! I've had a white micro fleece blanket for years. Well, It wasn't really 'white' anymore - it was just "blah". What's a girl to do? Add new fabric, of course! With my family friend in mind, I figured my first project with her fabric would be bedding related. I love the stripped print, but I also love to mix print designs and see what happens. I threw in a completely different fabric and print to contrast the Waverly fabric. I encourage everyone to experiment by mixing fabric types and prints - it's a blanket, go nuts!
Supplies
Old Blanket
Enough fabric to cover the top of your blanket
Walking Foot/Straight stitch (highly recommended)
Edge Stitching Foot (highly recommended)
Measure the dimensions of your blanket. Mine was 88 x 88 inches.
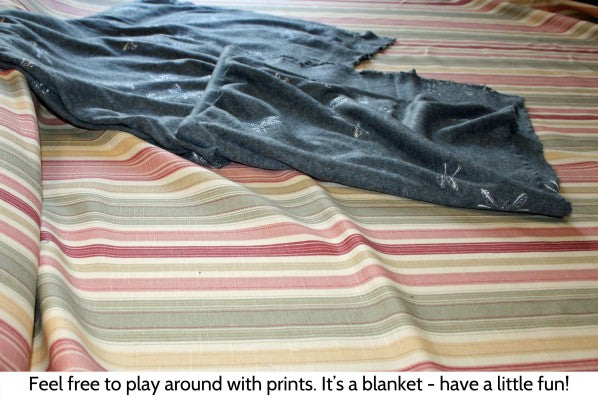
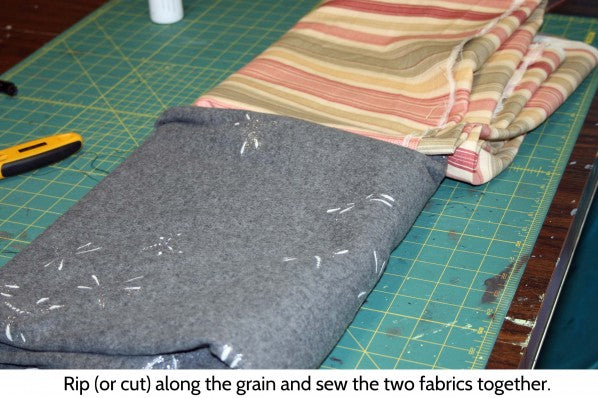
Figure out how you want your blanket top to look. I did about 60 inches of striped Waverly fabric and 30 inches of knit fabric (it has glitter dragonflies - I couldn't say no). I made my blanket top slightly larger than the old blanket, just to be safe.
Then, I added a 5 inch wide strip of white fabric across the striped/knit seam. I felt it really needed something to break up the prints.
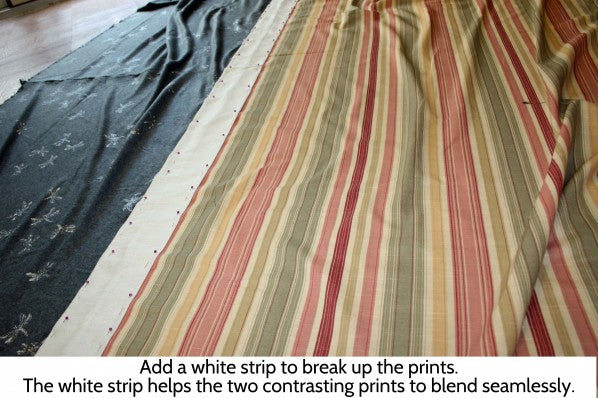
I attached the strip by sewing 3 seams down the middle of the strip.
With wrong sides together, place the top you just sewed on the old blanket.
Flatten out the fabric as much as you can to remove any ripples or folds. You want it to lay flat and be as even as possible. Pin all the edges.
Sew a long basting stitch along all four sides. It's most useful if the basting stitch is sewn about 2 or 3 inches in from the edge.

Trim off any fabric hanging over the edge.
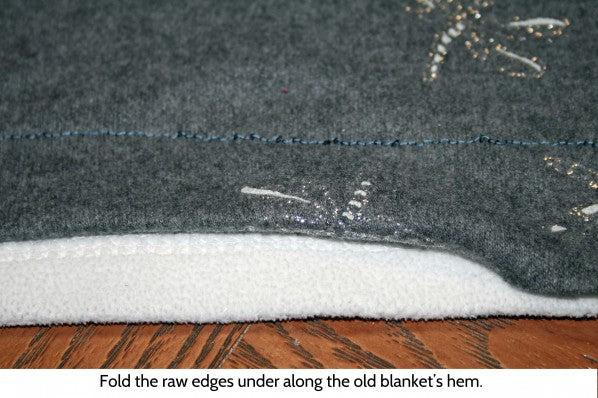
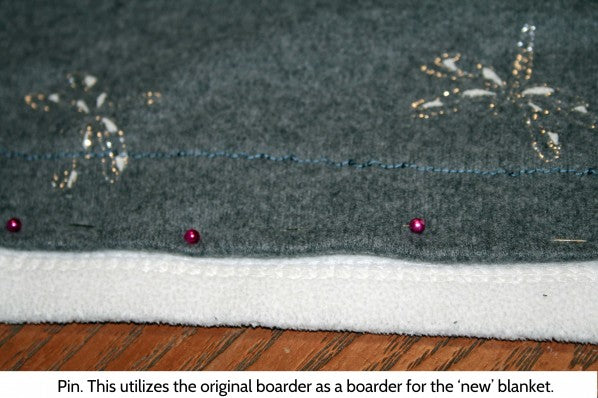
Fold the raw edges under so that they line up with the seam of the old blanket's hem. This may sound a bit confusing. You want the old blanket's 'border' to act as a border for the new top you just sewed.
Using your edge stitching foot, sew a narrow stitch right along the fold.
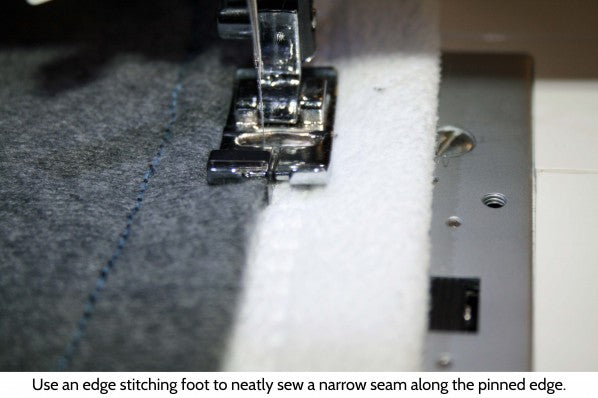
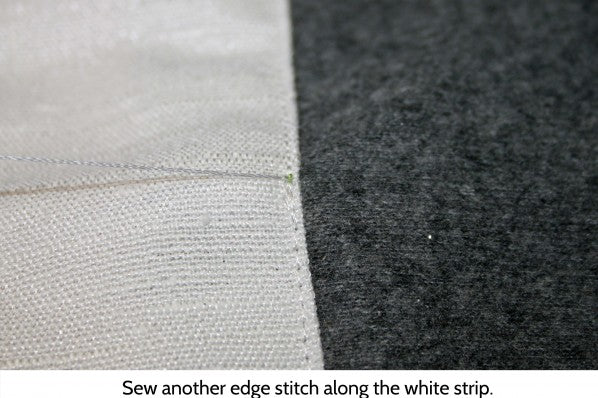
Remember the white strip we sewed earlier? Pin the edges of that down. Sew a narrow seam along the edge of the white strip. This is where you walking foot especially comes in handy.
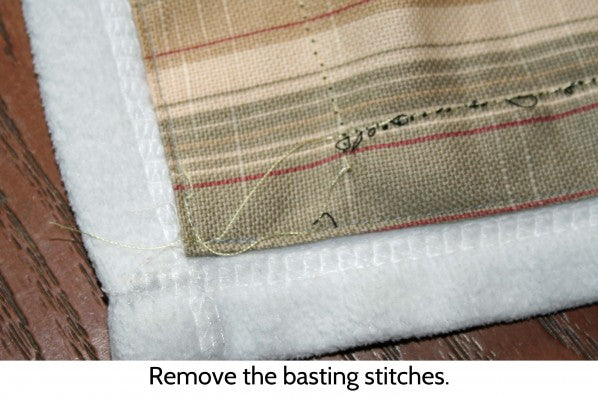
Remove the basting stitches and admire your fabulous new comforter!