
Making piping for a project can be really fun. Using a welting foot makes the job easy!
What Does A Welting Foot Look Like?
A welting foot is used to make piping. Because of this, another name for a welting foot is a piping foot. There are many different types of welting feet. There are snap on options and screw on options. There are also single welting feet and double welting feet.

In addition to different ways to attach the welting foot to your machine, you can also get a variety of sizes. For domestic machines, the most common sizes available are 1/8", 3/16", and 1/4".
When using a welting foot, it is recommended to use the same size cording as your foot. This will give you a nice tight fit and it will encase the entire piping. Now, if you are using a heavy fabric, you will have to increase the welting foot size by one size in order to accommodate the thickness of the fabric. If you do not do this, it will not encase the entire piping. If you are unsure of the size of your welting foot, simply turn it over. The distance across the channel is the size of your welting foot.

Cutting Fabric Strips to Make Piping
When cutting strips to make piping, I like to use a fat quarter. I find that they are very convenient to work with. Lay your fat quarter right side up. Grab the bottom right corner and bring it up to the top left of the fabric. Make sure the top is nice and even. You should have formed a triangle and have a little extra fabric on the left side in the shape of a rectangle.

Cut off the rectangle. You can save that for a different project. The folded edge of your triangle is considered the bias edge. Cut the bias edge.

Now bring the top right corner of the triangle to the bottom left corner, making sure to keep an eye on the bias edge.

After you have matched that up, carefully rotate your triangle until the bias edge is vertical and the bias edge is on the left. Take a rotary cutter and ruler and clean up the left side. Then cut 2-inch strips all the way across.

Attaching The Strips
Now that you have cut your strips, you need to attach them together. Lay your first piece, right side up. Lay your next piece perpendicular with the first piece, right side down, forming a 90-degree angle.

I always like to double check, when the fabric is opened up, it will form a straight piece of fabric. Once you know that you have positioned the fabric correctly, make sure that 1/4" of fabric overhangs on each side. This will accommodate the seam allowance. Pin or use Wonder Clips to secure the fabric. Sew 1/4" seam allowance.

Open up the seam and press. Trim off any extra fabric. Continue doing this until your strip is as long as you need it. Now you can use cording and your prepared fabric to make your piping.
Sewing Piping
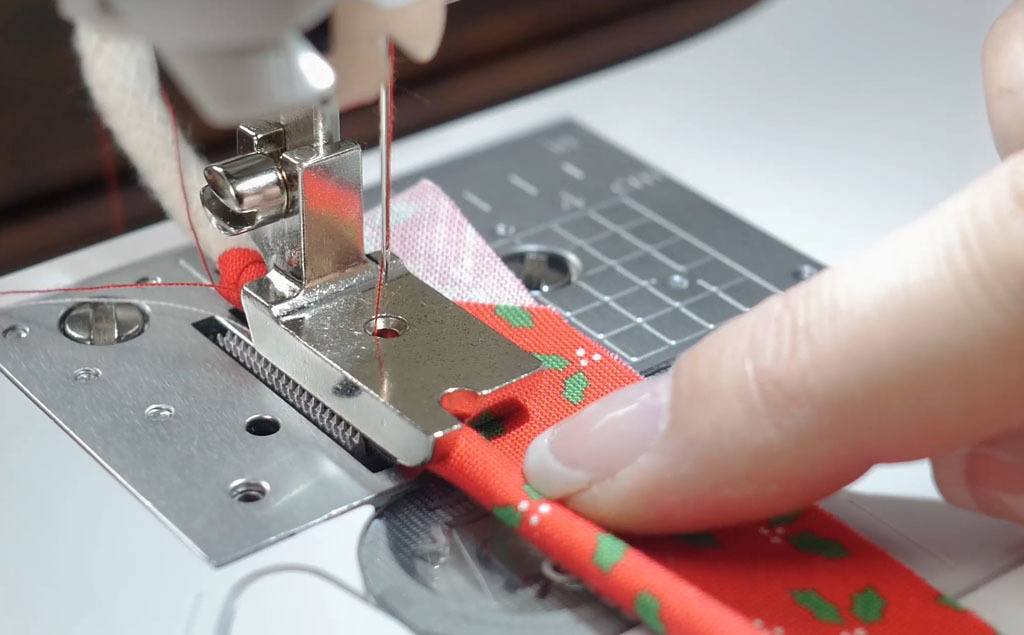
Next, lay your piping in the fabric. Fold the fabric over the piping. Secure it in place either using pins or Wonder Clips.

Bring your prepared piping to the sewing machine. Place your piping in the channel of the foot. Make sure that your sewing machine needle will not hit the foot. Sew just on the edge of the piping.
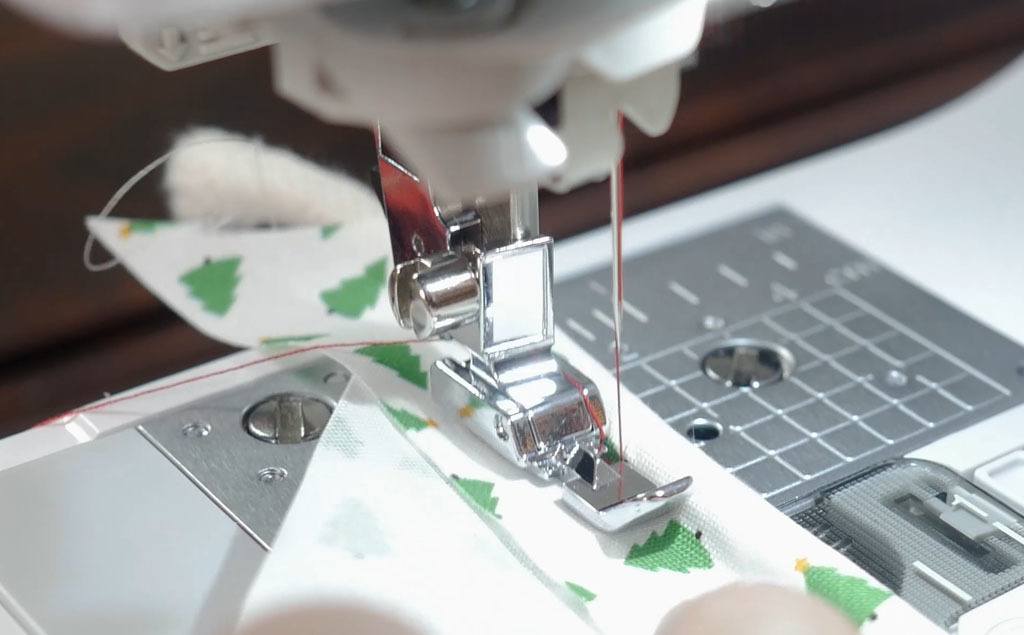
You Can Also Use a Zipper Foot
You can also use a narrow zipper foot or an adjustable zipper foot to create piping. Install the foot. Move your needle position closest to the piping. Make sure that the needle will not hit the foot.
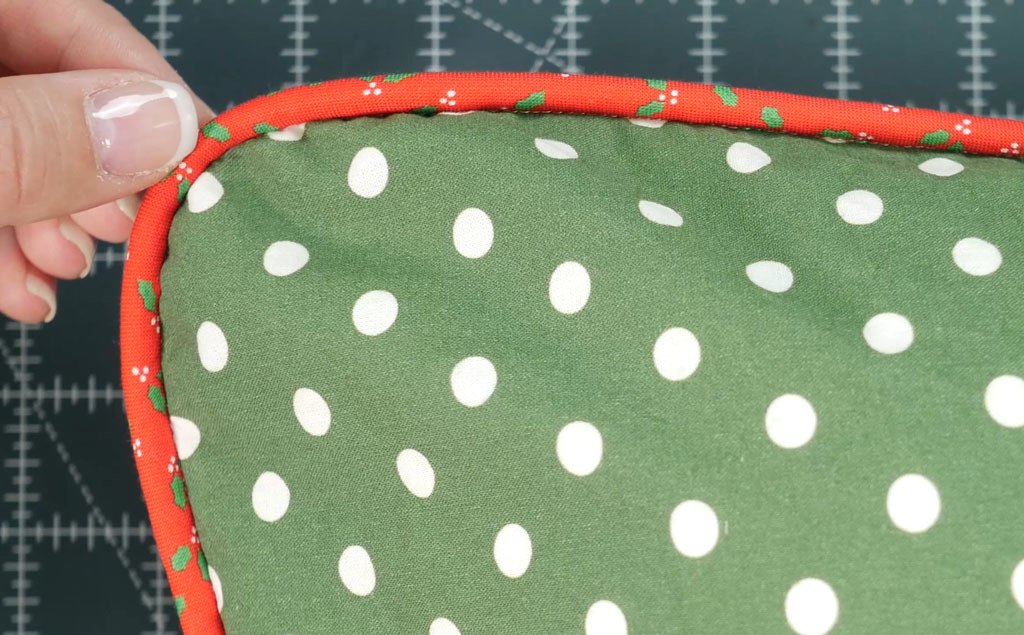
After you have created your piping, you can use it to insert it in pillows or upholstery!
Until next time, Happy Sewing, Everybody!


