Threading a Juki MCS 1500 Coverstitch Machine can appear intimidating if you've never done it before, but I want to assure you that it is not difficult. Although it is not difficult, a threading process still needs to be followed for your coverstitch machine to work properly. In this video, I walk you through it, step by step. You will be using your machine in no time!
What You Need
You only need a few things to thread your coverstitch machine. Long, bent tweezers, although not mandatory, makes it much easier to thread your machine. There are small, intricate parts, especially thread guides, to a coverstitch machine. The bent end of the tweezers helps you easily manipulate the thread into the correct areas.
I also like to grab thread snips or small pair of scissors.
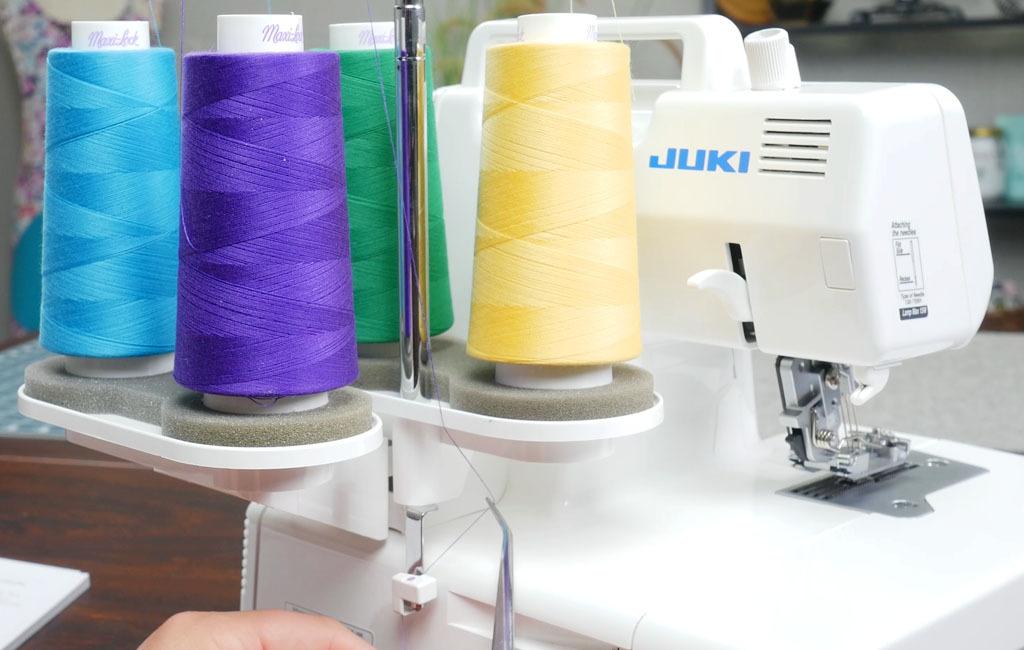
You will also need serger thread. Depending on the stitch you wish to achieve, you will need up to 4 spools of thread. We have a variety of brands available. Need thread, check out this link. Although every stitch selection does not take all 4 spools of thread, in the video above and for this blog, I am going to show you how to thread your machine for a 4 Thread Cover Stitch. This will allow you to see the threading paths for the looper, as well as for all of the needles.
Shut off your machine and lift your presser foot.
The MCS-1500 Juki coverstitch machine has wonderful colorful dots that you can follow to easily thread this machine.
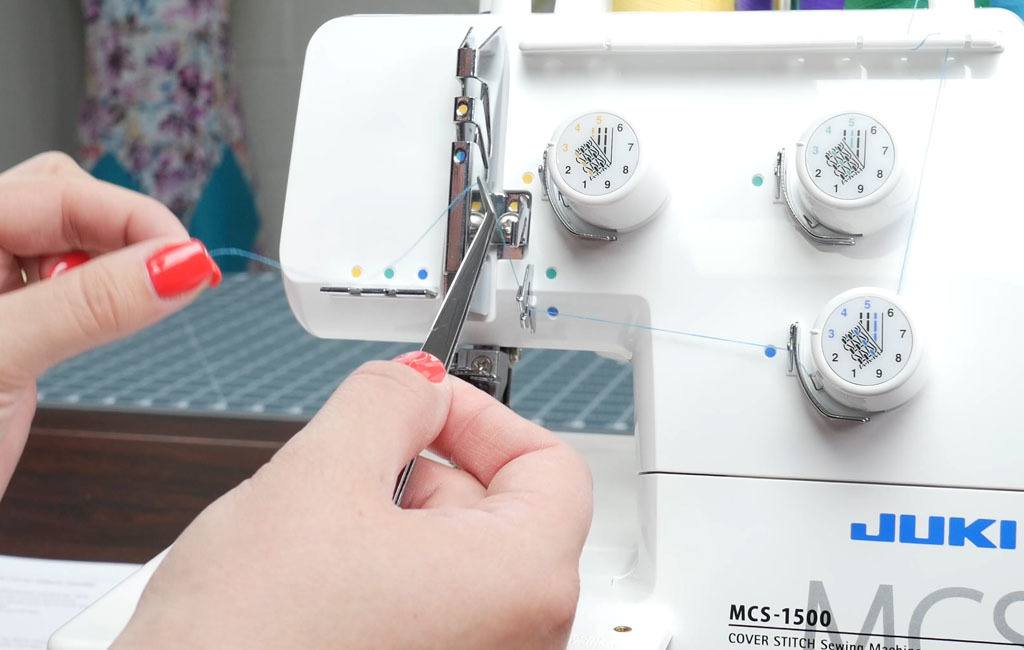
Purple: Coverstitch Looper
Blue: Right Cover Stitch Needle
Green: Center Cover Stitch Needle
Yellow: Left Cover Stitch Needle
Juki MCS 1500: Threading the Coverstitch Looper
The looper needs to be threaded before the needles. If at any point, your looper thread breaks, you will need to cut the needle threads and rethread your machine. I apologize in advance; you are about to read 'thread guide' many times!
Follow the purple dots:
- Place the spool of thread on the spool holder. The spool of thread for the looper needs to be placed on the back, left spot on the thread stand.
- Bring your thread up from the spool and place it in the spool stand thread guide that has purple on it. Lay the thread from the back to the front.
- Behind the machine, there are two thread guides. Bring the thread straight down and feed it through the first thread guide.
- Bring the thread over to the second thread guide. Your bent tweezers are very helpful here.
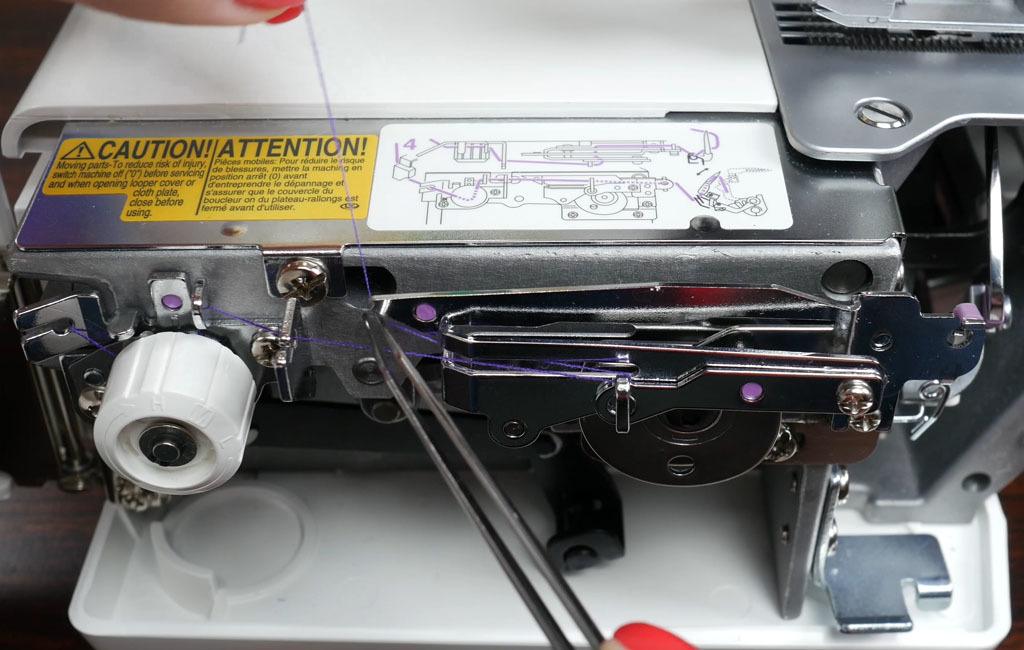
- Lay the thread to the side and open your machine.
- Next, place the thread in the first guide on the far left.
- Bring your thread from left to right, around the tension.
- For the next step, you will need to place the thread in the first thread guide, from left to right.
- Follow the next thread guide, again laying the thread from left to right.
- You will see a center thread guide. Bring the thread under the thread guide and bring the thread back to the left.
- Place the thread behind the next thread guide, laying it horizontal. The last thread guide for this section is located to the far right. Make sure you have a few extra inches of thread.
- Let it hang while you do the next part.
- Bring your needle/s to the lowest position by turning your handwheel towards you.
You're at the looper!
- Thread the little spiral thread guide from the bottom to the top.
- Push the looper auto threader up (the little white button) and, simultaneously, pull down the looper.
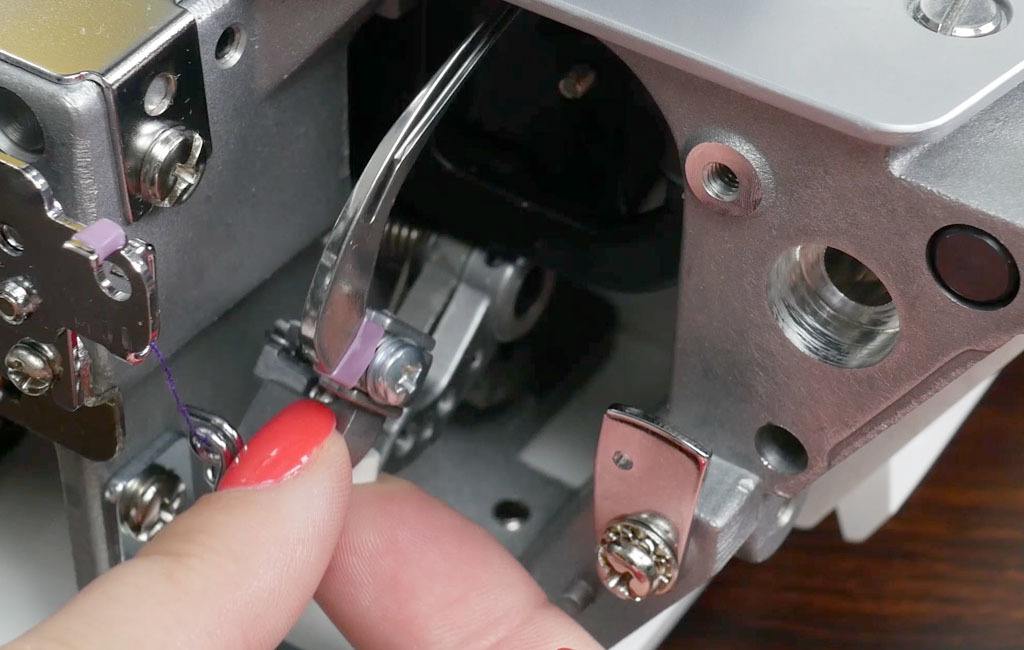
- Next thread the bottom looper eye, from back to front.
- Thread the top looper eye, from front to back.
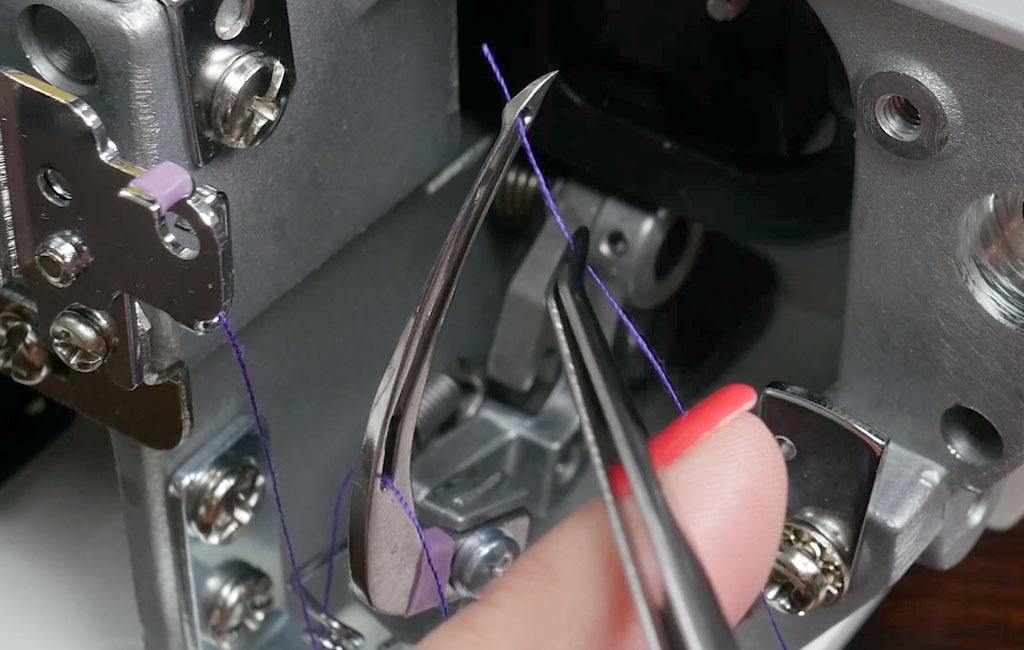
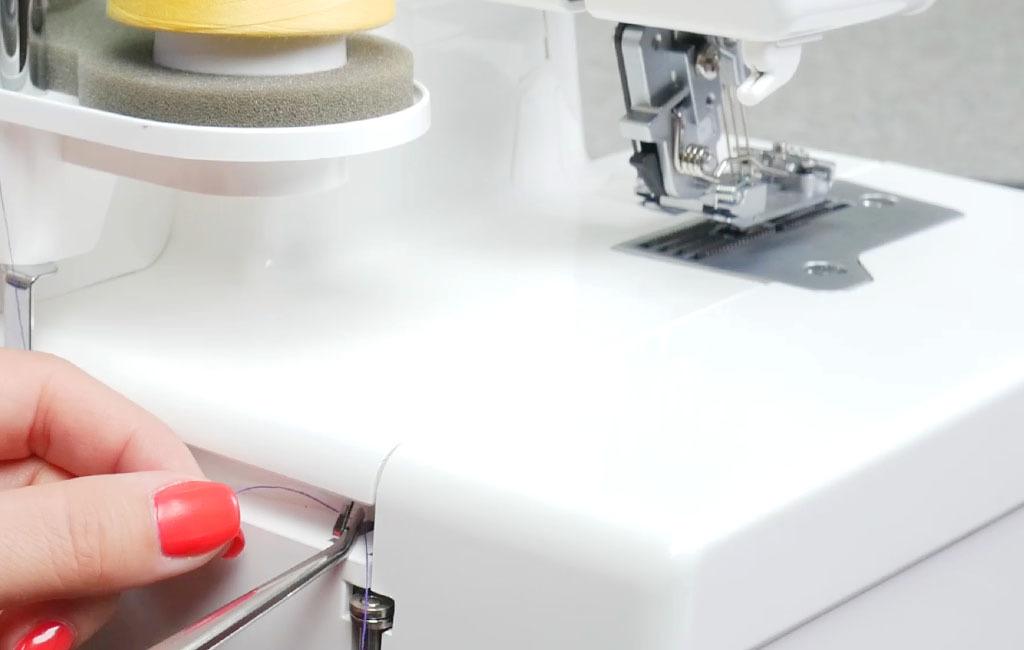
- Cut the thread, leaving about 4 inches.
- Tuck the thread into the machine.
- Carefully, push the looper up.
- Raise the needle to the highest position and close the door.
- Your looper is threaded.
Juki MCS 1500: Threading the Right Coverstitch Needle
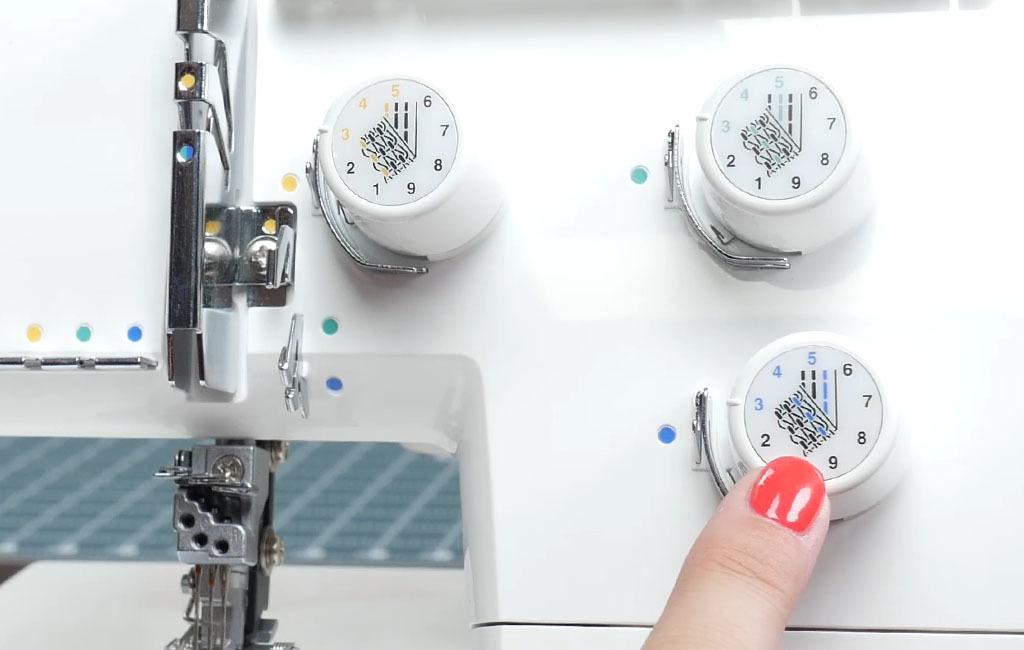
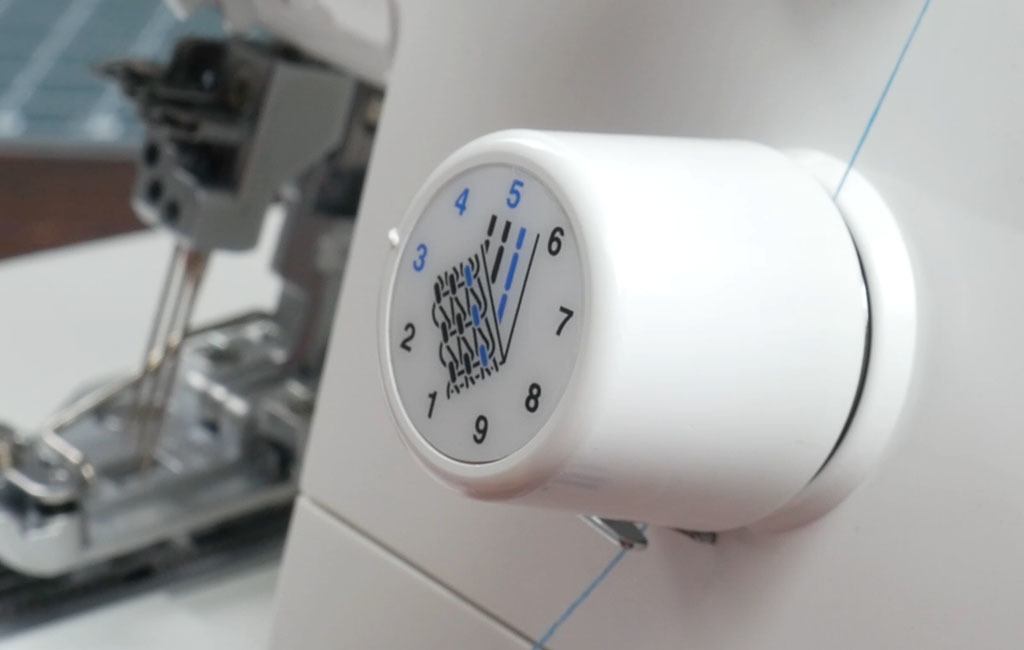
Next, we are going to thread the right coverstitch needle. Take a look at the tension dials. They have great pictures that clearly show you which needle you are threading. The blue shows to the far right, the green shows the center, and the yellow shows the left.
Follow the blue dots:
- Place the spool of thread on the spool holder. The spool of thread for the right needle needs to be placed on the back, right spot on the thread stand.
- Bring your thread up from the spool and place it in the spool stand thread guide that has blue on it. Lay the thread from the back to the front.
- At the thread guide bar, place the thread in the blue left hole, bring it around, and place it in the blue right hole.
- Bring the thread around the blue tension dial, from right to left.
- Below the tension, there is a metal guide. Make sure the thread is in between that metal guide.
- Pull the thread straight up, ensuring that the thread connects with the check spring.
- Next, lay the thread to the left and it will be placed right in the groove.

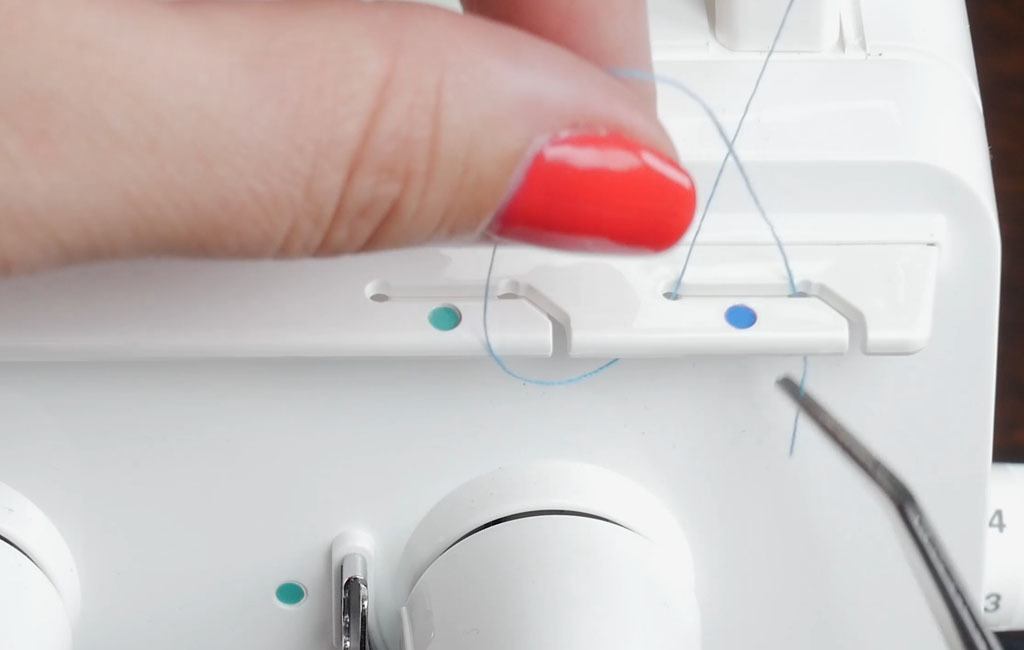
- Follow the blue dots to the thread guide. This thread guide is shared with the center needle thread. Make sure that the blue right cover stitch needle thread is placed in the bottom hole of the thread guide.

- Next, place the thread in the take-up thread guide.
- Pull the thread down to the thread guide located at the left of the machine.
- Now for the needle clamp thread guide. There are 3 protrusions. For the right coverstitch needle, place the thread to the right side of the 3rd protrusion. Pull lightly to the left and the thread will pop right in.
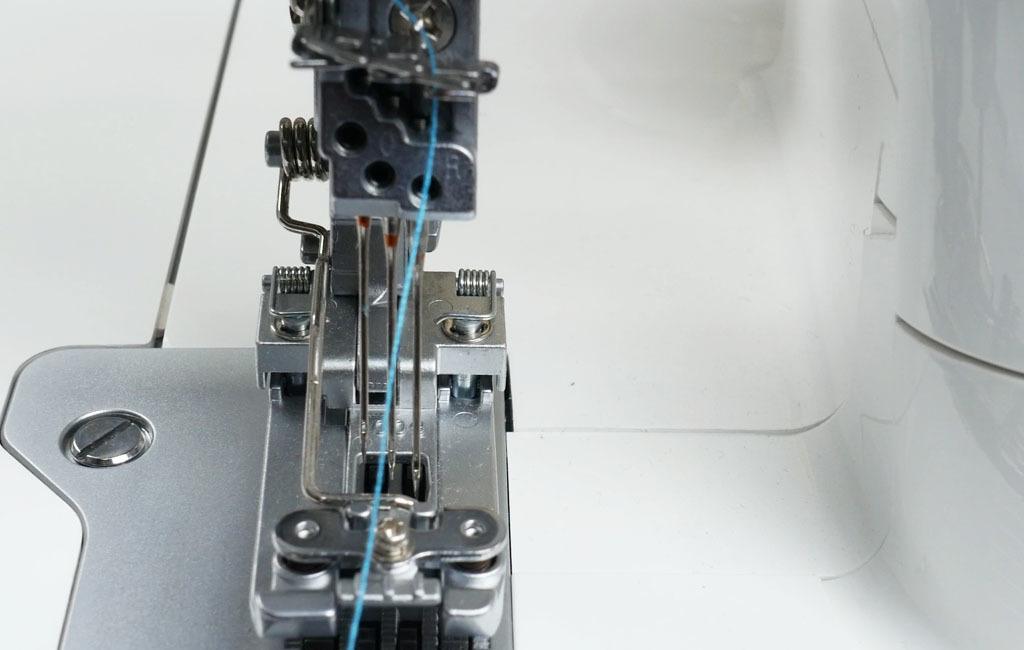
- Snip your thread to clean up the end; this makes it easier to thread.
- Thread the right needle from front to back. Leave approximately 3 inches of thread.
Juki MCS 1500: Threading the Center Coverstitch Needle
Now, let's thread the center cover stitch needle.
Follow the green dots
- Place the spool of thread on the spool holder. The spool of thread for the center needle needs to be placed on the front, right spot on the thread stand.
- Bring your thread up from the spool and place it in the spool stand thread guide that has green on it. Lay the thread from the back to the front.
- At the thread guide bar, place the thread in the green left hole, bring it around, and place it in the green right hole
- Bring the thread around the green tension dial from right to left.
- There is a metal guide. Make sure the thread is in between.
- Pull the thread straight up, ensuring that the thread connects with the check spring.
- Next, lay the thread to the left and it will be placed right in the groove.
- Follow the green dots to the thread guide. This thread guide is shared with the blue right needle thread. Make sure that the green center cover stitch needle thread is placed in the top hole of the thread guide.
- Next, place the thread in the take-up thread guide. This, too, is shared with the right needle thread.

- Pull the thread down to the thread guide located at the left of the machine.
- Now for the needle clamp thread guide. There are 3 protrusions. For the green center coverstitch needle, place the thread to the right side of the 2nd protrusion. Pull lightly to the left and the thread will pop right in.

- Snip your thread to clean up the end; this makes it easier to thread.
- Thread the center needle from front to back. Leave approximately 3 inches of thread.
Juki MCS 1500: Threading the Left Coverstitch Needle
Lastly, let's thread the yellow left cover stitch needle.
Follow the yellow dots:
- Place the spool of thread on the spool holder. The spool of thread for the left needle needs to be placed on the front, left spot on the thread stand.
- Bring your thread up from the spool and place it in the spool stand thread guide that has yellow on it. Lay the thread from the back to the front.
- At the thread guide bar, place the thread in the yellow left hole, bring it around, and place it in the yellow right hole.
- Bring the thread around the yellow tension dial from right to left.
- There is a metal guide. Make sure the thread is in between.
- Pull the thread straight up, ensuring that the thread connects with the check spring.
- Lay the thread to the left. It will be placed right in the groove.
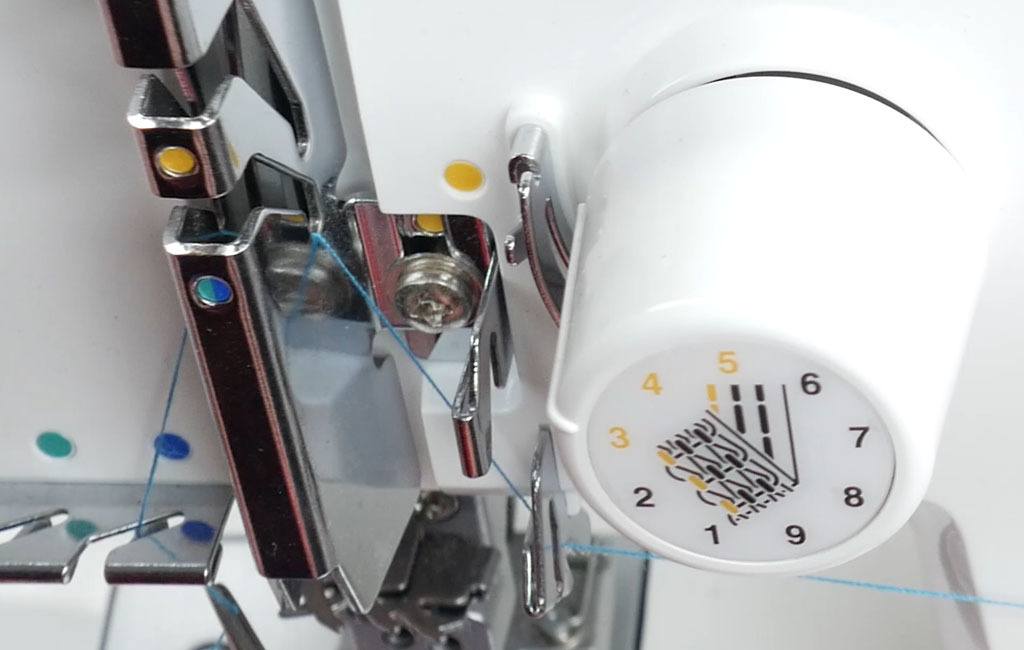
- Follow the yellow dots to the next thread guide.
Although I mention following the dot to the next thread guide, in the picture below, I neglected to put the left coverstitch thread in the next thread guide after the tension. You don't want to do that. ;) I have placed a black arrow by the thread guide that should be used before moving to the take-up thread guide.
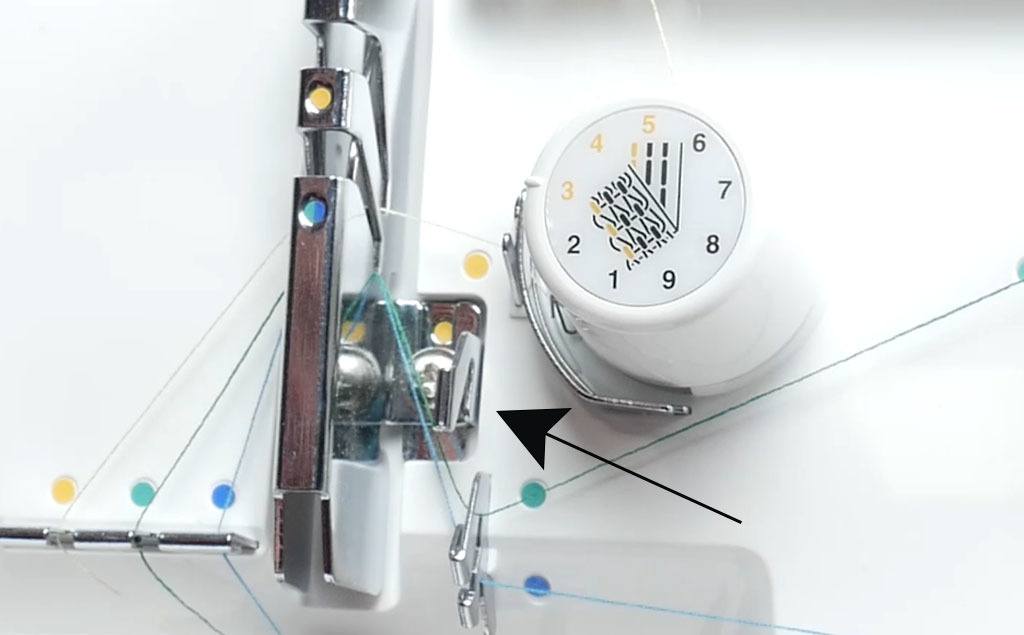
- Next, place the thread in the take-up thread guide. This one is not shared.
- Pull the thread down to the thread guide located at the left of the machine.
- Now for the needle clamp thread guide. There are 3 protrusions. For the left coverstitch needle, place the thread to the right side of the 1st protrusion. Pull lightly to the left and the thread will pop right in.
- Snip your thread to clean up the end; this makes it easier to thread.
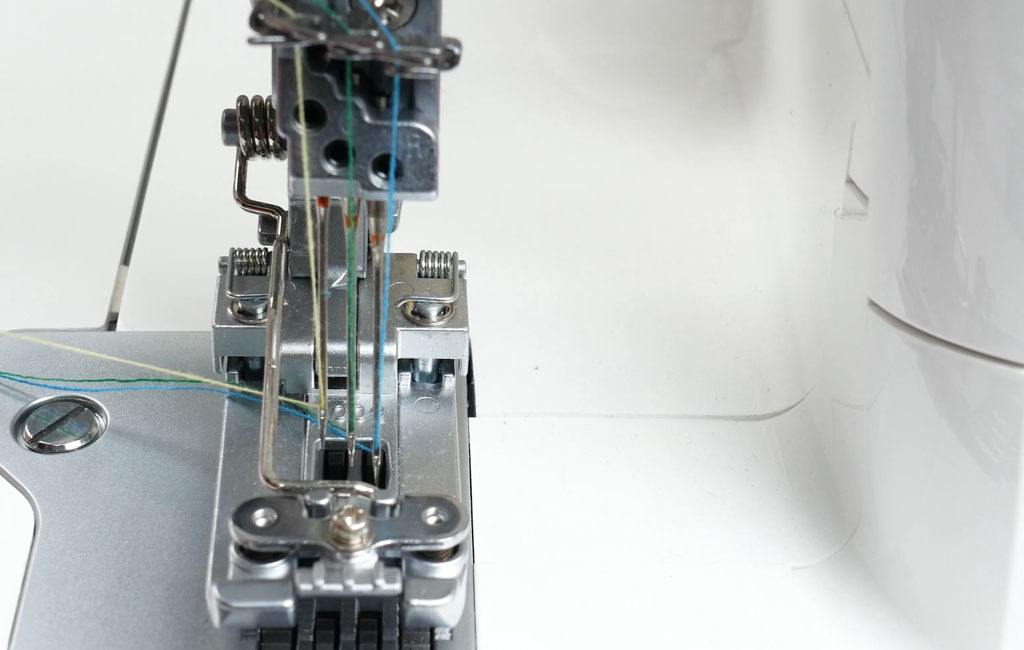
- Thread the left needle from front to back. Leave approximately 3 inches of thread.
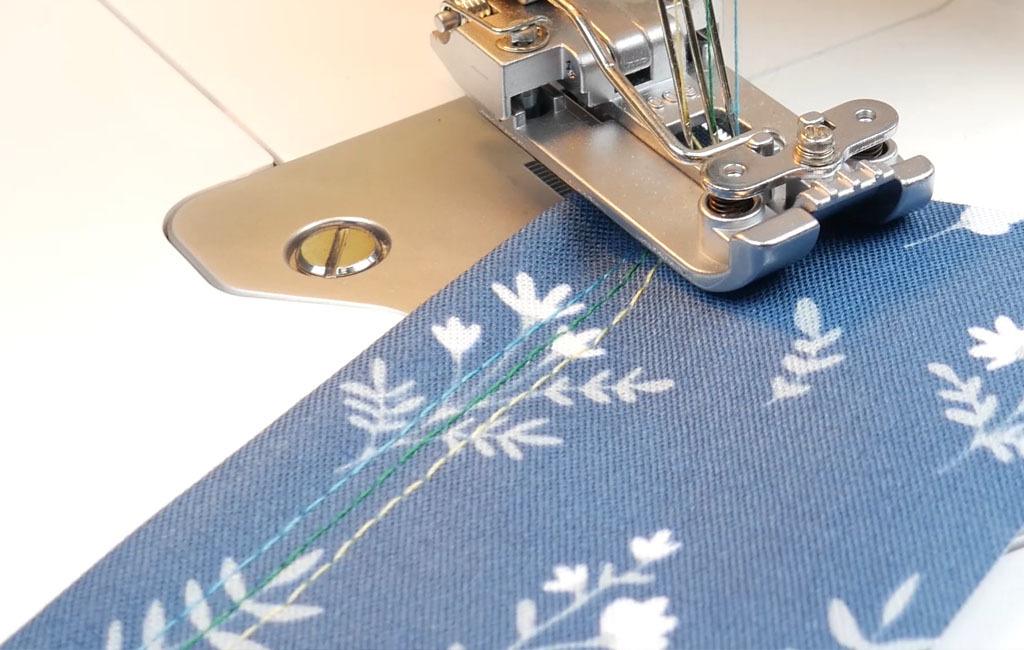
Sew a test
Next, you want to sew a test to ensure everything is working correctly before moving to your project.
- First, you need to lift up your presser foot.
- Turn on your machine.
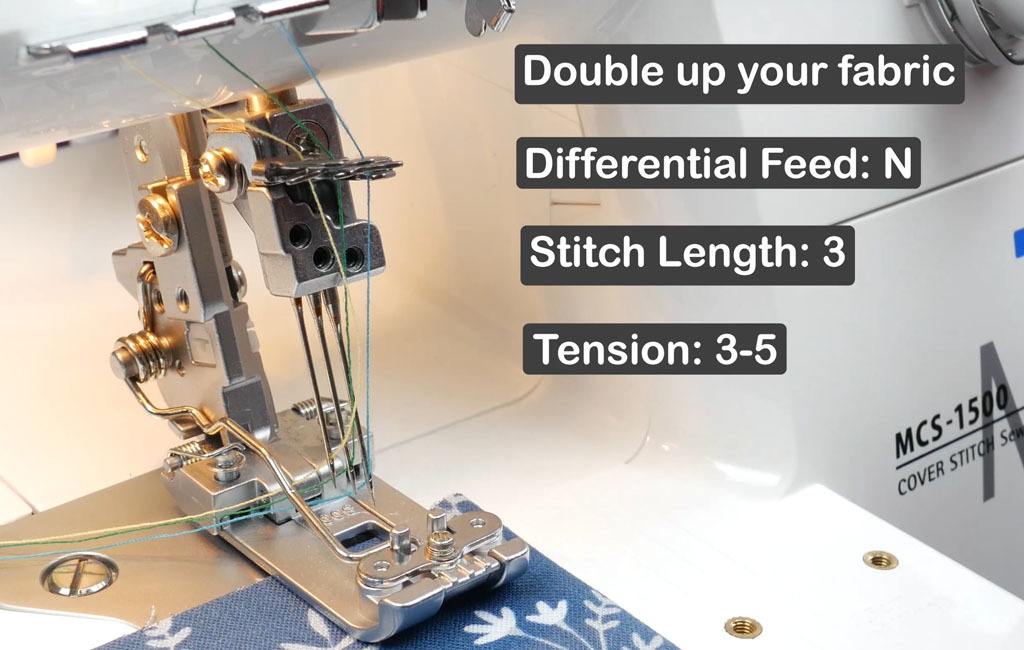
- Double up a piece of fabric.
- Place it under the foot.
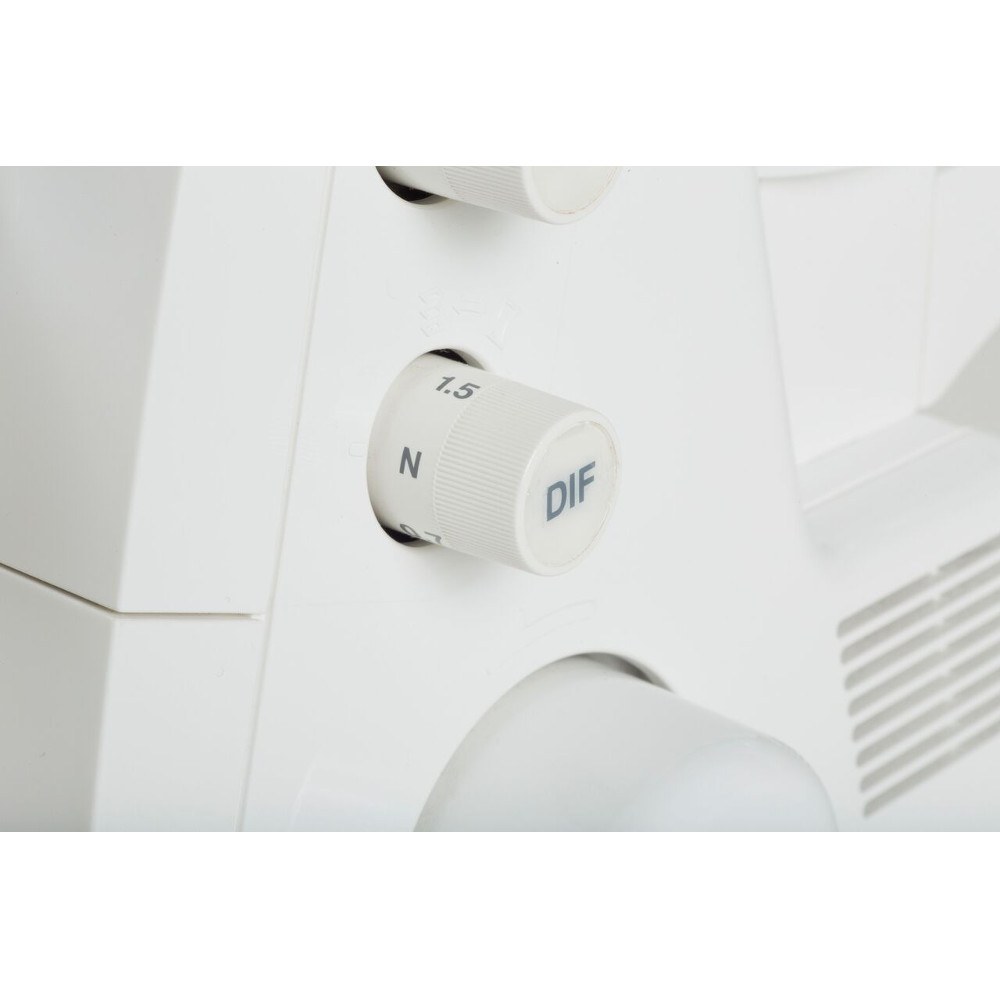
- Turn the differential feet to N (neutral).
- Set your stitch length to a 3.
- Adjust your tensions to 3-5.
- Rotate the handwheel toward you, manually creating the first stitch.
- You're good to go.
Conclusion
As you can see, there are quite a few steps; however, it is really easy to thread. The colored dots make it so convenient to follow the threaded path. Oftentimes, people are hesitant to purchase the Juki MCS-1500 coverstitch machine for fear it will be too much to thread, but now have several resources, the manual, a video, and this blog, to walk you through the steps of threading the Juki MCS-1500. I hope that this helps you feel confident in threading the Juki MCS-1500 coverstitch machine! Until next time, happy sewing, everybody!