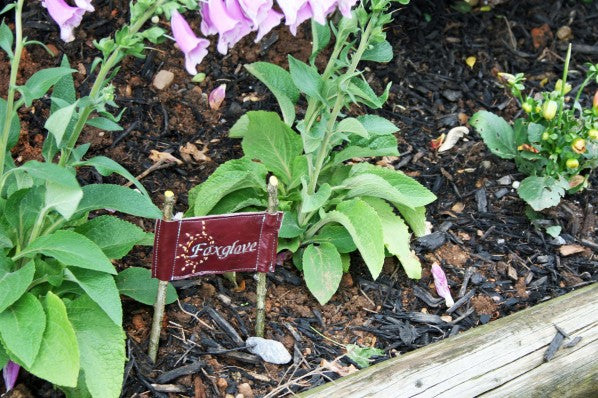
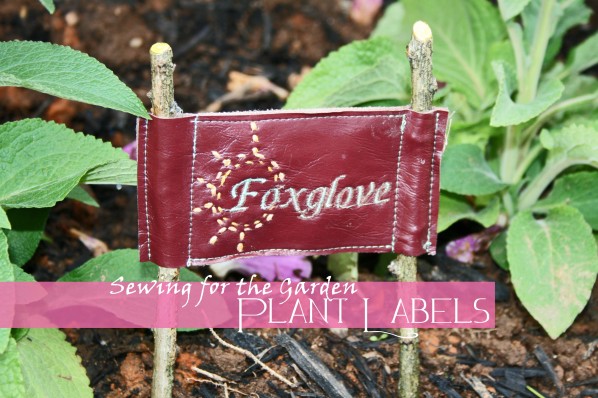
Spring is here and it is time to garden! How can your sewing machine become a gardening tool? How about some flower labels? I'm a novice gardener and just learning about flowers. If it isn't a rose or tulip - I'm clueless. Thank goodness for those little plastic labels that come with flowers. As helpful as they are, I'm not really digging the way they look in my flower bed. I want something with a more earthy vibe. With some faux leather, a couple sticks, and my trusty embroidery machine, I came up with a little "Sewing for the Garden" solution: Homemade Plant Labels!
Supplies
Vinyl Fabric (I went with brown because I feel it compliments the surrounding plant life without distracting from the beautiful flowers)
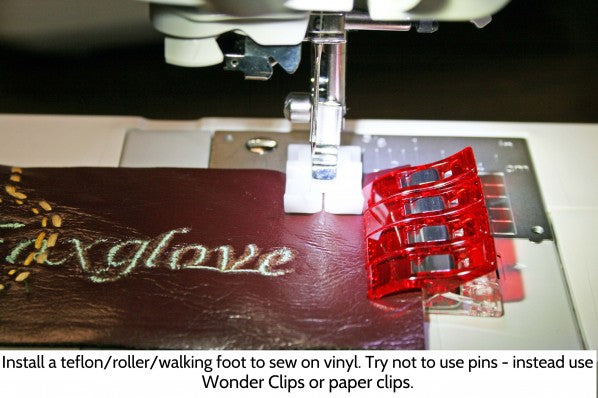
Non-Stick Foot / Roller Foot / Walking Foot
Embroidery Floss or Yarn
Mod Podge
Two 7 inch sticks (3/4 inch diameter)
Wonder Clips or paper clips
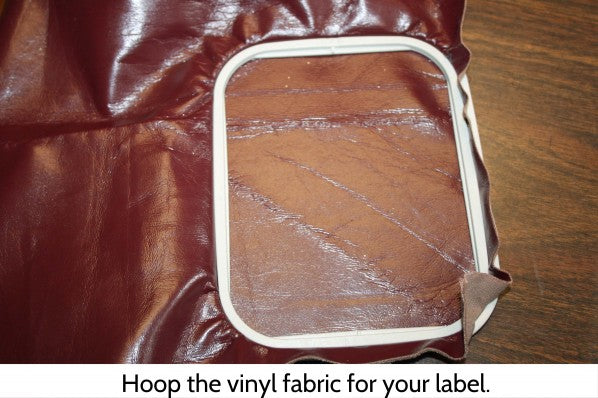
Step 1
Hoop your vinyl fabric and insert in your embroidery machine. If you don't have an embroidery machine, you can always use paint or appliqué letters.
I really recommend using quality embroidery thread. Madeira and Hemmingworth are great choices. These labels will be exposed to harsh sunlight and pouring rain and quality thread will last longer. Also, a lighter color thread will show less wear.
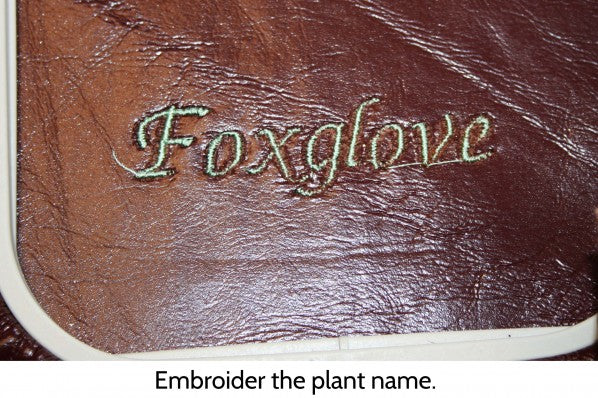
Step 2
Embroider the name of your plant. I used a leather needle in place of an embroidery needle.
Step 3
With your vinyl still hooped, thread some embroidery floss or yarn to stitch the sun design. My flowers only need 'part sun', so I only stitched 6 'sun lines'. Try a whole sun for 'full sun' plants and a tree for 'shade plants'.
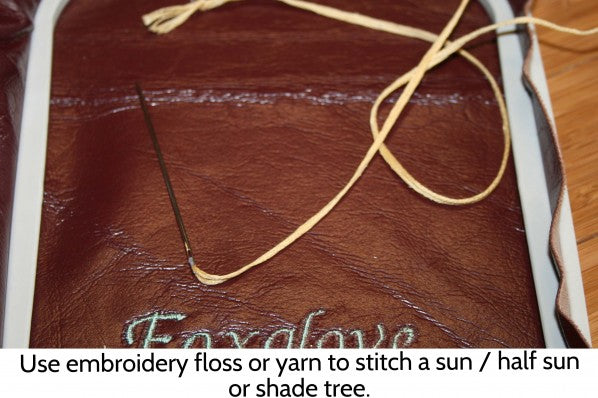
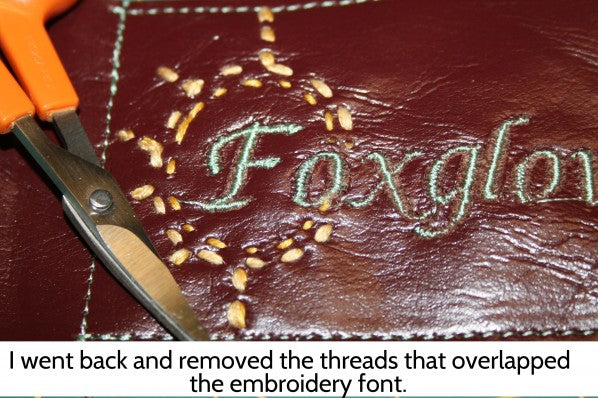
First, draw the design on the back. Using embroidery floss or yarn, stitch carefully stitch along the lines.
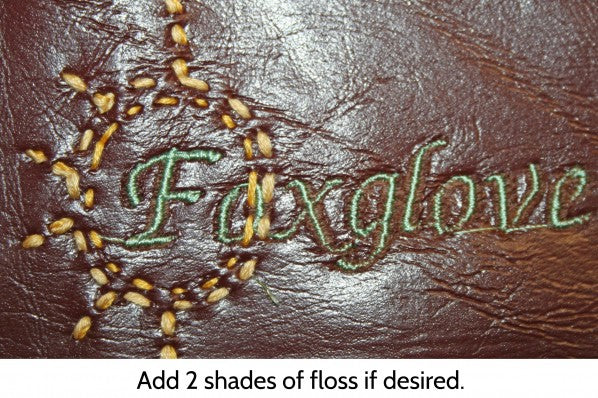
Add a second floss color if desired.
Step 4
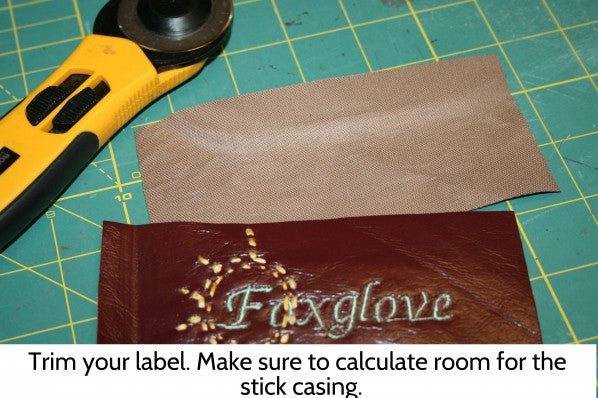
Time to trim down your flower label. You want your label 1 inch larger on the top and bottom of the embroidery design and 2 inches larger on the sides.
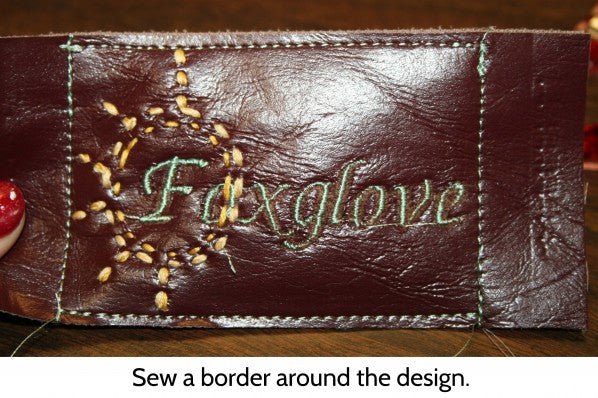
Sew a seam around the embroidery design using a Non-Stick, roller, or walking foot.
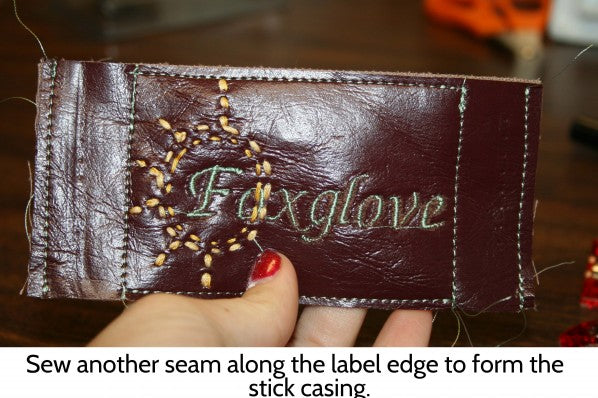
Sew another seam on the sides, 1 inch from the first line. This forms the casing for your sticks.
Step 5
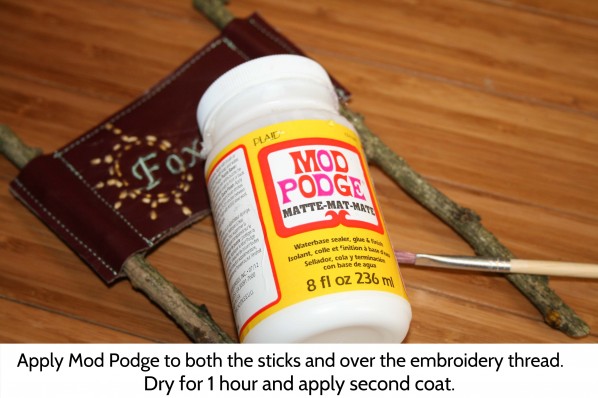
Coat just a bit of Mod Podge on top of your embroidery. This will seal the threads and protect the color. Apply at least 2 coats of Mod Podge to the sticks.
Insert the dried sticks through the casing and place in your flower bed. Now time to make a dozen more!