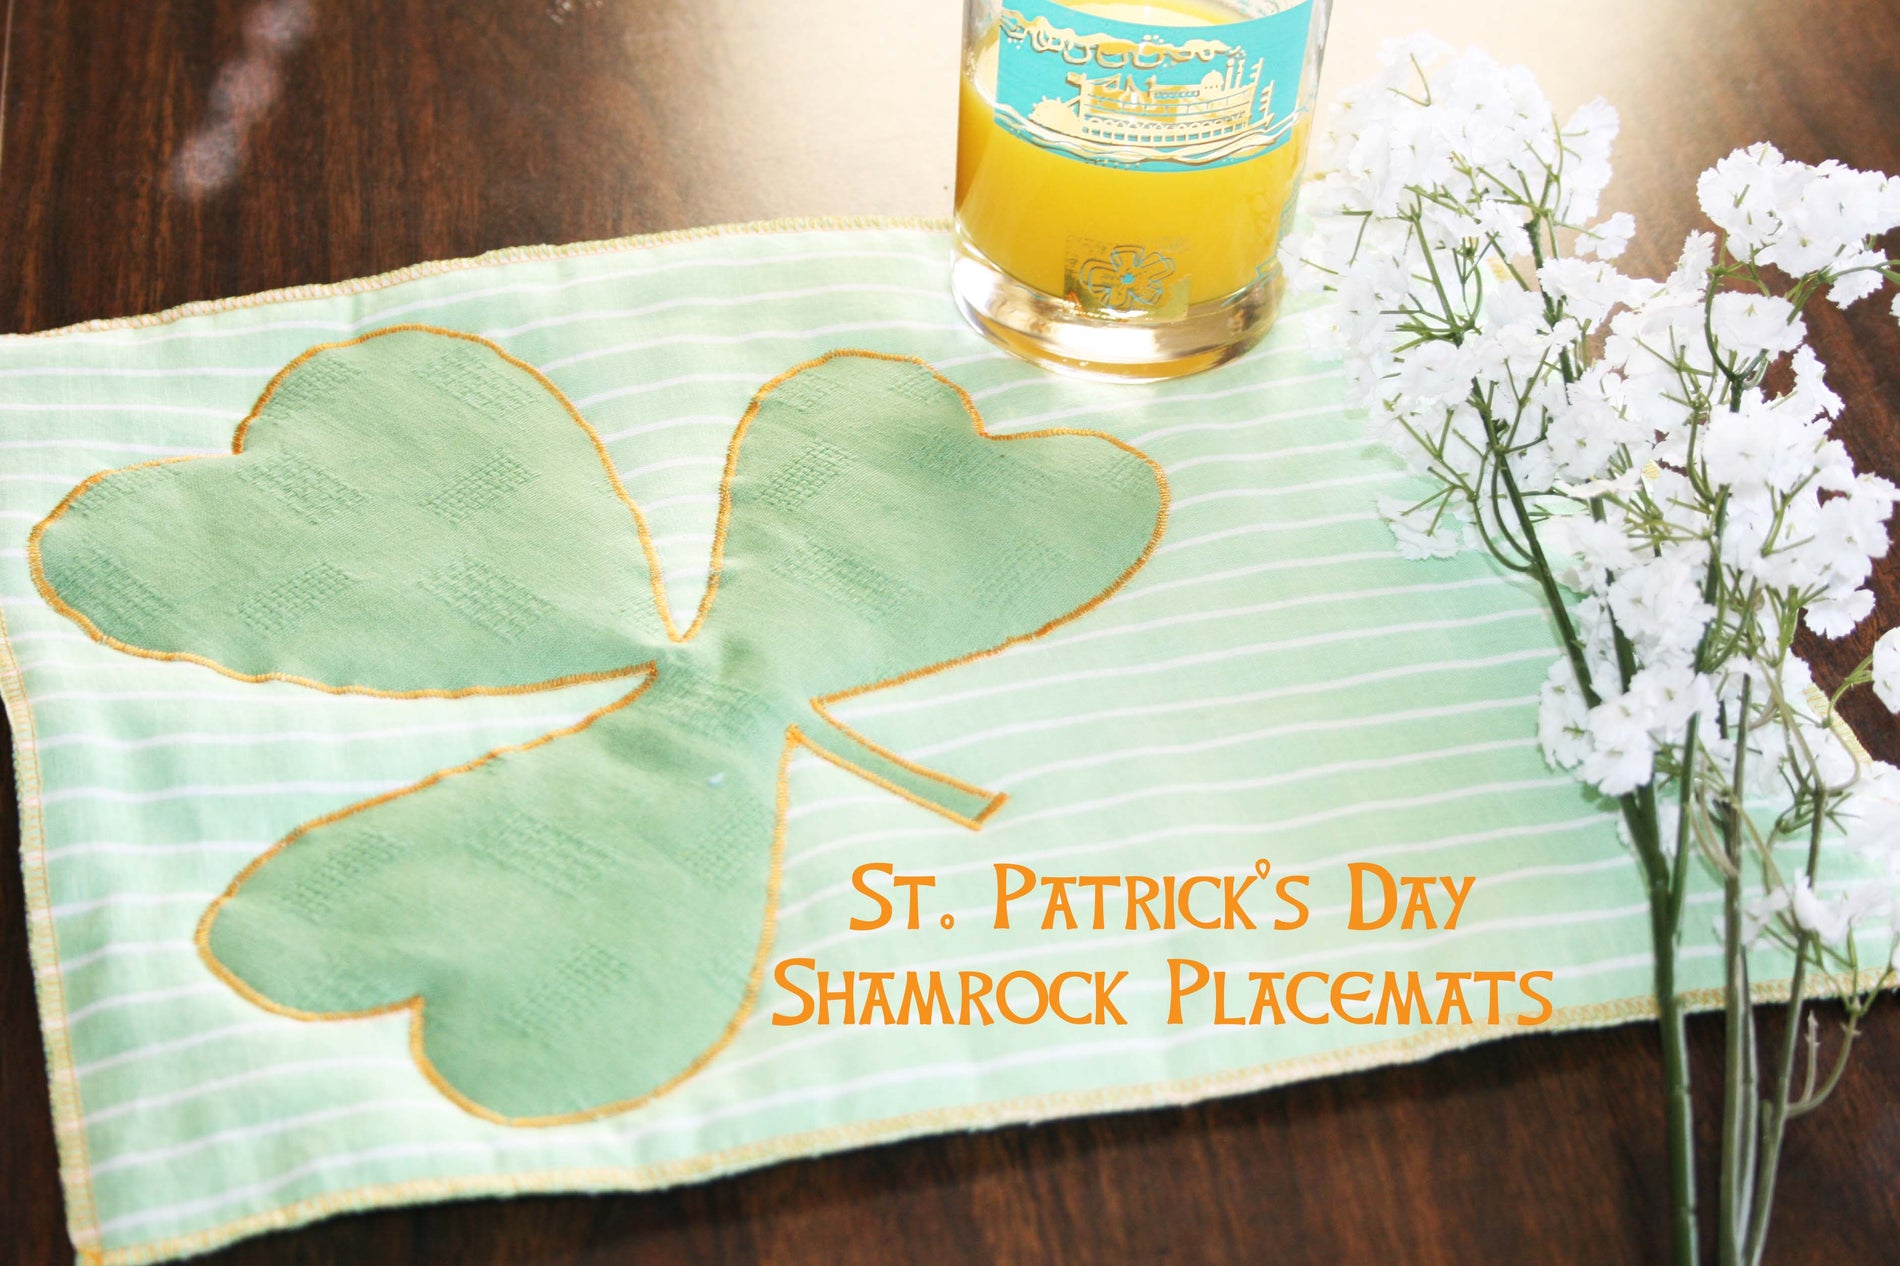
Need a simple and fun project for the St. Patrick Day festivities? This little tutorial is great for anyone just learning to serge. It's very simple, so you can really focus on serger basics and techniques. For over a century, the Irish have celebrated the life of St. Patrick, who is accredited with introducing Christianity to Ireland. On March 17th, believed to be the date of St. Patrick’s death, the Irish would take a day off from Lent and celebrate with ale and a great feast. It is rumored St. Patrick used a shamrock to explain the Holy Trinity, leading to the association of Shamrocks with St. Patrick’s Day. So, to celebrate this year, why not make some placemats with a shamrock appliqué for your St. Patrick’s Day feast? Even if that feast comes in a 6 pack.

A shamrock template is provided so you can start creating right away! Enjoy!
Supplies
1 yard of green print fabric (makes 5-6 placemats)
3/4 yard of dark green fabric (for shamrock)
Orange, Green, and White Thread
Old placemat
Batting (or interfacing if you don’t want a thick placemat)
Template
Step 1
Fold printed green fabric in half and trace rectangle (either from a placemat you already have or another rectangle shape). Cut two pieces for each placemat.
Cut same rectangle shape from batting.
Fold dark green fabric is half and place the shamrock template on the fold. Trace and cut one for each placemat.

Step 2
Sandwich the batting between the two green rectangles. I used basting spray to hold the layers together, but pins work well. Just remember to remove the pins as you get closer to the serger blade. Serge the raw edges using a 3 Thread overlock stitch and some decorative thread. If you don't have a serger, no problem! Try using a Overcast foot for a similar look.
Serger setting of 3 thread overlock:
Tension:
| Left Needle | Right Needle | Upper Looper | Lower Looper |
| --- | 5 | 5 | 4 |
Differential Feed: Normal
Stitch Length: 2.5 (shorten length for a bolder hem)
Stitch Width: As wide or narrow as you like.
When you reach a corner, serge a few inches past, lift needle and foot, turn and serge as normal, catching the thread tail in the stitches.
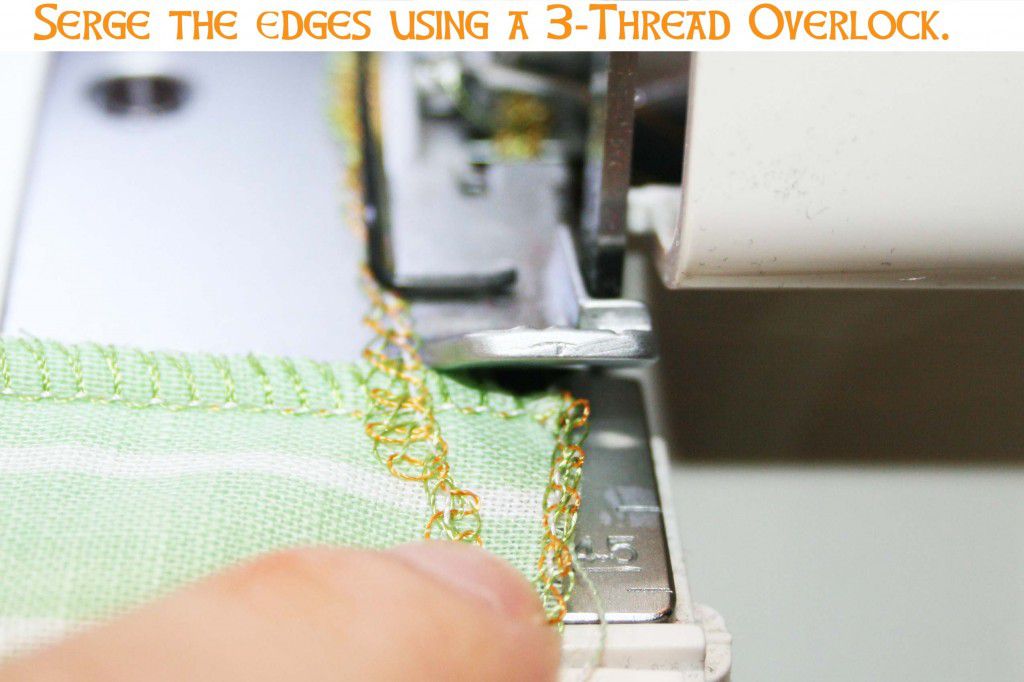
When you are finished serging, you can either go back and thread the tail through the stitches, or you can do a quick zig zag stitch with your conventional sewing machine.
Step 3
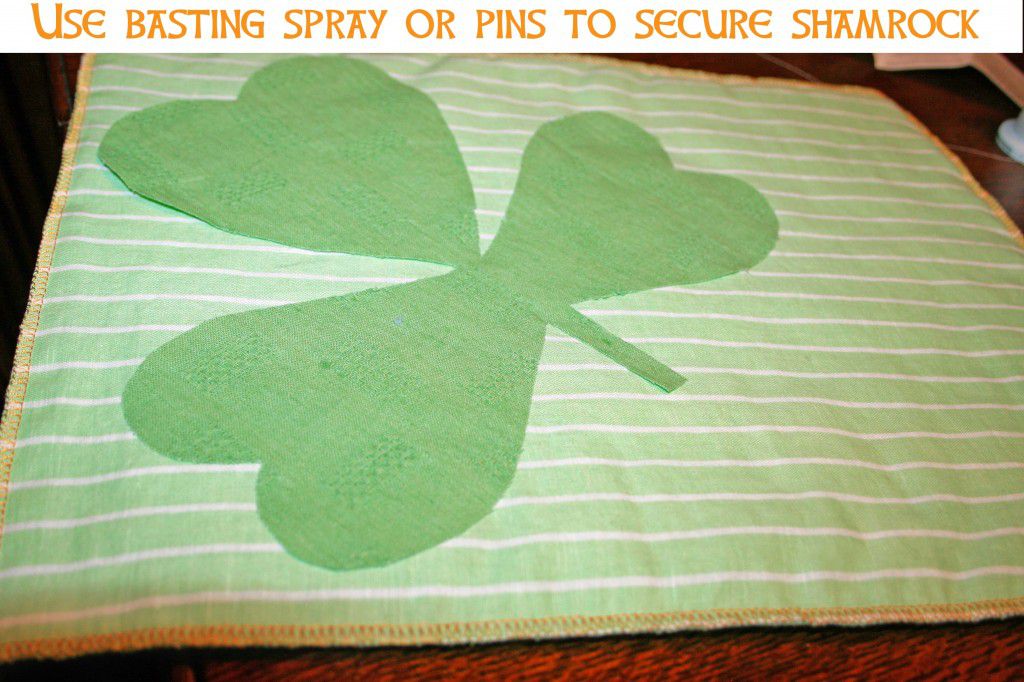
Pin or baste spray shamrock on placemat.
Using a narrow satin stitch, sew along the raw edges. I suggest starting at an inconspicuous area, such as the inside corner where the stem and leaf meet.
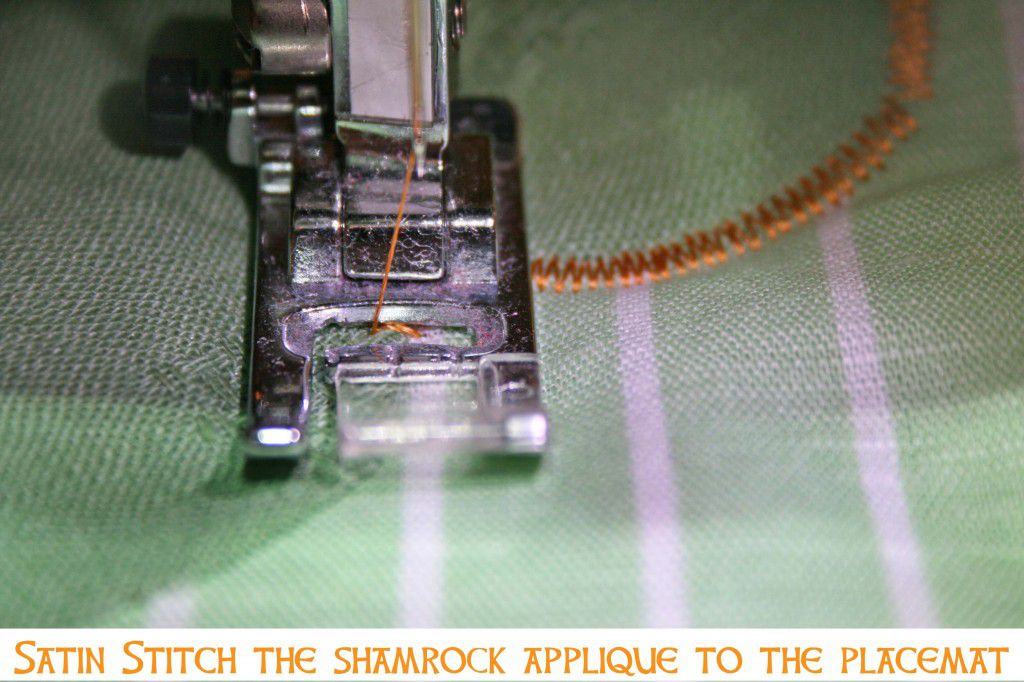
If you're new to machine applique, I suggest trying an Edge Stitching foot. It's incredibly accurate and a breeze to use.
Clip off any loose threads and you’re finished. Super fast and easy! If you have any questions or tips or just want to say "Hi!", please leave us a message in the comment section below. We love hearing from everyone!


