A few months ago (or perhaps more than a few), we started a series about restyling and organizing your sewing room/area/corner. Then I bought a house and all my work and organization went out the window. Well, now that I'm slightly settled in, it's time to refocus on sewing room bliss.
This series is all about getting the most out of your sewing space for little to no money. It's about using what you have to make it work. Now, you don't have to go the budget route. If you like an idea and would rather buy the ready-made version, go for it!
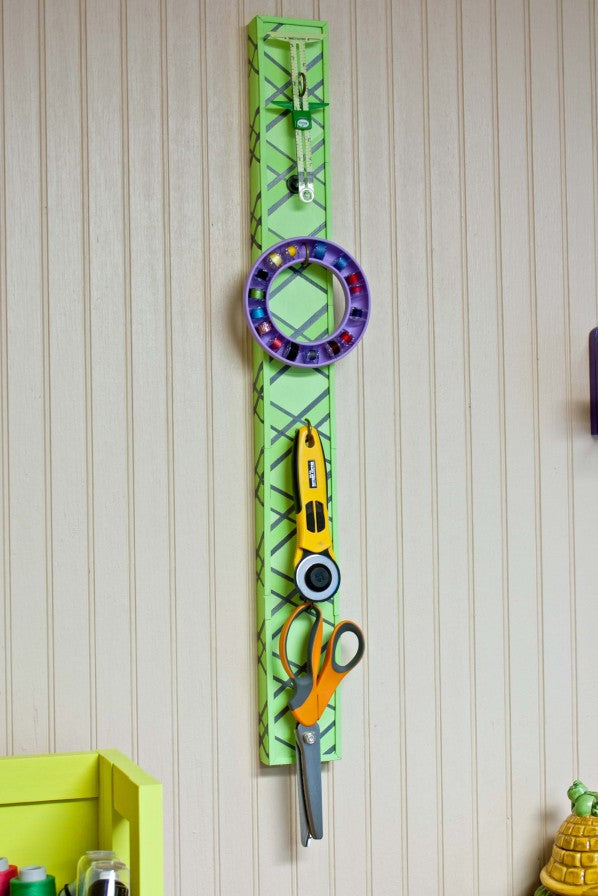
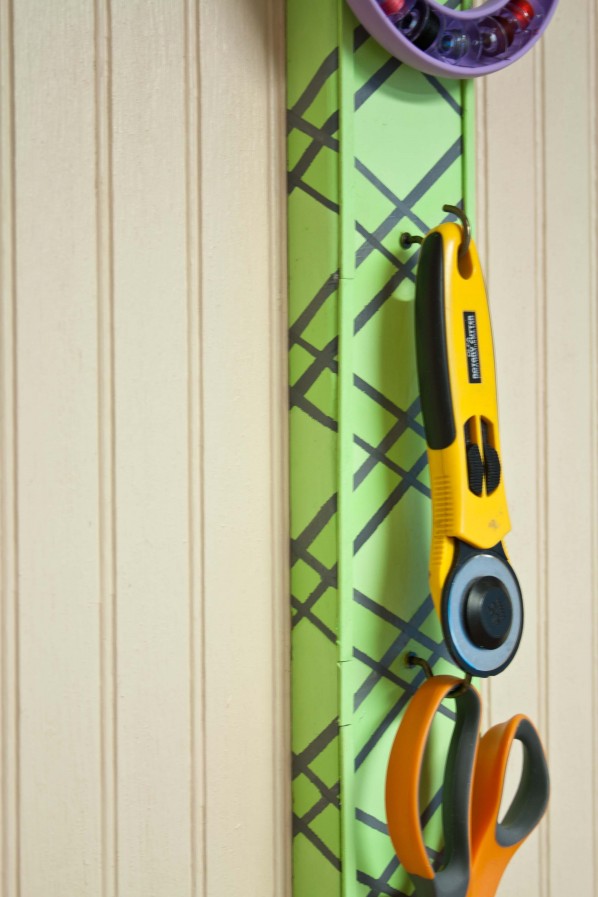
Today we're taking a wood board, popping in some hooks, and hanging up some tools and notions (or whatever you need to hang up, like small children ((just kidding; don't do that))). I got my wood board from a freezer we recently bought. When it was delivered, it had two wood board bolted to the bottom. Not sure why. But it was a free piece of wood and 2 bolts. Score!
Supplies
Wood Board
Paint (I used white, grey, and green)
Sand Paper (eh, optional)
Painter's tape
Pen
Ruler
Drill
Bolts/Screw and Anchor for Dry Wall
Craft Sticks
Scissors
Hot Glue
Cost: $0 (I used supplies I already owned)
Step 1
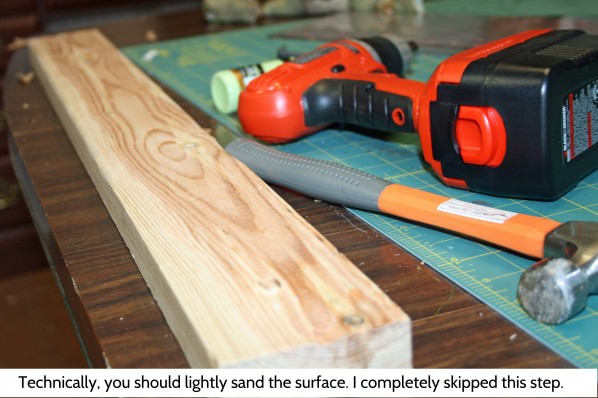
Technically, you're suppose to sand wood before you paint. But I'm not too picky, so I skipped this step.
Coat the board in a color of your choice. I choose this funky green. It's actually kind of ugly on my wall, but that's okay. I dig it.
Step 2
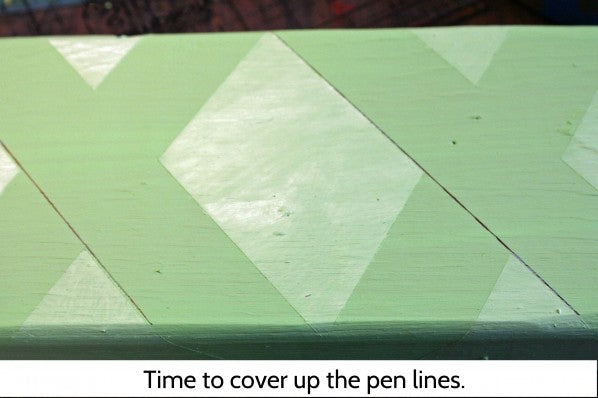
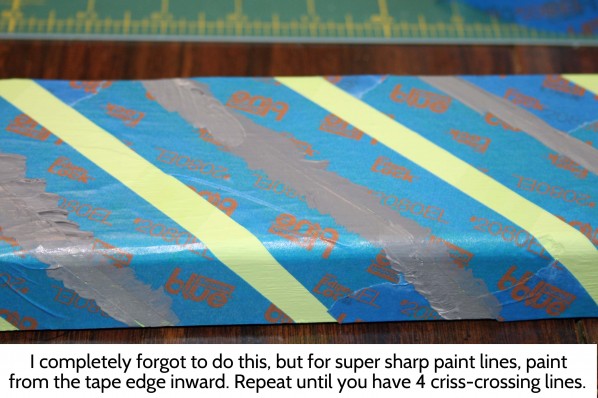
Use a ruler to evenly space painter's tape diagonally. Criss-cross painter's tape in the opposite direction to create the diamond effect. It reminds me of quilt lines, which is why I like this particular design.
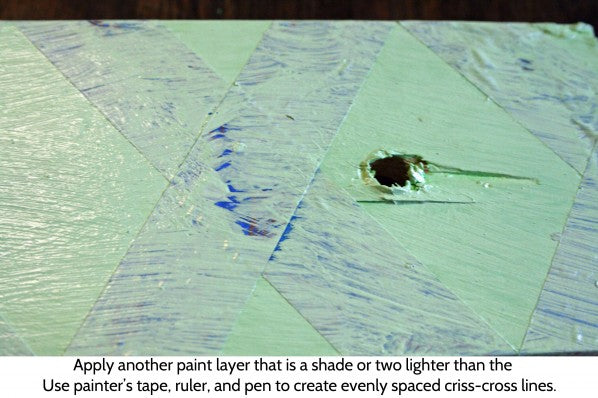
Mix your original paint color with a little bit of white paint to lighten the color. You could also choose an entirely new color. Coat a few layers and remove the tape.
TIP: For super sharp edges, paint from the outside in so that no paint is shoved under the tape.
Step 3
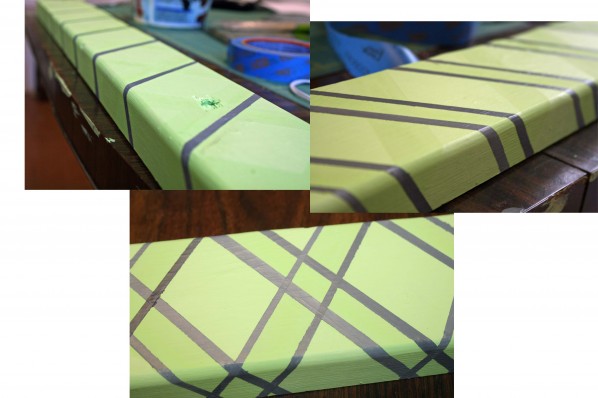
Once the paint is dry, you're going to create the same design, but the lines will be thinner. This process takes the longest because you can only do one direction at time.
Step 4
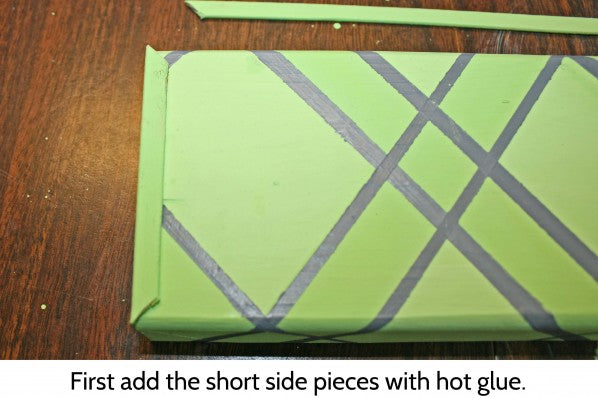
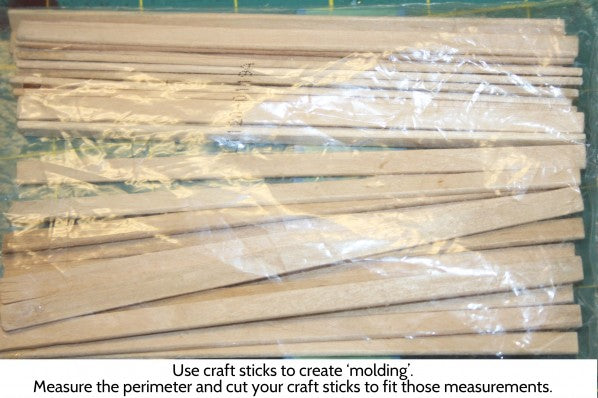
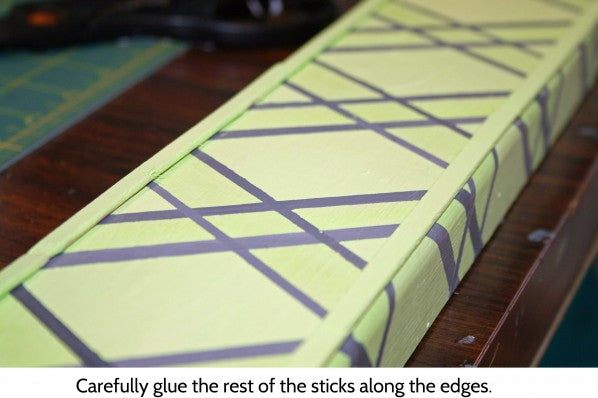
I wanted the board to have the look of molding, so I glued on some craft sticks.
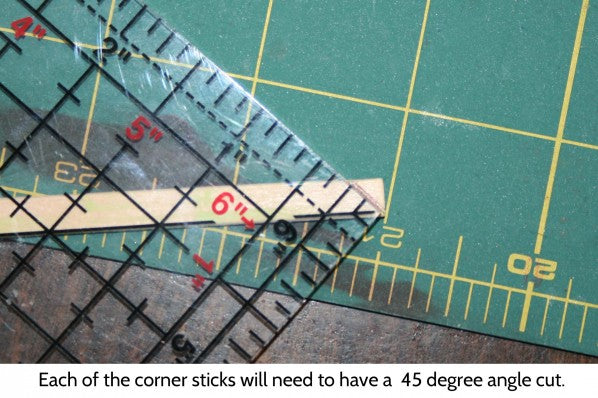
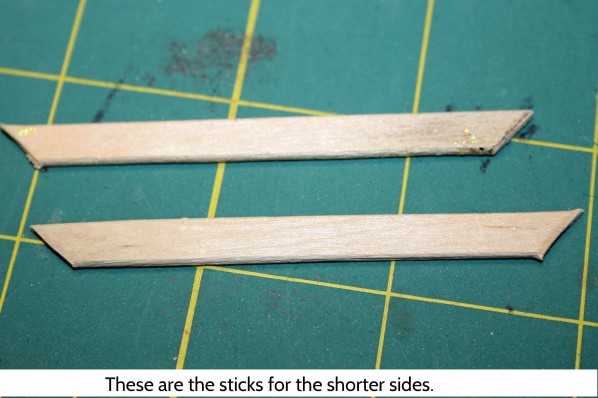
First, you need to determine how many sticks will need to have a 45 degree angle. For my project, I needed six sticks: 1 on each short end and 4 for the long ends. Think of the molding along the doorways in your home; it's the same concept.
Measure out how many sticks you will need by measuring the perimeter and dividing by the length of your craft sticks. So, if your perimeter is 40 inches and your craft sticks are 5 inches long, you'll need 8 sticks total.
Paint the sticks and allow to dry. Use a hot glue gun on the High setting to adhere the sticks. I like to start from the short end and work my way in to the center.
Step 5
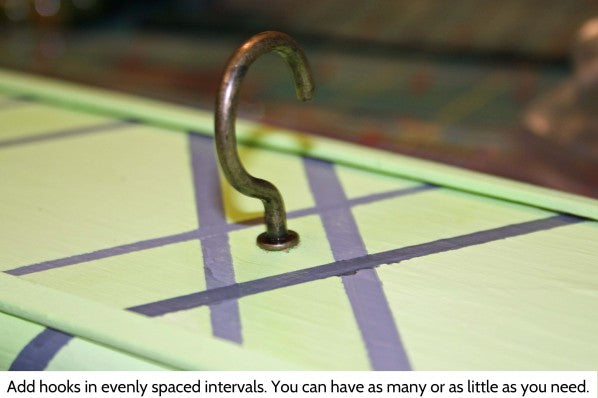
Screw in your hooks. I had wall hooks, which were incredibly difficult. I don't know any easier way to screw those into a thick wood board. I'm pretty sure I damaged a few nerves during this step.
Step 6
Use a drill to screw the board to the wall. I used the bolts that came with the board. I don't know what my basement wall is made of, but it's super strong, so I didn't have to use dry wall anchors. However, if you have dry wall, just make sure the anchor is the right size for your bolt/screw.
Stand back and admire! Those some tools up there and get back to your latest sewing project! Happy sewing!


