
The French Seam
The french seam is a beautiful seam finish that is sure to impress. We all love the zig zag finish and the clean finish, but the french seam takes it up a notch. With this seam finish, you sew 2 seam allowances. By doing this, you completely encase the raw edges. No raw edges equals no fraying, no mess, professional results.
Oftentimes, people find it intimidating. Don't let it scare you. Yes, it's a two step process, but it is so worth it.
A common source for confusion is that, unlike what you are probably used to, you need to place your fabric WRONG sides together. Weird, right? Honestly, this is the little detail that tends to steer folks away from the french seam. Once you get over that little detail, you're good to go.
Today, I am going to walk you through the simple steps to accomplish this fantastic seam finish. You'll learn how to do it for when your pattern calls for a 3/8" seam allowance, as well as when your pattern calls for the 5/8" seam allowance.
Let's get started!
3/8" Seam Allowance
To sew a french seam when your pattern calls for a 3/8" seam allowance:
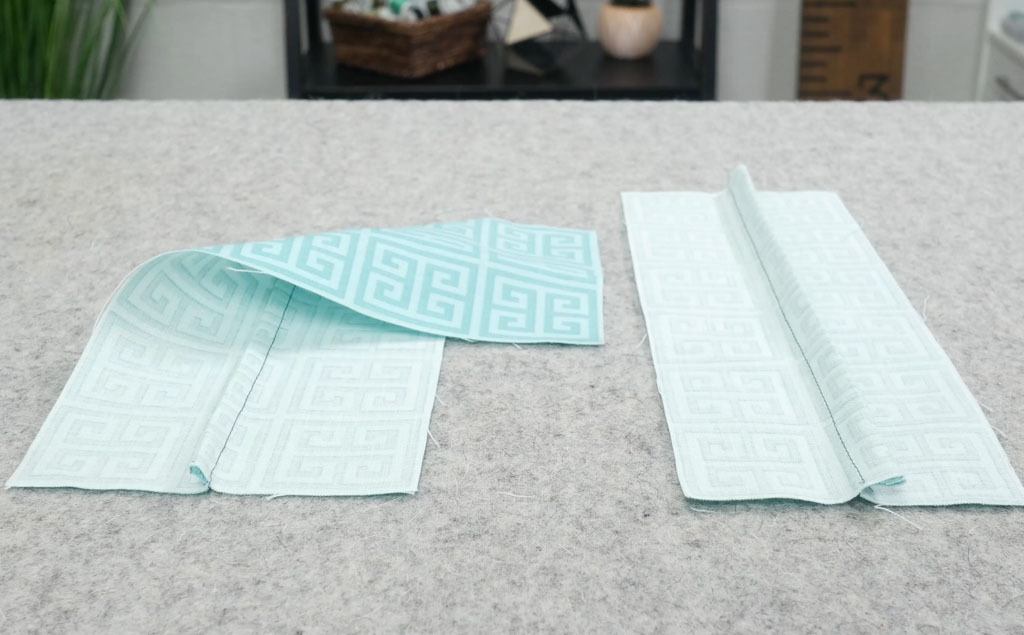
Place wrong sides together.

Pin or clip fabric in place.
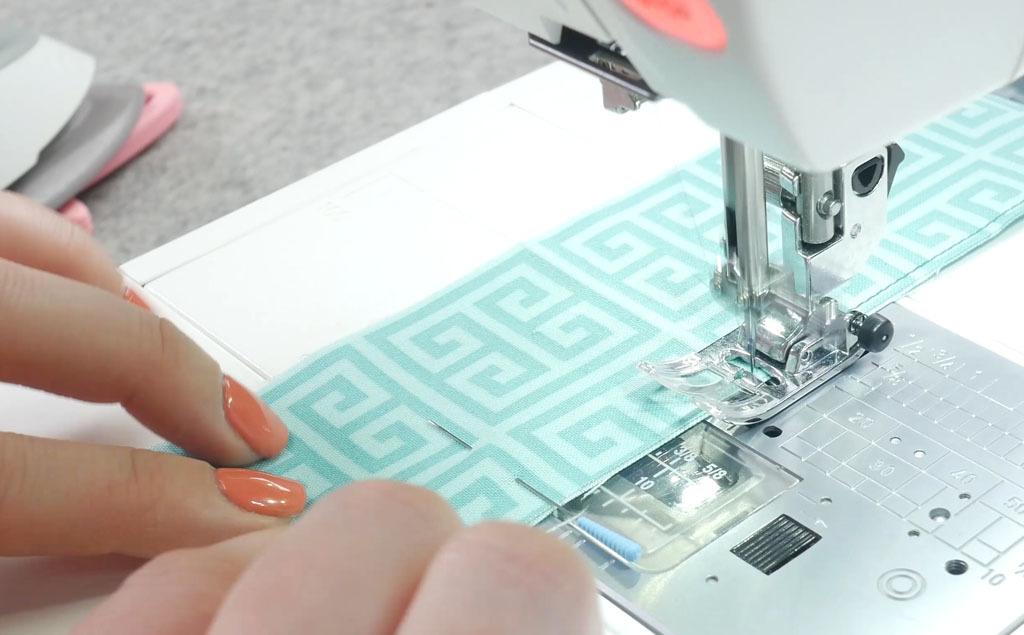
Sew 1/8" seam allowance.
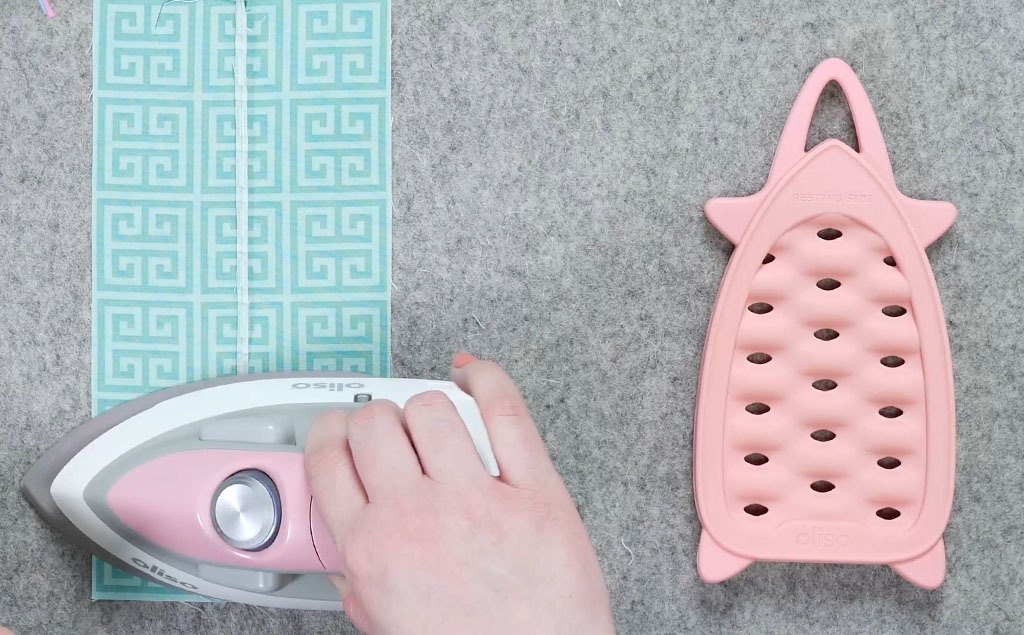
Press open the seam.
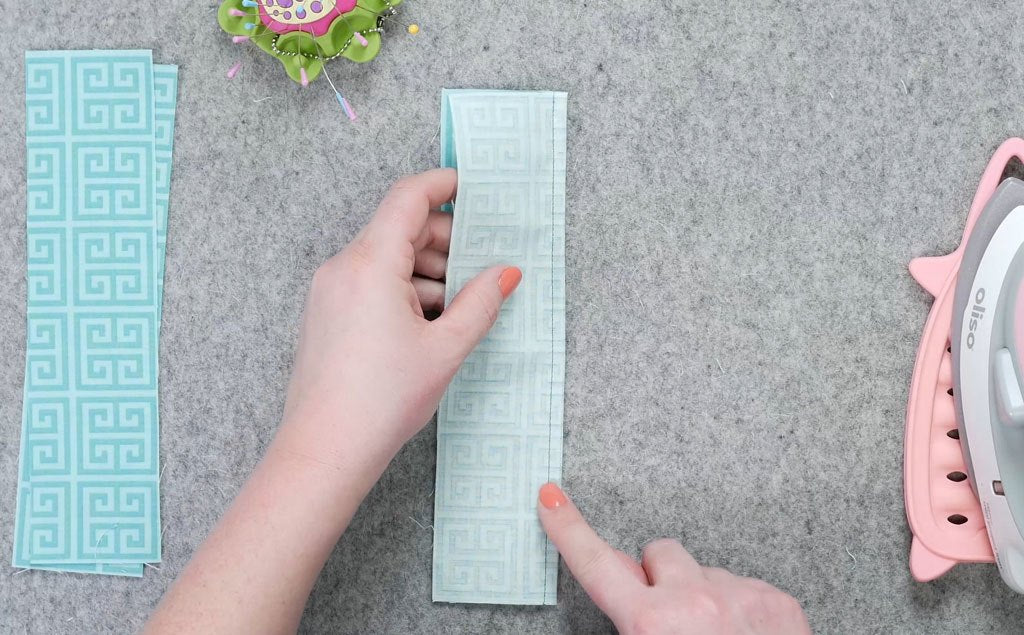
Fold your fabric right sides together.
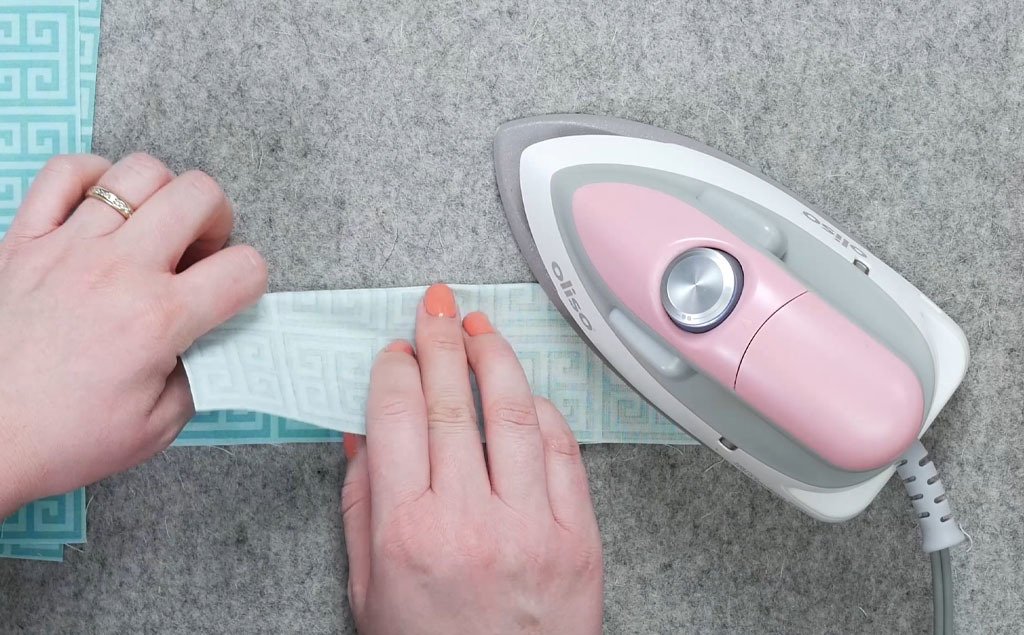
Press so the fold is nice and crisp.
Sew 1/4" seam allowance.
Press to one side.

You're all done!

That wasn't hard at all, right?!
5/8" Seam Allowance
To sew a french seam when your pattern calls for a 5/8" seam allowance:
- Place wrong sides together.
- Pin or clip fabric in place.
- Sew 1/4" seam allowance.
- Press open the seam.
- Fold your fabric rights sides together.
- Press so the fold is nice and crisp.
- Sew 3/8" seam allowance.
- Press to one side.
- Completed french seam!
I chose to show you 3/8" and 5/8" because patterns often call for these seam allowances; however, you can do this with other sizes too. It's simply having a narrow seam allowance and then making up the difference with the second seam allowance. Just be sure the narrow seam allowance will be able to be encased. If you had a 1 inch seam allowance, you could do your first seam allowance at 1/4" and the second at 3/4". See how it equals 1 inch?
I hope that these simple steps help take away any fear of the french seam that you may have had. Until next time, Happy Sewing, everybody!


