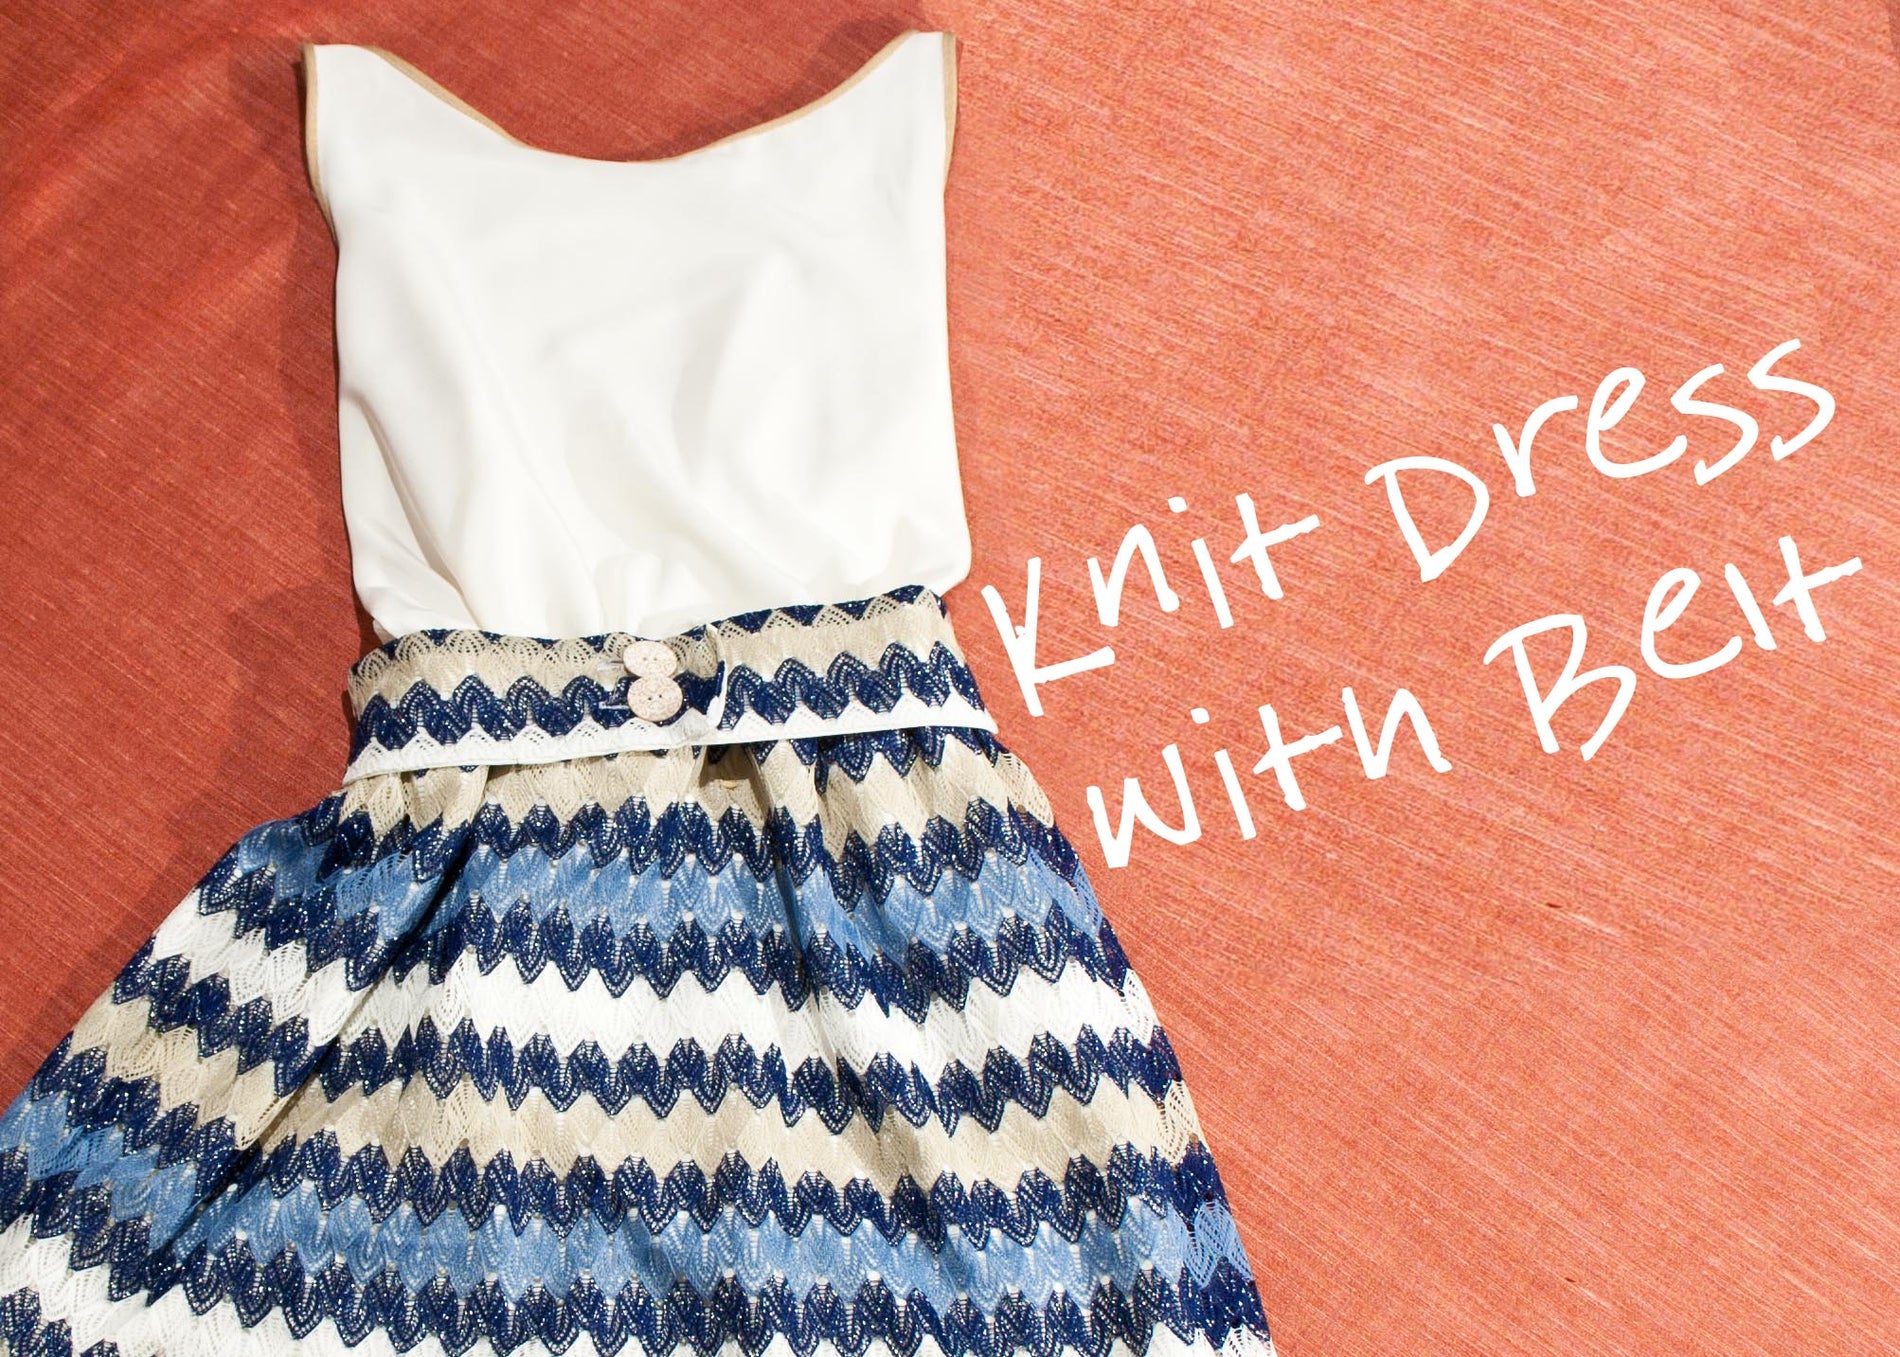
I'm so thrilled the high waist look is fashionable again! High waists are universally flattering, classic, and when paired with a belt, super easy to pull off without any complicated darts or tucks. This tutorial was written for Bethany (HI BETHANY!) over in customer service. We browsed through a few Anthropology dresses until we found a cute one with a white top and yellow skirt. But we are busy ladies, so instead of making a fully finished separate shirt and skirted, we opted to fuse the two and make one fabulous dress. We still want the look of two pieces, so I added a belt to hide where the shirt and skirt meet.
Speaking of belt, this one took maybe 20 minutes to complete. However, if you aren't into the matchy-match look, spice it up with some bright colored fabric; maybe vinyl? Or some funky mismatched buttons would be neat!
Tip: Low on time? Extend the length of the shirt pattern to just above your knee and viola! You've got a quick and easy dress!
Supplies
1 yard of knit skirt fabric
1 1/2 yard of shirt fabric and lining
2 buttons Ballpoint Needle
Buttonhole Foot (optional)
Sew On Button Foot or hand needle and thread
1 package of binding - 1/2 inch single fold
Binder Foot (optional)
1/2 yard of muslin
Curved Ruler or Large Bowl
Note: All seams are 1/2 inch unless otherwise noted.
Step 1
Fold a tank top in half and trace on to muslin. The muslin should also be folded in half so that the fold in your shirt matches with the muslin fold. Try to choose a tank top that fits a little loose.

Step 2
With a curved ruler or a big bowl, draw the collar neckline a few inches deeper than the back collar.
I suggest sewing these muslin pieces together and making sure the shirt fits before cutting the good fabric. You want your shirt to fit a little loose. You also want your shirt to reach an inch lower than your natural waist line.
Tip: Can't find your natural waist? Bend over sideways. Do you see the side fold on your tummy around your ribs? That is your natural waist!
Step 3
Cut your shirt pattern out following your muslin mock-up. First, sew the shoulders together. Then the side seams.

Step 4
Add binding to the neckline and arms. If you have a have a binder foot, this process is super fast. Not into binding? No problem! Simply finish the raw edges and turn the fabric under. You may have to snip into the seam allowance to accommodate the curve of your armholes.

Step 5
Measure the circumference of the bottom of your shirt and add 1 inch. Cut your skirt fabric to that width. The skirt length can be as long or as short as you want. I always wait until the end to figure out my hem.

Cut the same from your skirt lining. Sew the lining and skirt right sides together at the waist. Make sure to finish all the ends. Sew the skirt and lining back seams together. Flip the skirt right sides out and sew a narrow topstitch along the waist.

Step 6
Sew the top of the skirt waist to the bottom of the shirt.

TIP : If you want a fuller skirt, cut the width about 12 inches wider and add pleats in the front and back.
Step 7
Cut a piece of lining and a piece of the skirt 3 inches longer than your waist and 4 inches wide. Sew right sides together. Leave one end open to turn the fabric right sides out.

Then, flip the raw edges inward and sew shut.
Install your buttonhole foot and sew 2 buttons holes fitting your 2 buttons. If you do not have a buttonhole foot, simple use a satin stitch to sew a narrow square as tall as your button. Use a seam ripper to open up the buttonholes.

Step 8
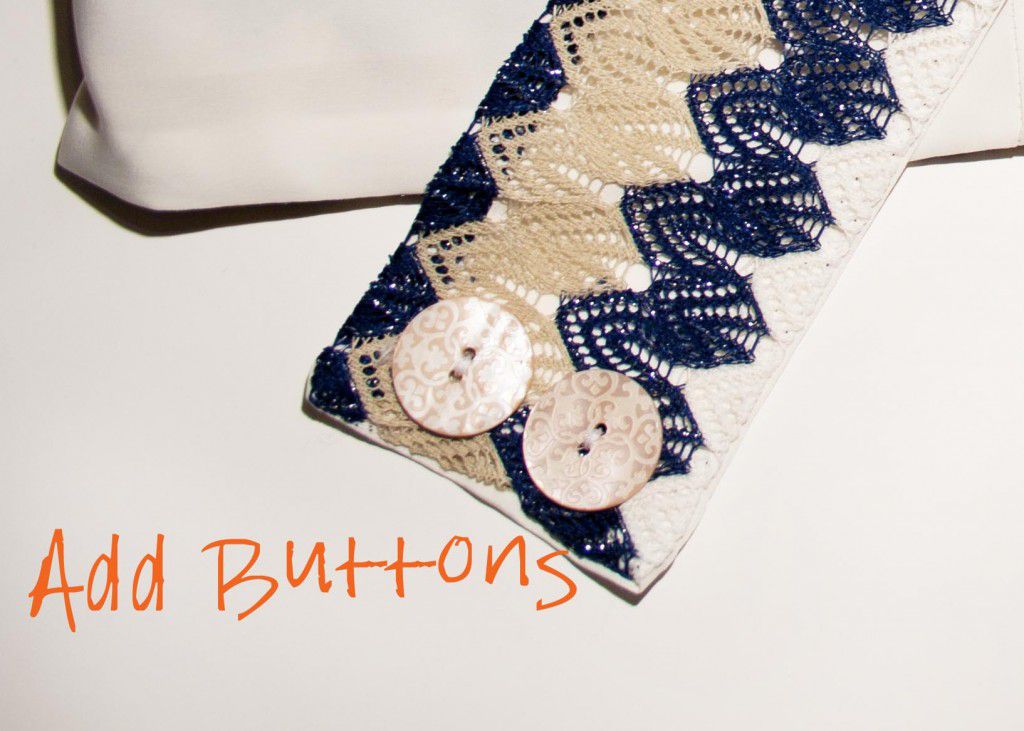
Hand sew or use your Sew On Button Foot to attach your buttons to the belt.

Step 9
Make sure to hem the bottom of your skirt lining. Since your material is knit, you don't technically have to hem it, but it looks neater. You can also use the same binding on the skirt hem as you used on your shirt.
Comments or questions? Leave us a message in the comment section below - We love to hear what you have to say!


