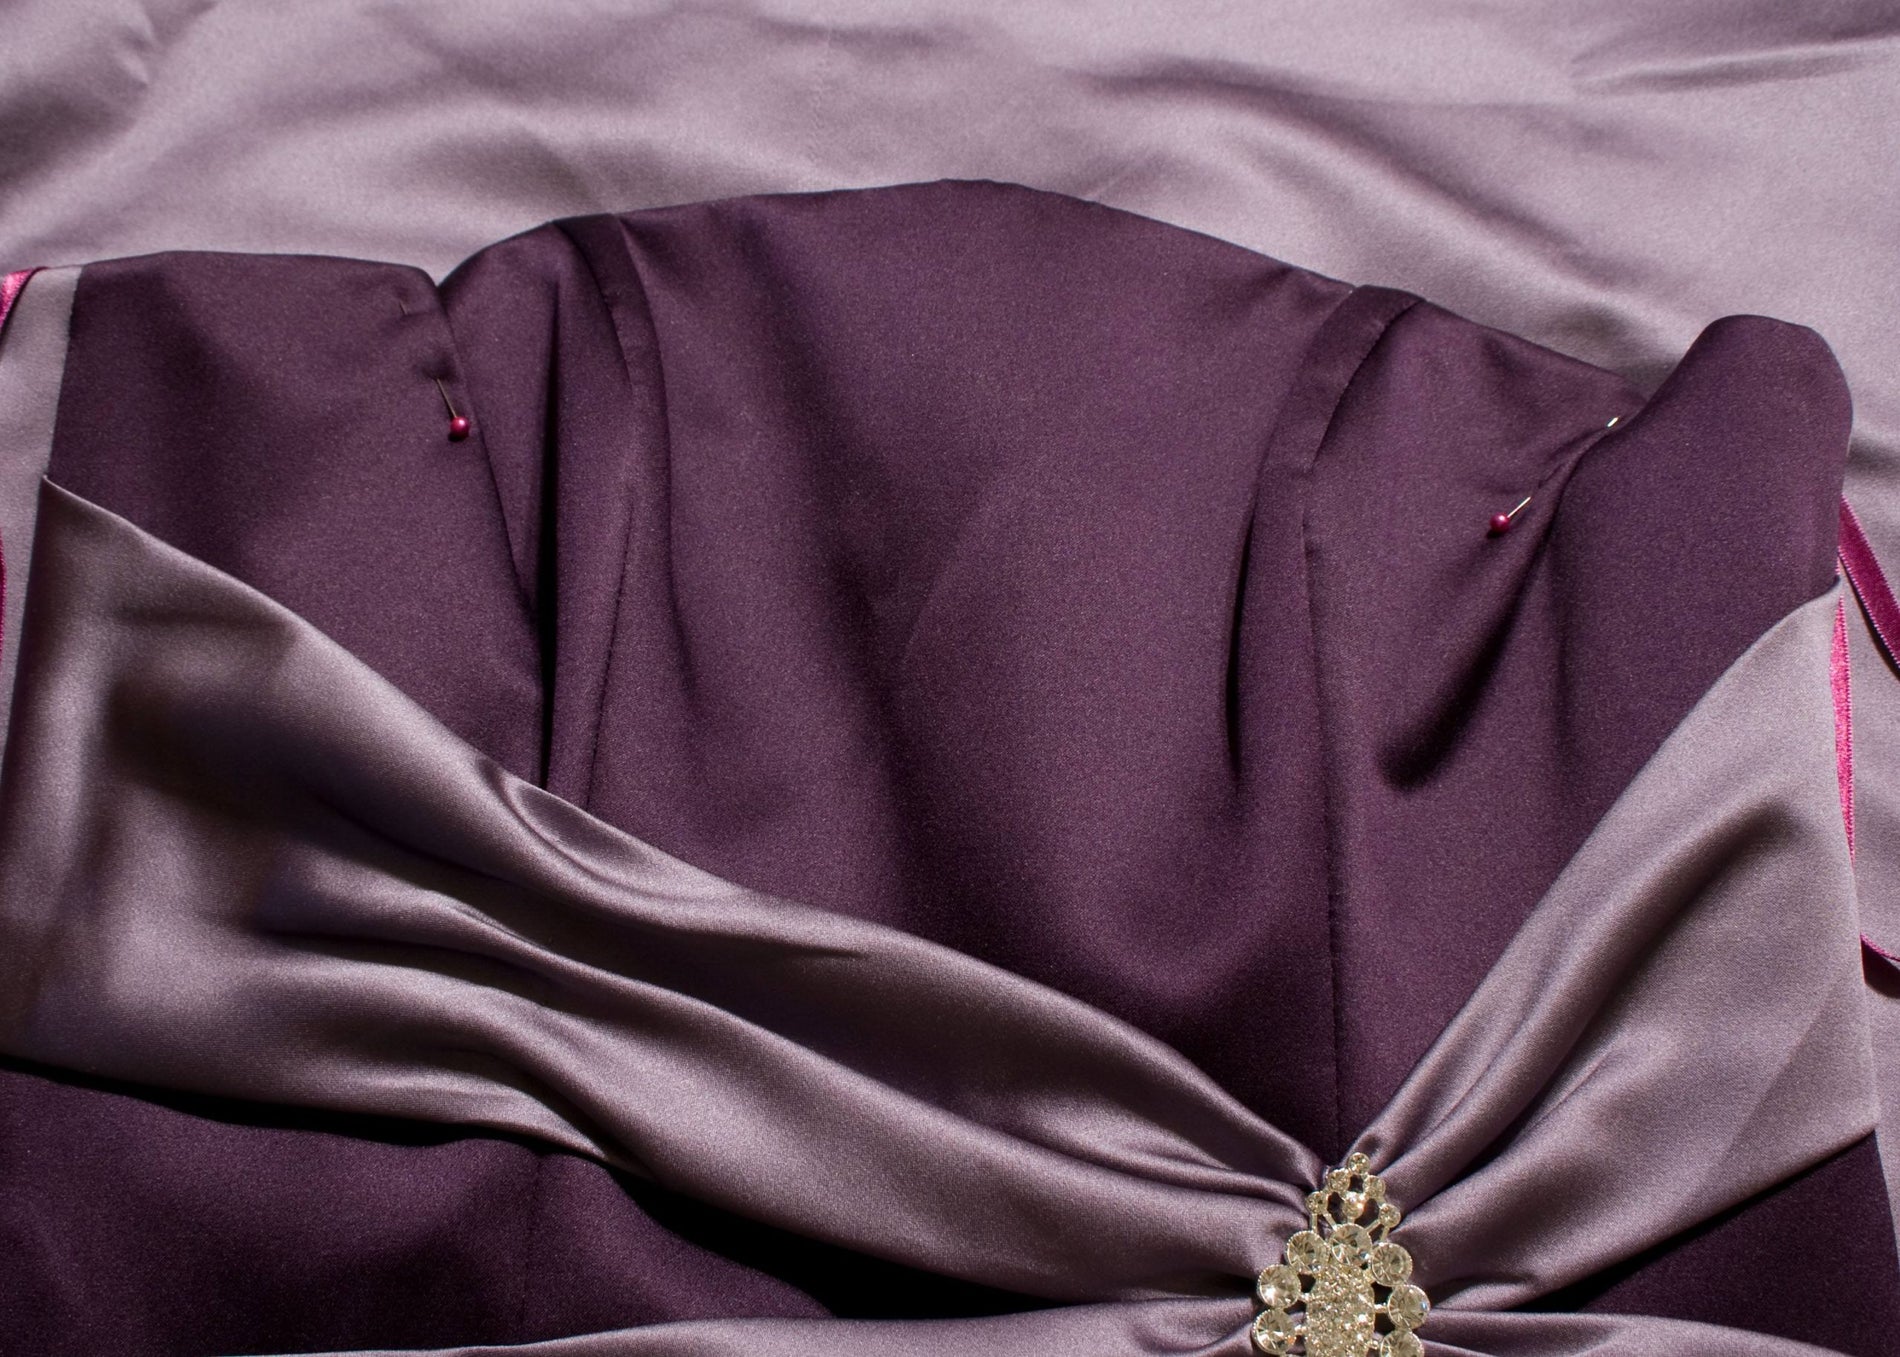
Ever tried on a dress that was way too big for your bust, but fit perfectly everywhere else? You're not alone and thankfully there is a way to fix it by altering the princess seam. Ideally, we would go for the side seams, but sometimes there is so much to fabric to take in, that we must reduce the princess seam as well. Or, sometimes the bodice curve doesn't line up with our natural curves. Although not as easy as a side seam alteration, this will make the bodice fit to perfection. Before we even touch our machine, we will be doing all the sewing by hand. I know that seems time consuming, but for a perfect fit, hand basting first is the trick. Maybe it's just me, but the seams never look as good if I just pin and sew. Once everything is hand basted, you may test the fit. If everything fits, you can put in the permanent stitches!

Supplies:
Curved Dress Making Ruler
Marking tool
Pins
Seam gauge
Hand needle and thread
Top Stitch Needle
Step 1 First, we need to pin the dress. Because the princess seam most likely has boning, you won't be able to pin right at the seam. Just pin to the side of the seam. Once you have pinned to a nice fit, take the dress off.

Step 2 Use your seam gauge to measure how much you pinned.

Now, times that by 2 because when taking in a princess seam, you can only take in from the outside seam, not the middle. Normally, if I was taking a side seam in 1 inch, I would measure 1/2 an inch in on each side. But since we can only take in on the outside seam, we have to take in all the fabric on one side. Step 3 Use your seam ripper to remove the edge stitch and neckline seam. If you have a button, remove it as well. You can put it back in once you are finished.


Step 4 Turn the dress inside out so you're working inside the dress. You do this by flipping up the face fabric.

Remove the boning. You only need to undo about half way down. Just enough so you can work with enough of the seam for your alteration.

Step 5 Time to mark your measurements. Remember, we're only going to take in from the outside seam. So, if you need to take in 1 inch, measure 1 inch in only from the outside seam, not the center seam.

In this picture, it shows I need to take in 5/8 of an inch. Actually, I'm going to be taking in 1 1/4 inches. My mistake. Step 6 Bring out your curved ruler. Basically, we need to reshape the curve by drawing a new only. You want an even, gradual curve that tapers smoothly and matches up with the original seam. You kind of have to eye it. Make sure you remember what number on your ruler you started and ended the curve on so you can repeat on the other princess seams. Trace the curve.


Step 7 Use your seam ripper to open the princess seam. Take notice of the original seam. The original seam has a nice crease in it. You want to match the new outside seam you just drew with the crease of the center seam. It's best to accurately pin in place first, then hand sew together. Repeat this same process for the other bodice princess seam and for the lining princess seams.


Step 8 Re-attach the boning to the seam allowance of the bodice princess seams. If you had a lot to take in, it might take a little bit of maneuvering to get the boning to lay flat.

Step 9 Match the bodice and lining seams together and stitch. Try to follow the existing neckline seam. You may have to reshape the seam slightly if you took in a lot of fabric. It's best not to do any cutting until you have tried the garment back on with the alterations.

Step 10 If all your alterations fit, you can put in the permanent stitches. All you have to do is stitch over your basting stitches. Unfortunately, you'll have to remove the boning stitches to put in the permanent princess seams. Then, you'll need to re-baste the boning and put in the permanent stitches. That part isn't so fun, but the extra time spent really makes a difference in the end product.

Step 11 The last step is to replace the edge stitching along the lining. Unfortunately, it's not always possible to fit the dress under the sewing machine to do the edge stitch, so you may have to complete this step by hand. Try to blend the edge stitching in with the existing edge stitches.

Congratulations! You have altered princess seams! Not too terribly difficult, right? If you have any questions or helpful tips, let us know in the comment section below!


