
I was working at a bridal shop last summer when I noticed more and more brides asking for custom embroidered patches to be sewn on the inside of their dress. Today I'm going to share how to make your own bridal patches on your embroidery machine. It's super easy and you get to really personalize and memorialize the "Big Day". Most often, the brides would ask for initials or the wedding date to embroidered in a script font, but you can make any design you want. In fact, the more personal, the better!

Supplies
Bridal Satin
Water Soluble stabilizer (optional - you can place this on top of the bridal satin and mark all your plotting points. This is recommended if you are new to embroidery or have multiple designs)
Marking tool (optional - to mark on top of the water soluble stabilizer)
Setting Up the Embroidery Hoop
Layer the bridal satin on the stabilizer and place in your embroidery hoop. The trick is to tighten the screw a little, then adjust the fabric. You want the fabric to be pulled tightly along the grain. Try to work out any bubbles that form.

Setting Up Your Embroidery Attachments
If your machine is a sewing/quilting/embroidery hybrid, attach the embroidery attachment to your machine. Next, attach your embroidery foot and embroidery needle. If you aren't sure how to attach these accessories, check out our Embroidery Foot video for a demonstration. Lastly. snap in your embroidery hoop.

TIP: I REALLY recommend doing a practice run of this tutorial first to test out all your settings. It's so frustrating to get half way through a pattern and find out the designs aren't lined up or the needle is dull. See what I mean:

Embroidering the Frame
On the main embroidery screen, select the frame icon.

Select your desired shape. I picked the rectangle.

Select the frame stitching.

Now that you have the design prepped, it's time for some fine tuning. This is why it is important to follow all these steps on a test patch first. Select the 'Layout' option.

Adjust your sizing to match the script you are using. For instance, if you are embroidering a date like mine, your frame will be near the maximum size. If you are only embroidering initials, you will have a smaller frame.

Once you have the settings picked, write down the coordinates to refer back to later. Now you can press start!

Embroidering the Font
Return to the embroidery home screen and select the 'Font' icon.

Select the 'S' for the smallest font. Make sure to change your lettering to lower case ( the little 'a') once you've selected the first letter of your word, unless you want your letters to all be capitalized.

Once you have the phrase selected, adjust any sizing or positioning just as you did with the frame. Refer to your coordinates for more accurate positioning. It's just like a XY graph from way back in algebra class.

Sit back and relax while your machine embroiders.
Clean it Up
Use your curved scissors and seam ripper to snip the tiny jump threads.

Use a seam gauge and marking tool to draw a 1 inch seam allowance around your patch. This is so the seamstress (or yourself) can turn under the edge when sewing the patch in the dress.
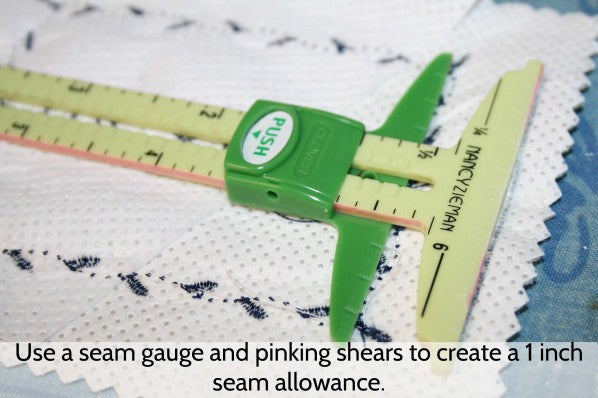
Use pinking shears to trim along the seam allowance.
That's all there is to it! You can get really creative with your patch designs. For instance, one of my favorite patch designs is the phrase "And They Lived Happily Ever After" with the wedding date under the phrase. I've seen patches saying "Army Wife" or "Mrs. Lastname". You can also do an image and the date. For instance, a Cross with wedding rings and the date. Or a image that symbolizes the couples love. What will you embroider? Share your ideas in the comment section below!


