In the video above, I take you through the process of how to thread a sewing machine. Showing you how to not only thread one machine but four. Although the concept is the same, there are several differences that can make it just a little bit confusing. In addition to the video, I am typing up a summary of its content, just in case you prefer to read about it instead of watching it. :)
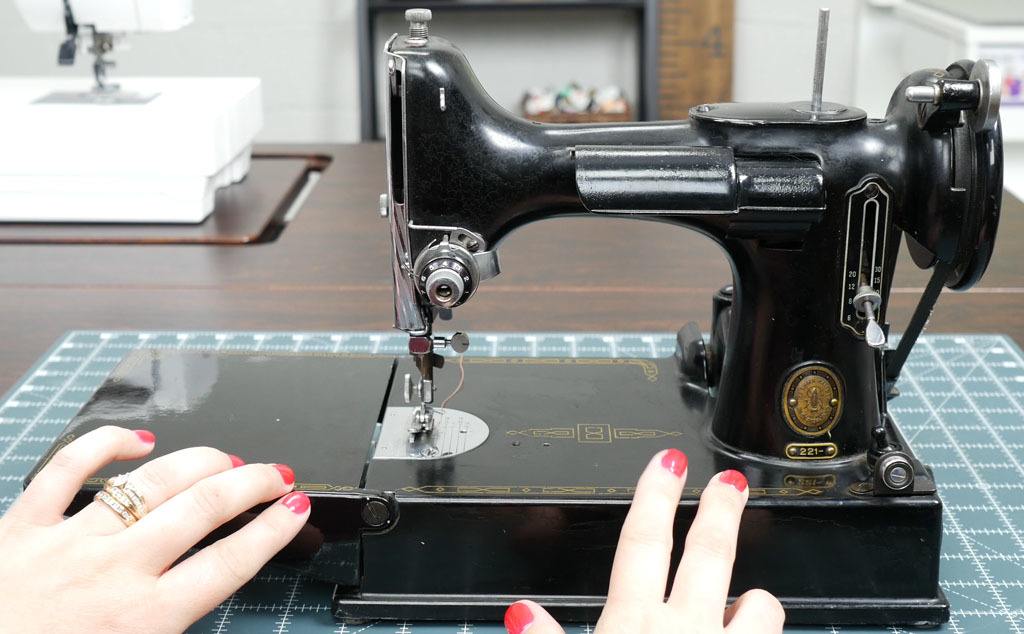
The first machine that we are going to look at today is the Singer 221. Please keep in mind that this information is going to apply to machines with a similar tension as this model.
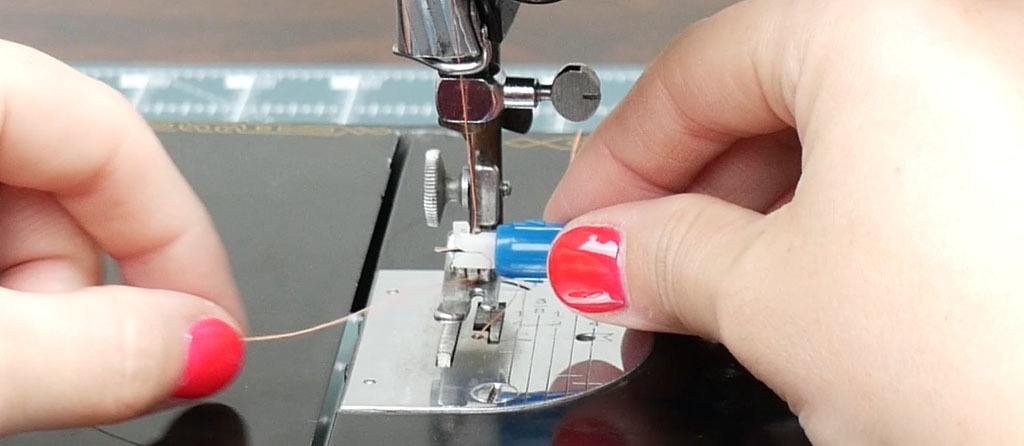
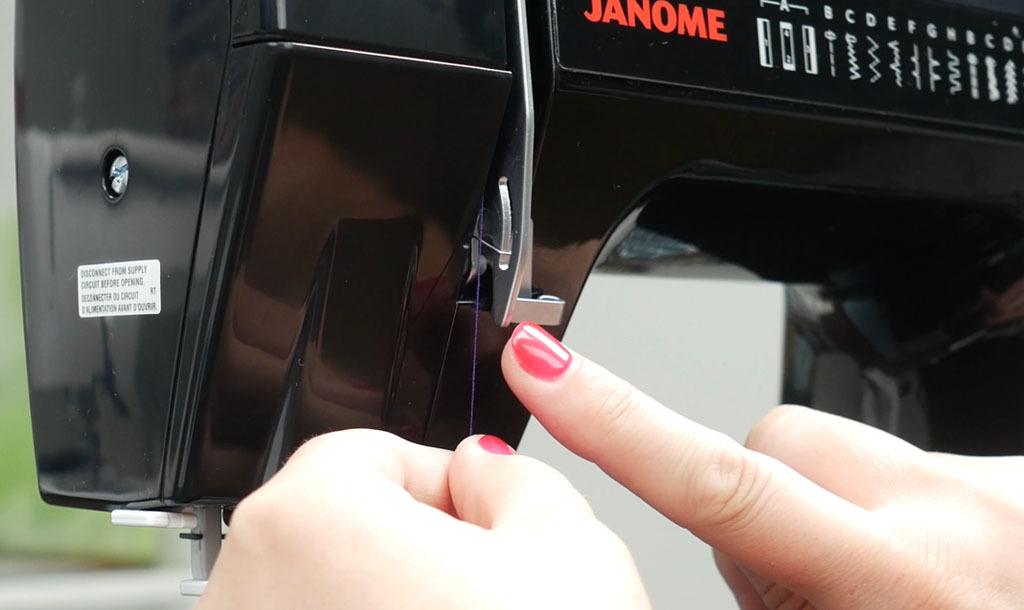
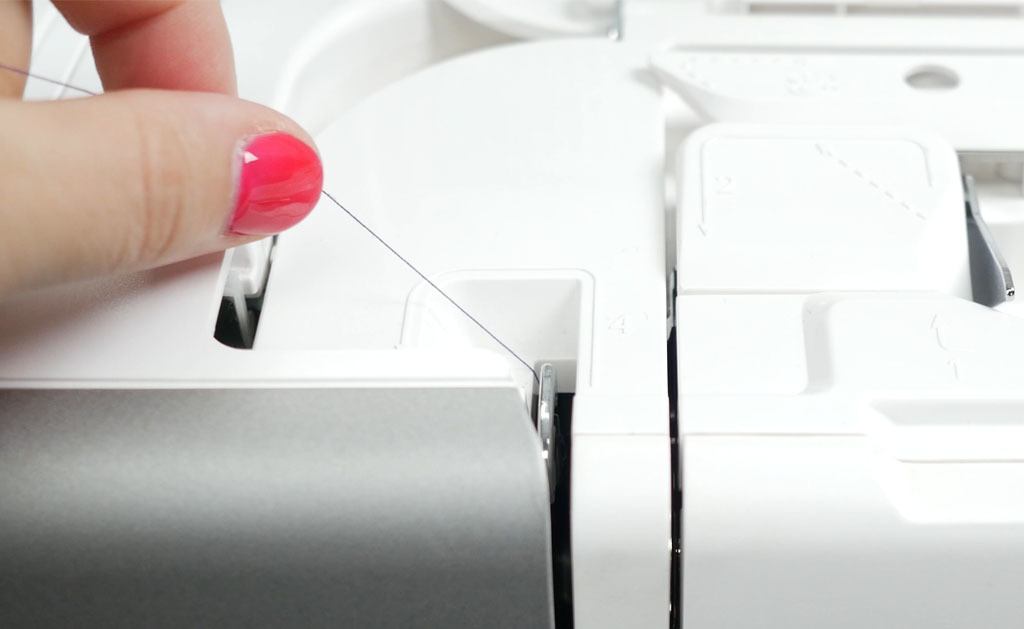
To begin, lift up your presser foot. Next, rotate the handwheel towards you until the take-up lever is in the highest position. Place the spool of sewing machine thread on the spool pin. Bring that thread over to the first thread guide. Now, bring the thread down around the tension and up to the check spring. Once you reach the check spring, with your right hand, hold your spool of thread. With your left hand, bring the thread over to the right until the check spring pops into the guide. Place the thread behind the metal bar.
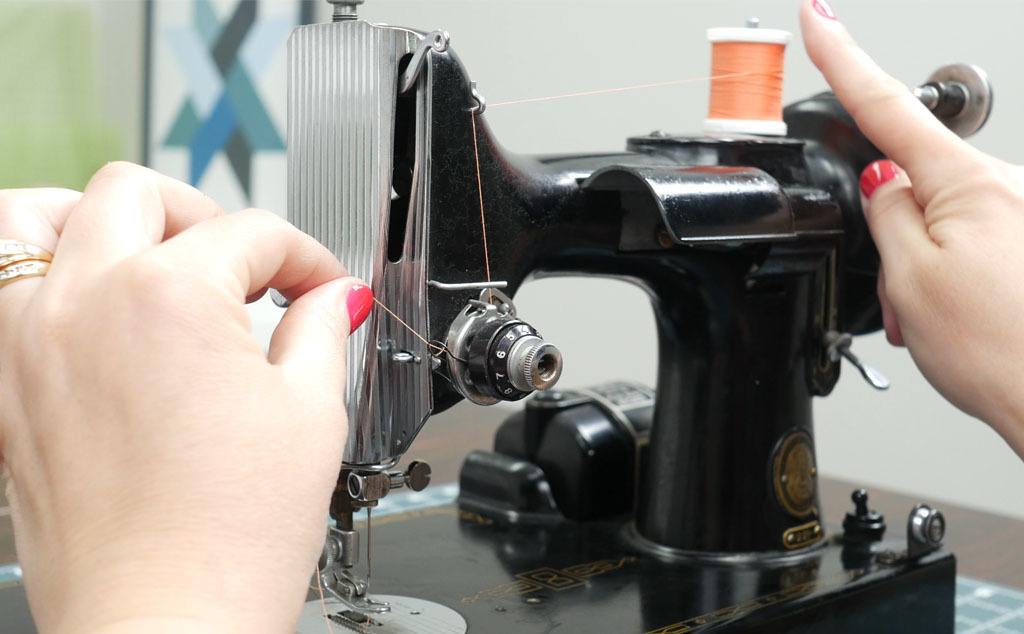
Next, bring your thread through the take-up lever. At this point, I usually have to pull a little more thread from the spool. Once you have a little more thread, follow it down the side of the machine. Some machines allow you to bring the thread behind the guide and just carefully pull the thread forward, popping it in; other times, you may have to feed the thread through the thread guide. Lastly, place the thread behind the needle clamp thread guide.
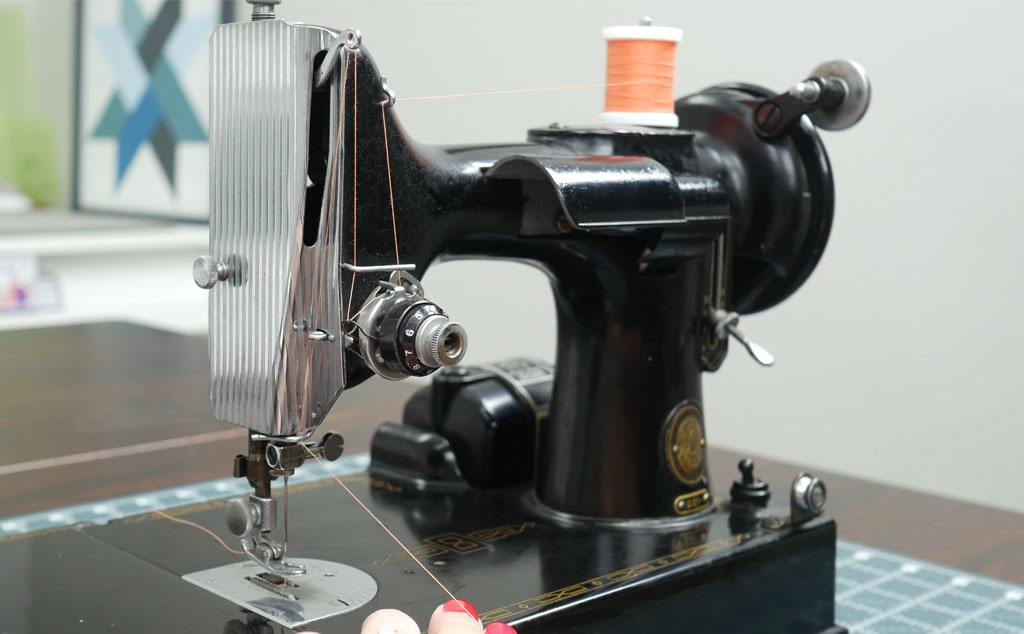
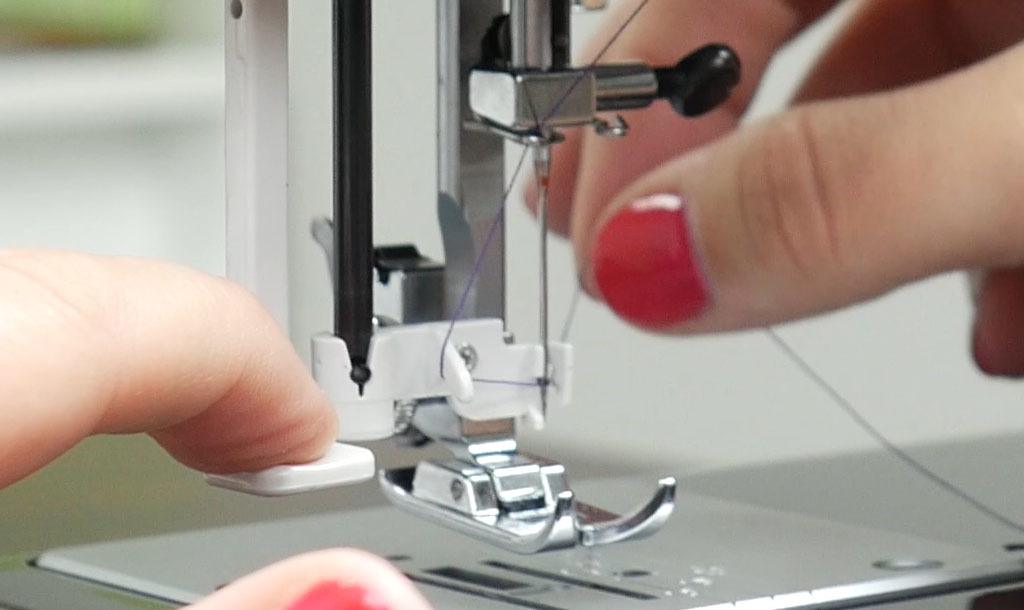
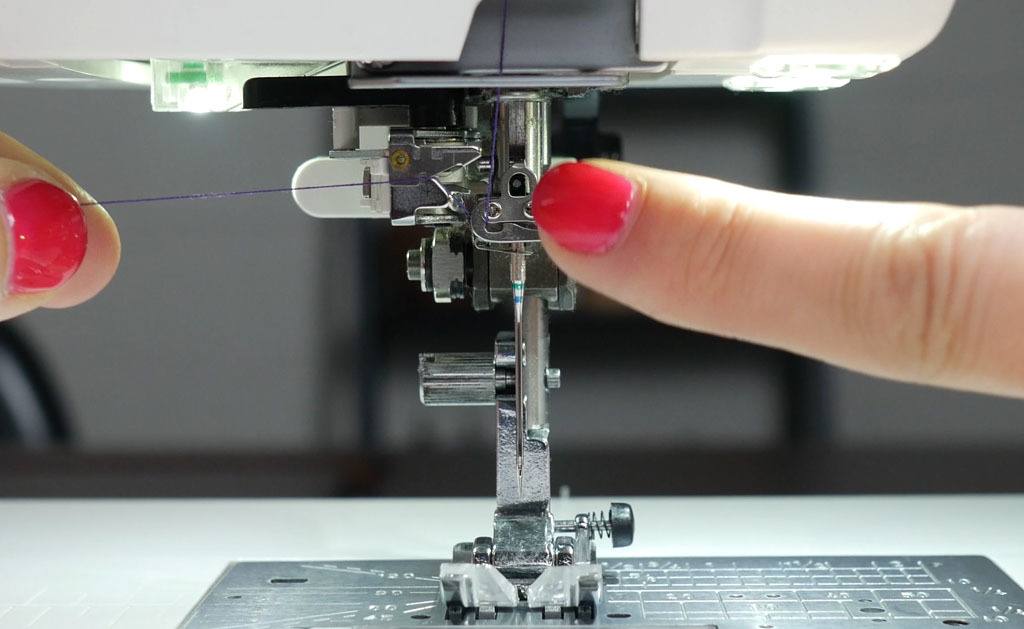
This model does not have an automated needle threader. Because of this, I used a manual needle threader. They help to take out some of the frustration that comes with threading a machine. One thing to note regarding this model is that, unlike more modern machines, it threads from right to left instead of front to back. It is always a good idea to double-check your manual and just make sure that you are threading it appropriately.
Once you have threaded the needle, put the thread underneath the foot and draw back several inches of thread.
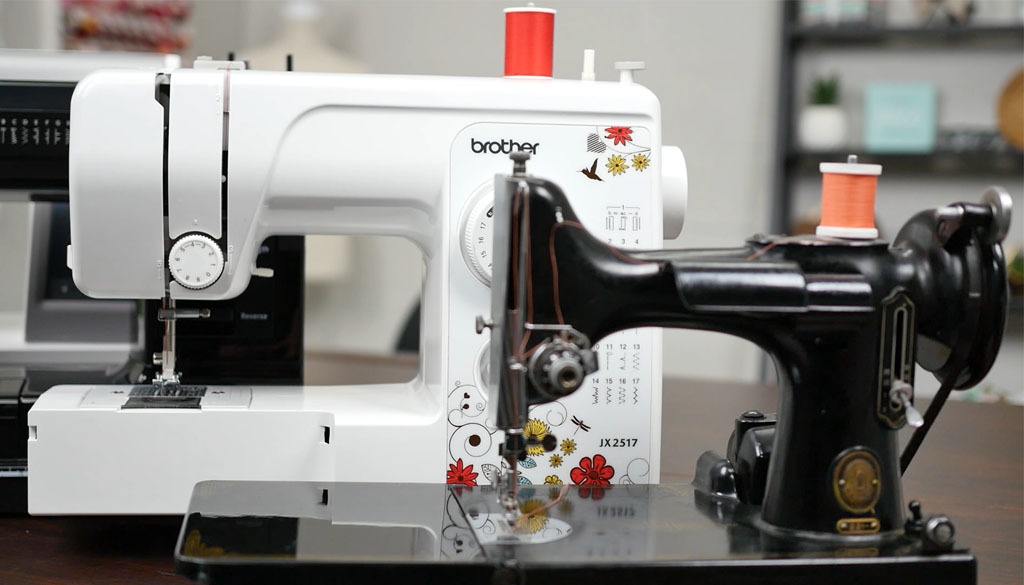
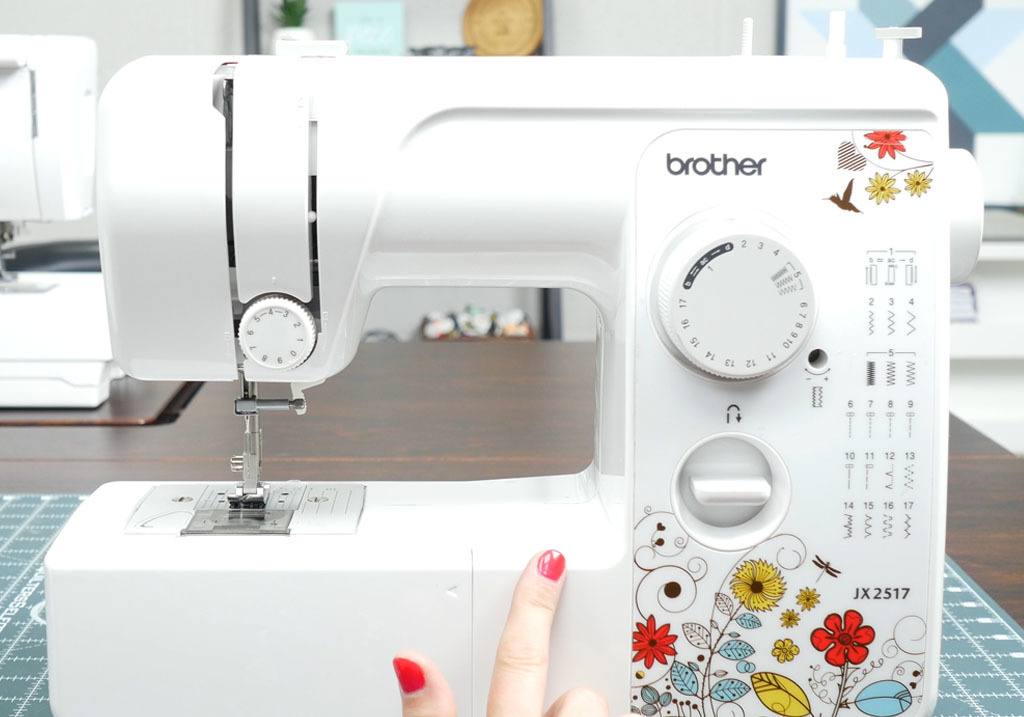
The next machine that we will discuss is a Brother JX2517- a basic mechanical sewing machine. Once again, the information is going to apply to machines with a similar tension as this model. According to the manual, the first thing you want to do is shut off your machine. Next, lift your presser foot.
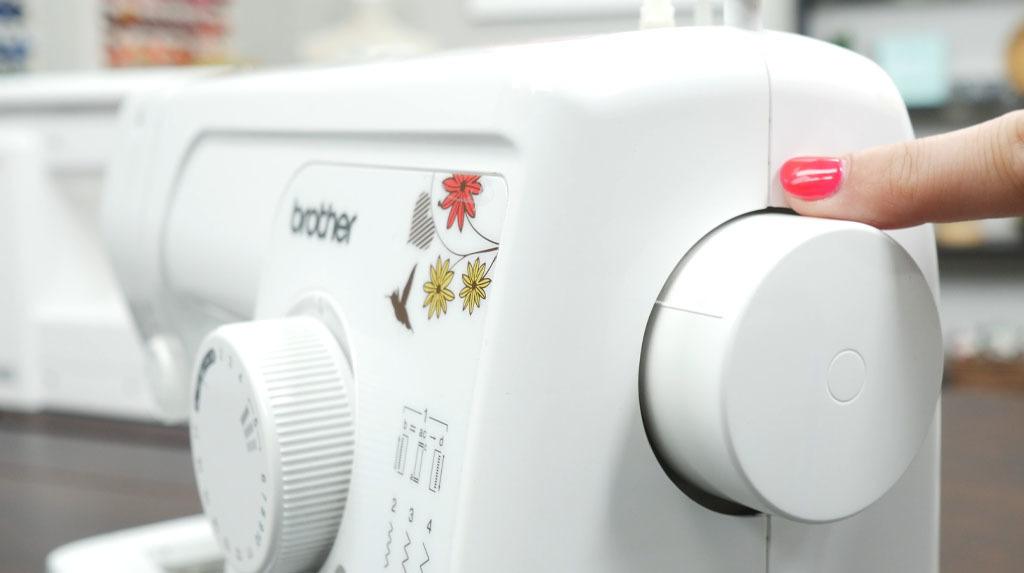
On this machine, there is a little notch on the handwheel. You want to rotate the handwheel counterclockwise towards you until the little notch faces in the up position. In doing this, you are lifting the take-up lever to the highest position.
Moving forward, simply pull up your spool pin. Place your spool of thread on the machine with the thread coming off the front of the spool. Bring your thread over to the first guide and then down the channel. Making sure that the thread is between the tension disks, bring the thread around the tension. Follow the channel up to the take-up, making sure to stay to the right of the take-up. Once you have reached the top of the machine, move your thread to the left and bring your thread around and in the take-up. Follow the numbered path down the channel and pop the thread behind the needle clamp thread guide. At this point, because the thread is between the tension disks and I find it easier to thread, I like to drop my presser foot.
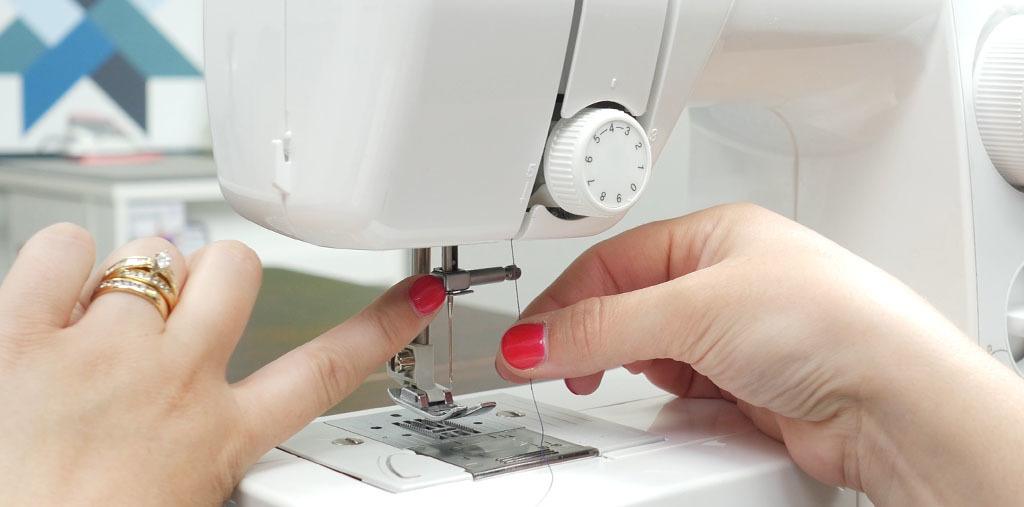
As with the Singer 221, this machine does not have an automated needle threader, so once again, I used the manual needle threader to thread the machine. After the thread was through the needle, I put the thread underneath the foot and drew several inches of thread behind. Machine number 2 is threaded.
The third machine that we will be threading is another mechanical machine- the Janome HD1000BE. This machine is considered a heavy-duty machine, so the threading process is slightly different than the previous models. Also, this machine does have a needle threader.
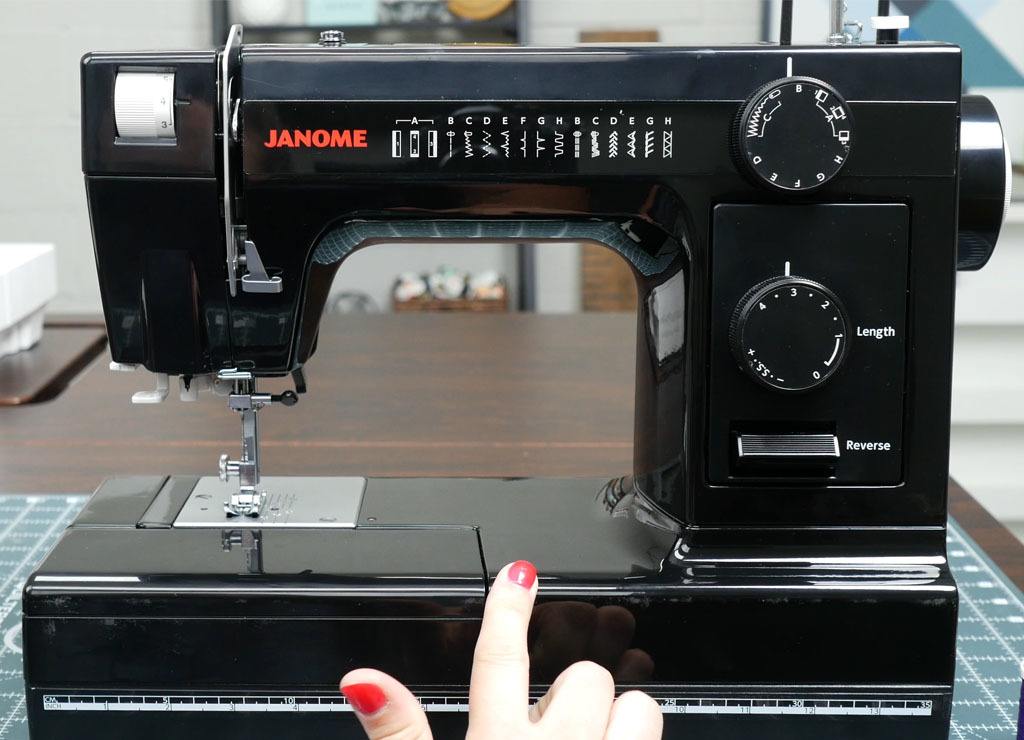
At this point, I may sound like a broken record, but the process begins the same way. Rotate your handwheel counterclockwise towards you until the thread take-up is in the highest position. Make sure that you also lift your presser foot. Place your spool of thread on your spool pin. Bring the thread over to the first guide. This is where this machine is a little different. You want to bring your thread down the left side. At the bottom, there is a little check spring and guide. You need to bring it around the guide and pull your thread up the channel, staying to the left.
Once you reach the top, bring your thread to the right and around the thread take-up lever. Follow the channel down to the first thread guide- then the second thread guide. Once you reach the needle area, slide the thread behind the last guide which is the needle clamp thread guide.
Now, to prepare to use the needle threader, the first thing that you must do is rotate your handwheel towards you until the needle is in the highest position. With your left hand, you can pull down the needle threader. You will see that the very small hook will come through the needle hole. While still holding the needle threader down with your left hand, with your right hand, bring the thread around the threader, as pictured below. While softly holding the thread, ensuring that it will be caught by the hook, slowly release the needle threader. A small loop will be created and it will be easy to pull. Place the thread under the presser foot and draw several inches of thread behind. You have now threaded a third machine.
Last, but not least, we will thread the Janome MC9400QCP. This machine is a modern computerized machine. I consider it a "fancy" model. :) These types of machines have a threading process that, at first, was a little strange for me to get used to, but now it's just second nature.
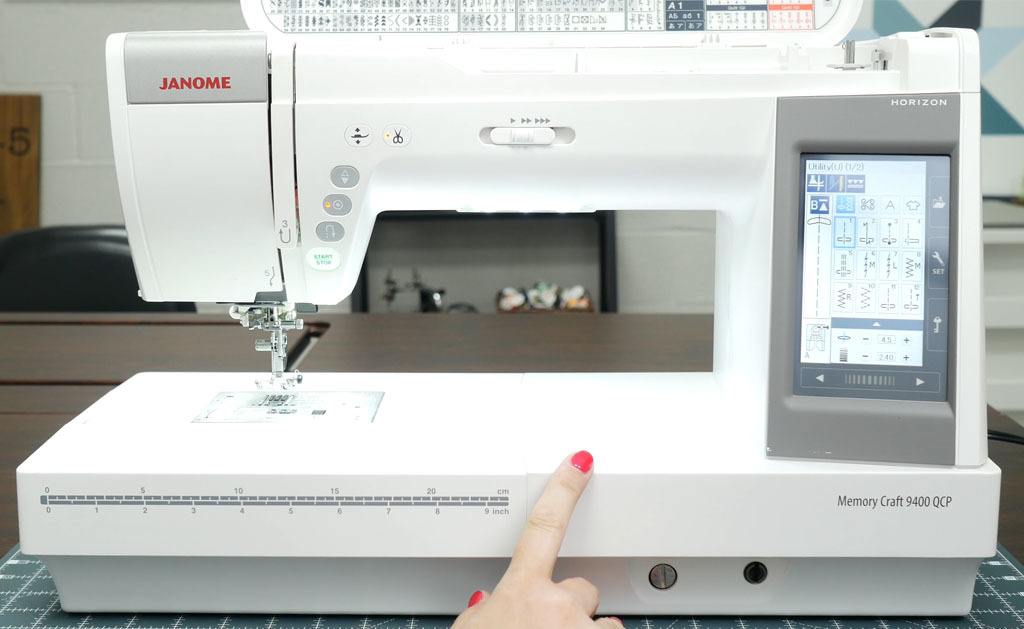
To begin, you need to press the needle Up/Down button. This is going to prepare your needle by placing it in the appropriate position for when we use the automated needle threader.
Next, press the Lockout button. I found this feature to be really neat. It drops your presser foot (weird, right?!); however, it simultaneously opens your tension disks so that the thread will be able to pass between them. It does all the thinking for you.
This machine has a horizontal spool pin. First, place the thread on the spool pin with the thread coming off the bottom front. Next, put your spool cap on so that the thread will not come off the spool pin. Now, with your thread in both hands, bring the thread around the metal guide and follow the numbered path. Make sure that you floss the thread back and forth a little bit to ensure it is properly positioned inside the machine. You will hear a little click.

Continue to follow the numbered path. When you get to the top, keep the thread to the right and then follow the arrow around the take-up lever and down the channel down to the first thread guide.
Next, there is also a needle clamp thread guide.
Side note, we do not have to do anything with the needle position because at the beginning of the process, we hit the needle Up/Down button. The sewing machine needle is still in the correct position. We simply need to pull the thread into the needle threader and bring it around to the left side of the machine where you cut the thread. Pull down the needle threader lever and the machine will thread your needle for you. It is so easy- super convenient! Once your needle is threaded, you can unlock your machine. The presser foot will lift up automatically. Put the thread under the foot and draw several inches of thread behind.
You have now learned how to thread 4 machines! I hope this gives you the confidence to tackle threading on any machine that you come across!
Happy sewing!