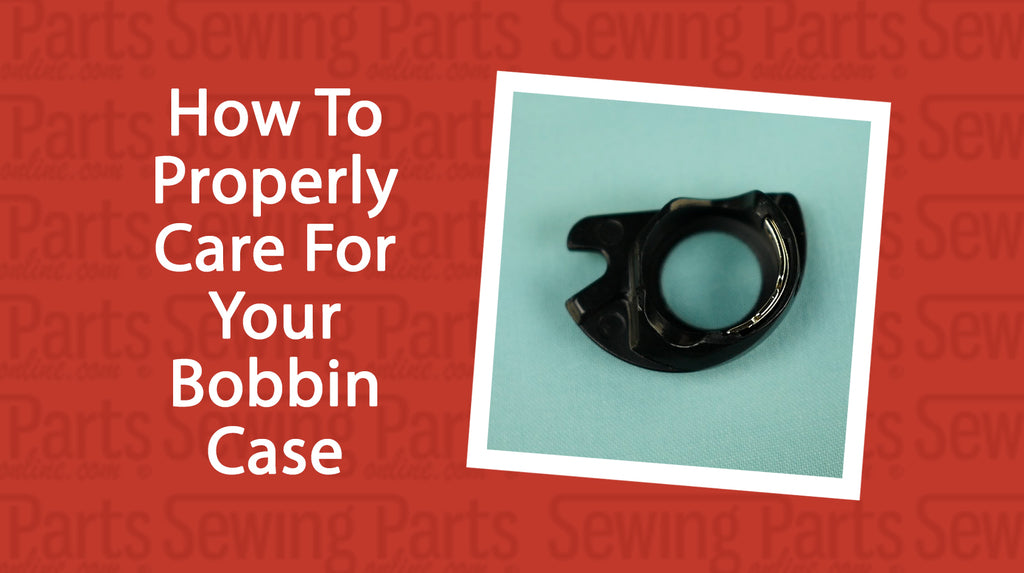
Today I’m going to give you some tips on how to properly care for your bobbin case. This is a Singer Apollo bobbin case. This is a top loading bobbin case and it works with Class 66 bobbins only. It seems obvious, but you must always use the correct bobbin for your machine. This can be confusing because a lot of bobbins look very similar. Although a similarly sized bobbin will fit in the case, like a class 15 bobbin, it will create terrible stitches. In fact, you could completely ruin your bobbin case by using the wrong bobbin. If you’re not sure which bobbin your machine uses, go to our site and search for the make and model of your machine. We’ll help you find the right bobbin.
In addition to using the correct bobbin, be sure to use the correct needle size for your fabric or else you’ll poke little holes all over your bobbin case. For example, if you use a size 80 needle to sew leather, you'll bend your needle and hit the bobbin case. Any kind of nick or scratch will negatively impact your stitch formation and will require the whole bobbin case to be replaced. If you’re not sure which needle size to use, download our needle chart.
To make your bobbin case last as long as possible, be sure to remove lint build-up regularly. Make sure you are oiling the bobbin case right here along the plastic and the metal. The metal front loading bobbin cases are oiled on the hook where the hook touches metal. Remember, you only need a drop. Turn your hand wheel to disperse the sewing machine oil evenly. Speaking of oiling, protect your investment and have your machine fully serviced by a professional every 6 months if you use your machine daily. Otherwise, once a year is enough.
Let's move on. Do you see this little screw here? This screw adjusts the tension of your bobbin thread. Generally speaking, the factory set tension works fine for most sewing and you don’t ever have to mess with this. However, if you're using a particularly heavy thread, like an industrial bonded nylon thread, or even a very thin thread, you’ll likely have to adjust the bobbin tension. For thick thread, you’ll want to slightly loosen this screw. For thin thread, you want to slightly tighten the screw. Only adjust this screw in very small increments. A quarter of a turn is a lot. Again, you only need to worry about the bobbin tension if the factory set bobbin tension isn’t creating a balanced stitch.
As long as you take good care of your bobbin case, it will perform well. However, eventually, it will cease to sew smoothly and will need to be replaced. Sometimes people think they only need to replace certain parts of the bobbin case, like the tension spring or the tension screw. That’s more trouble than it’s worth because the rest of the bobbin case is already worn. The same goes for metal bobbin cases. You don’t want to just replace the tension screw or just replace the metal plate. Do yourself a favor and buy a whole new case. They’re very inexpensive. See, over time, the repetitive spinning of your bobbin grinds down the inside of the case, causing it to fit poorly. In addition, the bobbin case cut out will become worn down, causing it to move back and forth sloppily inside the assembly. You’ll have a more enjoyable sewing experience if you get a brand new bobbin case at the first sign of wear and tear.
If you need a new bobbin case, new bobbins, or help finding a part, visit us at www.sewingpartsonline.com. If you want to come and hang out with our sewing community, visit us on Facebook, Twitter, Google+, Pinterest, and Instagram...we're everywhere. Be sure to like this video, share this video, and, of course, subscribe for next week's sewing video.


