SO YOU'RE NEW TO QUILTING
Starting anything new can be a daunting task. However, when you learn how to quilt, you embark on a challenging journey that will test your patience, creativity, math skills, and lumbar resilience. Heck, just figuring out where to start can cause your throat to lump. But, lucky for us, brilliant (ingenious, frankly) quilt masters have paved the way and created tools that have made the craft more accessible. So today, I'm going to share with you a few beginner-friendly quilting tools that have made my life as a novice quilter easier.
DITCH THE ROTARY CUTTER (AT FIRST)
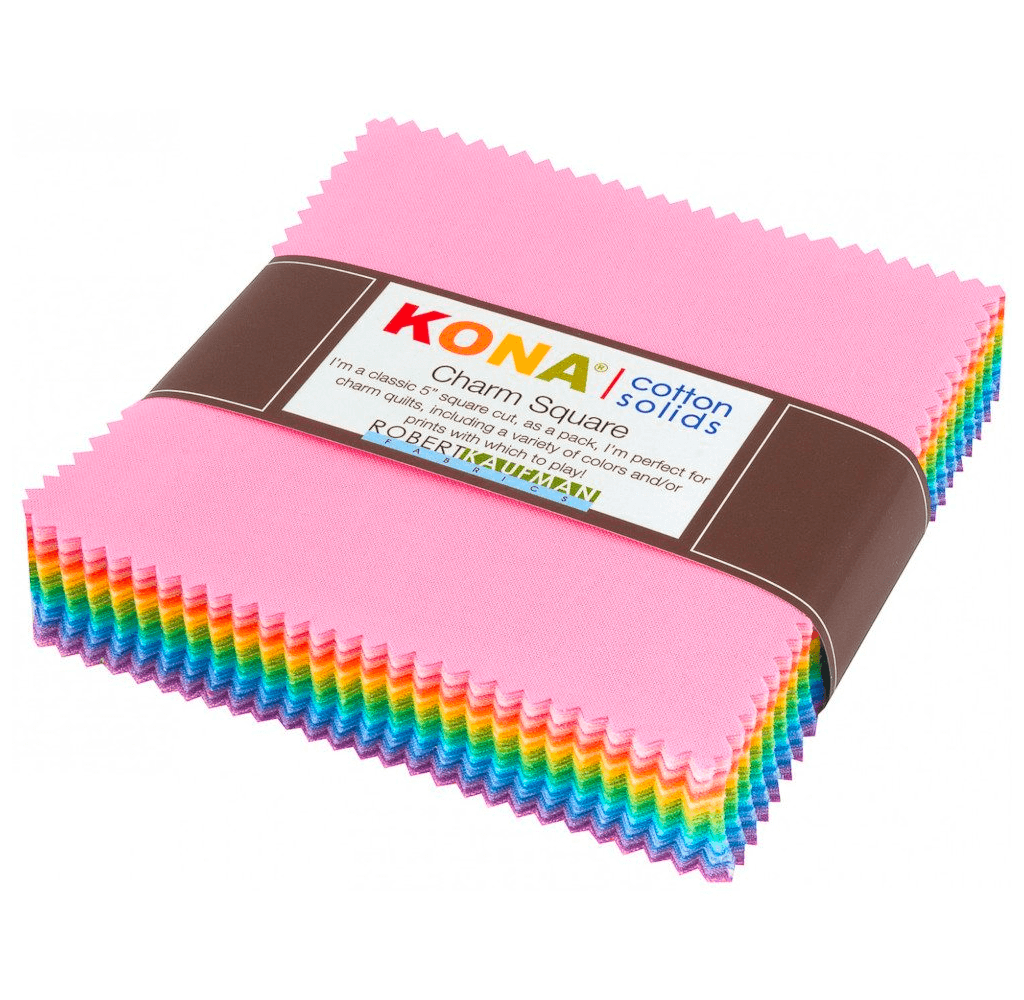
One of the most significant aspects of quilting is cutting out your fabric pieces. Like creating the pieces to a puzzle, you must deliberate how many, how large, what shape, which orientation, etc. It's too much for somebody who doesn't know how… so.. what's our solution? Well, I offer you: precuts! Fabric manufacturers offer pre-cut quilting fabrics, usually in squares (called "charm squares" or "charm packs") or strips (called "jelly roll fabrics"). There's also something called a "fat quarter bundle," but our goal is to discuss precuts that require little to no trimming. In fact, for your first-ever quilting project, we recommend just sewing a bunch of 5" charm squares together. It's the easiest way to dive right in and get the hang of sewing without getting too caught up in prep work. Trust us; you'll have plenty of opportunities to familiarize yourself with prep work in the future. But, for now, enjoy the ride and keep it simple!
A FEW TIPS FOR USING PRECUT QUILTING FABRIC
- Iron your fabric first, but make sure you do not run your iron over the material. Press it. You want to maintain the shape of your precut.
- Use a pressing solution such as Mary Ellen's Best Press, Terial Magic, or Acorn Precision Piecing. This will change the composition of your fabric and give it some sturdiness. In addition, these tools make it easier to control and manipulate your material while pinning and sewing. Out of the three, we highly recommend Terial Magic. It makes your pieces stiff like thick paper and comes out in the washing machine.
- Pin! Take the time to pin your pieces together before you sew. It does make a difference in the final result.
SPECIALTY PRESSER FEET EXIST FOR A REASON!
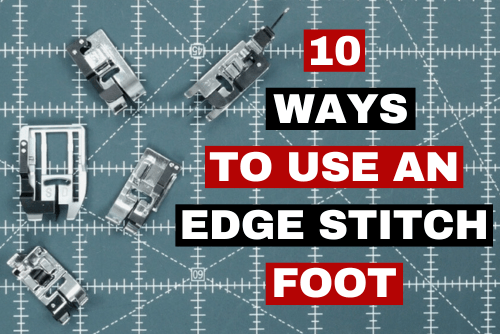
Do you absolutely need a piping foot to attach piping to your project? No.. You could get away with using your general-purpose presser foot, but why make things harder for yourself? The same goes for quilting! So make your life easier and use the following quilting presser feet with your first project:
- 1/4" quilting foot w/ guide - this is essential for piecing! If you did not already know, you must have consistent seam allowances throughout your project to achieve symmetry. As a rule of thumb, the quilting community uses 1/4" seams. Most sewing machines come with the option of a 1/4" piecing foot that has a guide on its edge. This guide prevents your fabric from shifting and creating a larger seam.
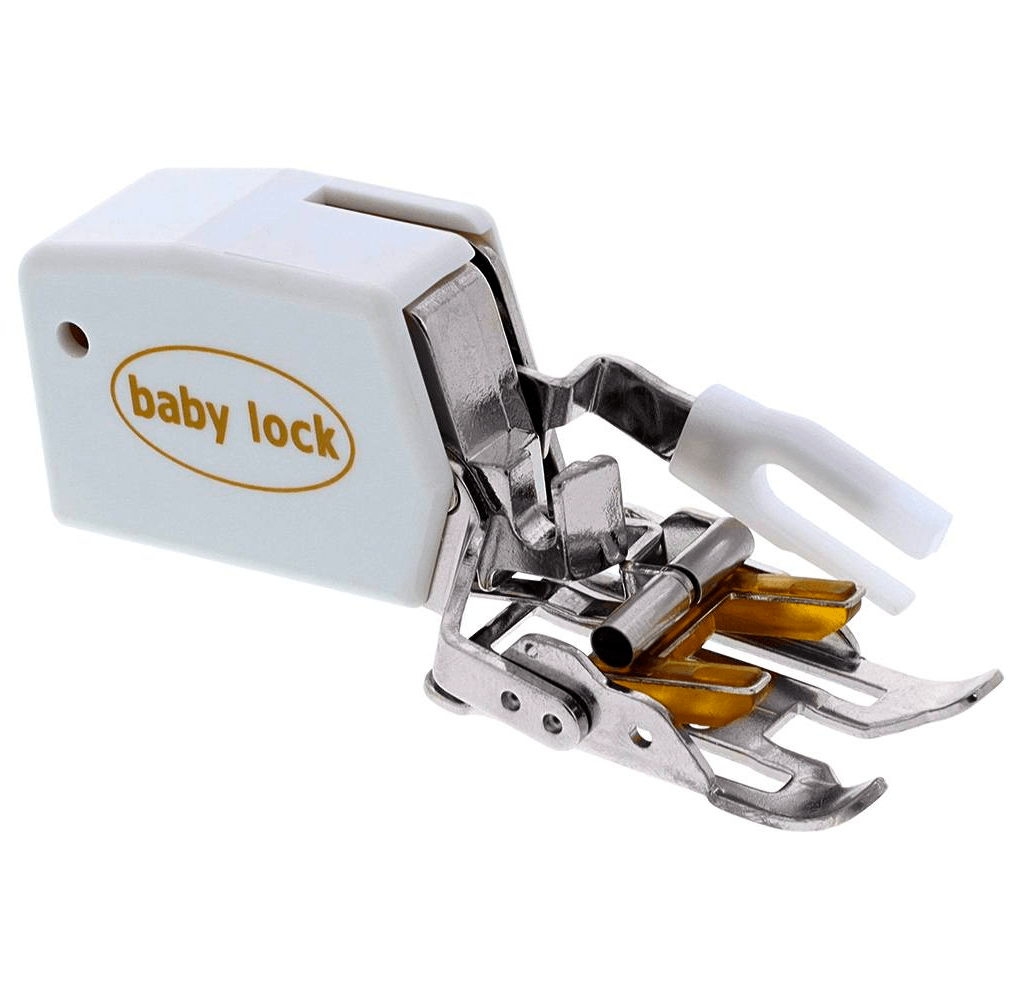
- Walking foot - when you sew multiple layers (such as your quilt sandwich), the middle layers can shift under your presser foot. That's because the lower fabric is fed by a set of teeth underneath called feed dogs, but the upper fabric isn't fed by anything. This shifting will ruin your project, and you will spend lots of time with your trusty seam ripper. The solution is a walking foot. Walking feet have a set of upside-down feed dogs that run in sync with your sewing machine's feed dogs to feed your fabric from the top AND the bottom. This quilting foot is essential if you're going to be using batting.
THIS ONE'S ALL YOU: CHAIN PIECING
This last bit of advice is not a tool but a technique called "Chain Piecing." When you first start quilting, you'll realize the importance of time management. If you cut your thread and set up a new set of pieces to sew each time you've finished with the last, you'll be at your machine for hours. Instead, we recommend continuously sewing your pieces together without snipping any threads. Then, when you're done, you can quickly use your machine's thread cutter to separate all your freshly sewn blocks.
CONCLUSION
I hope that was helpful. If I had one last piece of parting wisdom, it would be not to take quilting too seriously. Quilting is a science just as much as it is an art, so it's easy to get caught up in perfectionism, but I encourage you to care more about the process and to have fun. I'm right there with you if it makes you feel any better. I am still learning the craft. There are so many talented and I have so much respect for what they do, but I don't need to compare my work to theirs. Neither do you. Be proud of what you create. If you are a beginner quilter, we'd love to see your quilts on our Facebook community page: https://www.facebook.com/groups/sewingpartsonline


