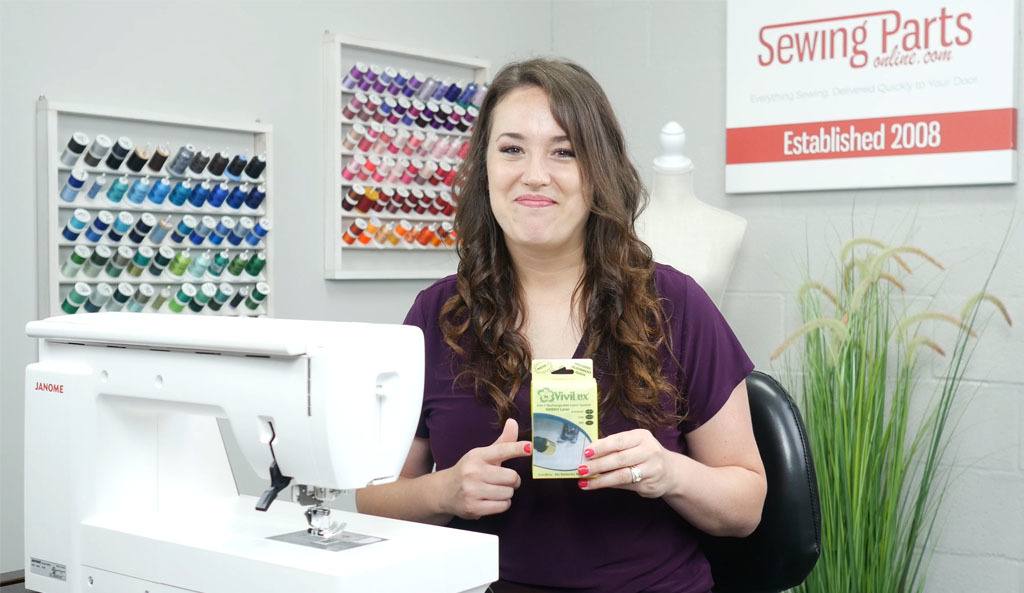
Have you ever been walking through your favorite sewing shop and you see one of those fancy machines with the lasers - just wishing your machine had one? Don’t be sad - there is actually a great notion that will give you this experience - without breaking the budget. It's the ViviLux 3-in-1 Rechargeable Laser System.

I'm going to repeat that--rechargeable! How nice is that! I don’t know about you, but I really dislike buying batteries. That feature alone had me looking at this notion.
Sewing Machine Laser | What's Included:
Let's take a look at what comes with this product.

The Vivilux Rechargeable Sewing Machine Laser lightbox measures 2 1/4" x 1 1/2". The flexible gooseneck is approximately 7" long. The gooseneck can vary in color. It may be black or white. There is a USB charging cord, a wall plug, and 3 interchangeable caps. Depending on the laser system that you select, it will come with Hook & Loop Tape, which I will just affectionately refer to as Velcro. It also comes with an Alignment guide and 100 alignment stickers.
When you get your laser, I know that you will be excited to use it, but please make sure that you charge it for 3 hours before using it. There will be a red light on the back while it's charging. The light will turn off after it is fully charged.
Different Laser Color Options:
There are several different options that you can choose from with these sewing machine lasers. The first thing to mention is the color of the laser. There is a red option or a green option.
We’ve found that the red laser is excellent for light-colored fabric. It is also a great option if you are just getting into using a laser since it is a little less in price.
However, I do recommend the green laser. It is a little bit more in price, but the super-bright beam makes it easy on the eyes, reducing eye fatigue. I have also found that the green laser is easier for me to see on all different colors of fabrics.

How do they attach?
Now let's talk about how the laser attaches to your machine. You can choose either the Velcro attachment or the magnetic attachment. Now, you may be asking yourself--which one should I get?
For instance, the magnetic attachment is intended for sewing machines with a metal body.
Whereas, the newer machines are made with a hard plastic shell and those will require the Velcro attachment version. The magnetic option will not attach to those types of machines. To be perfectly honest, I prefer the Velcro option. I found the magnetic one wasn’t quite strong enough for my liking, but the Velcro is super easy to install on your machine and it has the hold that I like.

Three Interchangeable Laser Caps:
Let’s take a closer look at the interchangeable caps.
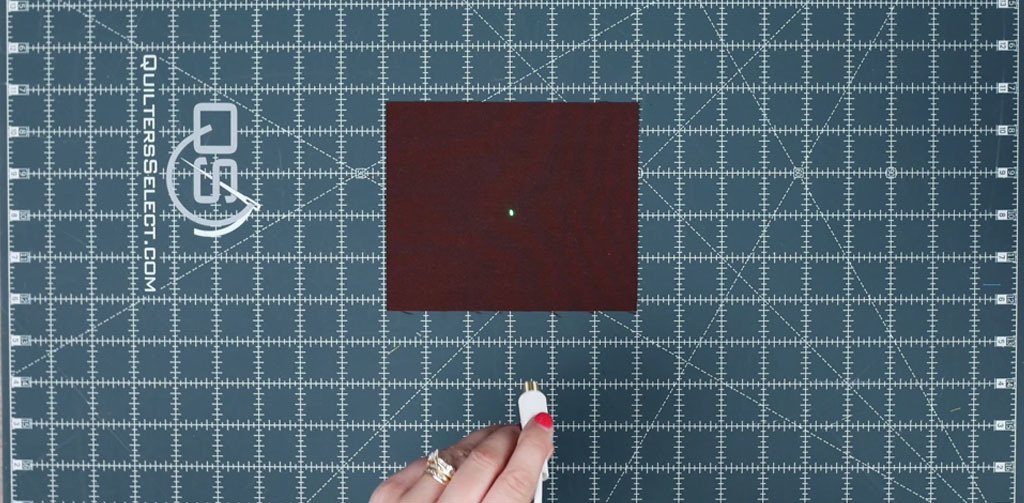
The 1mm Dot cap is used to mark the point on your fabric where you want your needle.

This Line cap is perfect to mark a straight sewing line. It works as a perfect visual seam and cutting guide and it will work with any seam allowance.

The Cross-Hair cap helps you locate the center on an embroidery project, quilt block, or pocket.

Using the Alignment Guide:
Now let's peek at the alignment guide. On one side, you have your 1/4" increments; whereas, on the other side, you have some of your standard measurements.

Let's say that you want to do a 7/8" seam. You would place your needle in the 7/8" hole. Next, you would use the lines on your needle plate and the grid on the alignment guide to straighten the guide. After you have appropriately placed it, you would drop your presser foot to keep it from moving around. Lastly, you would line the Vivilux Rechargeable Sewing Machine Laser on the edge of the guide.

Now you can remove the guide and move through your sewing project with ease!

Happy sewing, everybody!


