Don’t you love it when an item has multiple purposes? I know, I do. One of my favorite accessories is the Stitch in the Ditch foot. This sewing machine presser foot not only will help you join two fabrics together or stitch in the ditch, but it will also help you produce beautiful, even topstitching. For this reason, it can also be referred to as an Edge Joining foot or a Topstitching foot.
What Does The Stitch In The Ditch Foot Look Like?
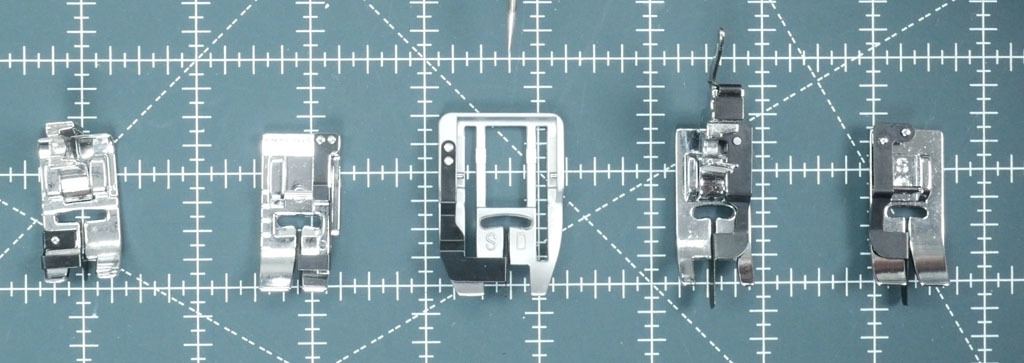
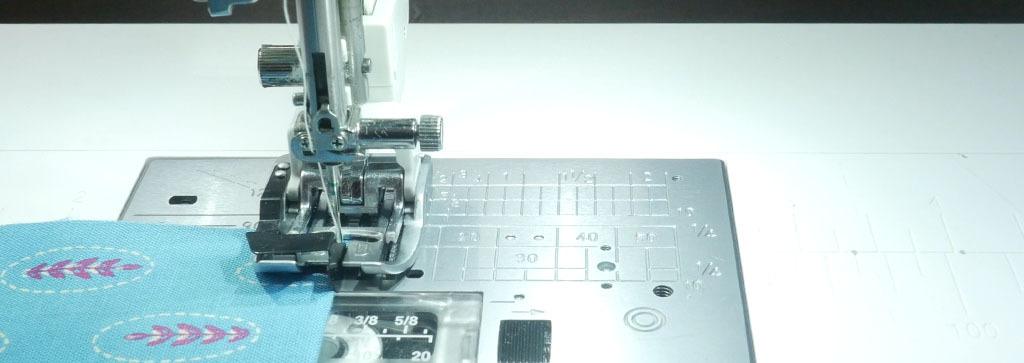
As with many presser feet, there can be different styles. Regardless of the style, the stitch in the ditch presser feet will have a guide that comes off the center front of the foot. You can use this just as a guide or it can be used to spread apart the fabric. This provides just enough room that you can sew in between the fabric.
How Do I Stitch In The Ditch?
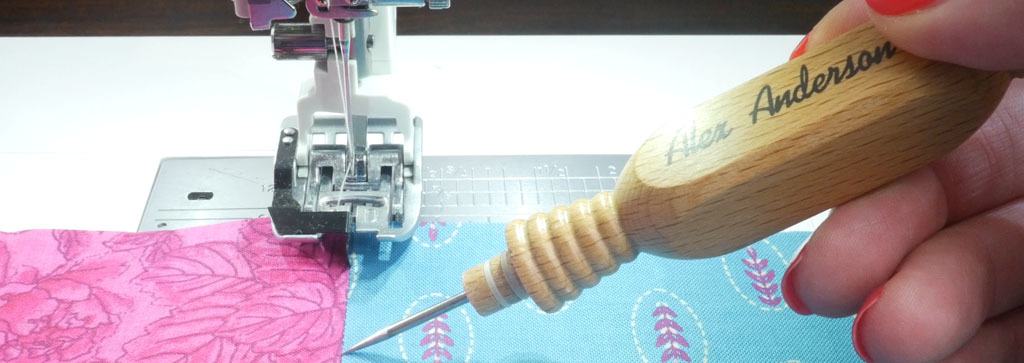
First, set your needle position to the center needle position. It should be aligned with the guide at the front of the foot. The guide can be used to follow the seam line. As previously mentioned, it will hold apart the fabric just enough for the stitch in the ditch foot to sew between. I in the video, I used contrasting thread so that you can easily see; however, if you use a similar thread color, it is, essentially, invisible.
How Do I Do Edge Joining?
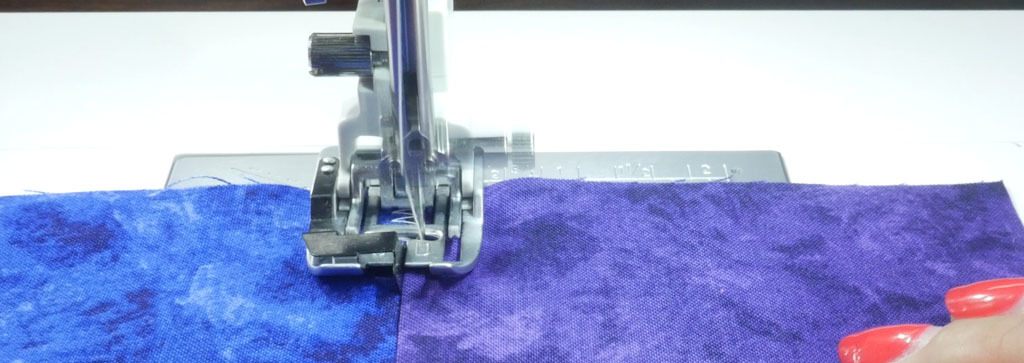
When Edge Joining, you are literally doing that, joining two edges together. Place the fabrics so that the edges are touching the blade. Instead of a straight stitch, you will need to set your machine to a zig-zag stitch or a multi stitch zig-zag. You can use different stitches and different stitch widths depending on what you are trying to accomplish, but as long as it is wide enough to catch both fabrics, you should be good. Have fun experimenting!
Can I Use Edge Joining For Anything Else?
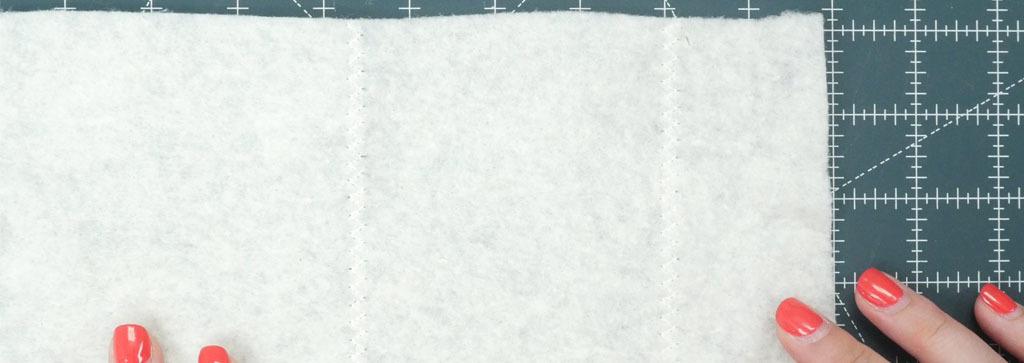
One example that I love to use the Edge Joining foot for is using up leftover quilt batting. There are often times when you have leftover batting from previous quilts. You’re ready to make another project, but you don’t have quite a large enough piece but you have several, that combined, would be large enough. I used a triple zig-zag stitch. It keeps it flat and the center doesn’t want to protrude up since it has that extra center stitch.
How Do I Use The Stitch in the Ditch Foot For Topstitching?
Using this foot for topstitching is probably my favorite way to use this presser foot. I love to make doll clothes, but sometimes the topstitching can be a little difficult because I want a rather narrow topstitch. This is the perfect solution. Place your fabric next to the guide. I like to start at the center needle position and then, in small increments, I move my needle over to the left. When I think I have moved it over enough, I slowly lower the needle and double-check how far it is from the edge of the fabric. When I get the distance that I like, I begin sewing. You can go back and increase your needle distance and do a second row of stitches. This gives such a professional, clean look to your work.
Are you getting inspired yet? There are so many cool things that you can do with this presser foot!
How Do I Use This Foot To Attach Binding?
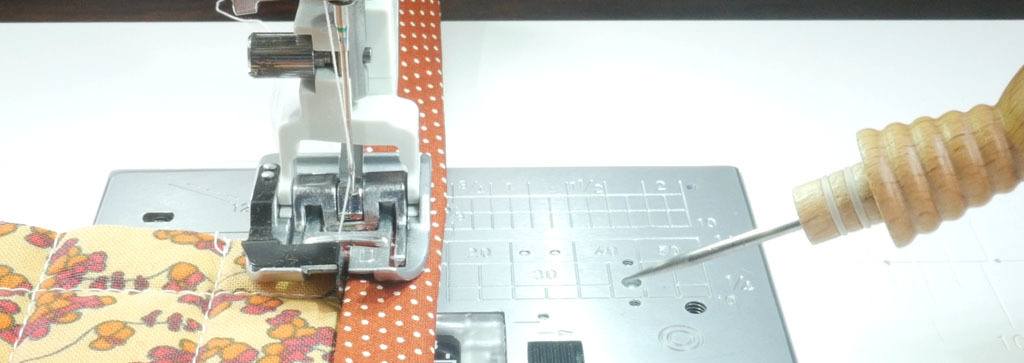
You can also easily attach your binding to your quilt with this presser foot. I sewed some quilt sandwiches so I could demonstrate. I used a 2 1/2" strip for my binding. Fold it in half, lengthwise. Press. Line the raw edge of the binding up with the raw edge of the sandwich. Stitch 1/4" seam allowance. Press flat. Turn your work over. Flip your binding to cover your stitches. Now you can go to the sewing machine and use your presser foot.
To do this, your machine does need to have a right needle position. Place your binding on the right side of the guide. Starting at center needle position, slowly move your needle to the right. After you find the distance you like, following the guide, you can sew. It looks so nice!
There Are Even More Ways To Use This Presser Foot!
As you can see, there are so many ways that you can use this presser foot. Make sure to check out our other video where we share more ideas on where you can use this foot, such as making pintucks or using it for applique. I shared it at the end of the attached video.
Until next time, Happy sewing, Everybody!


