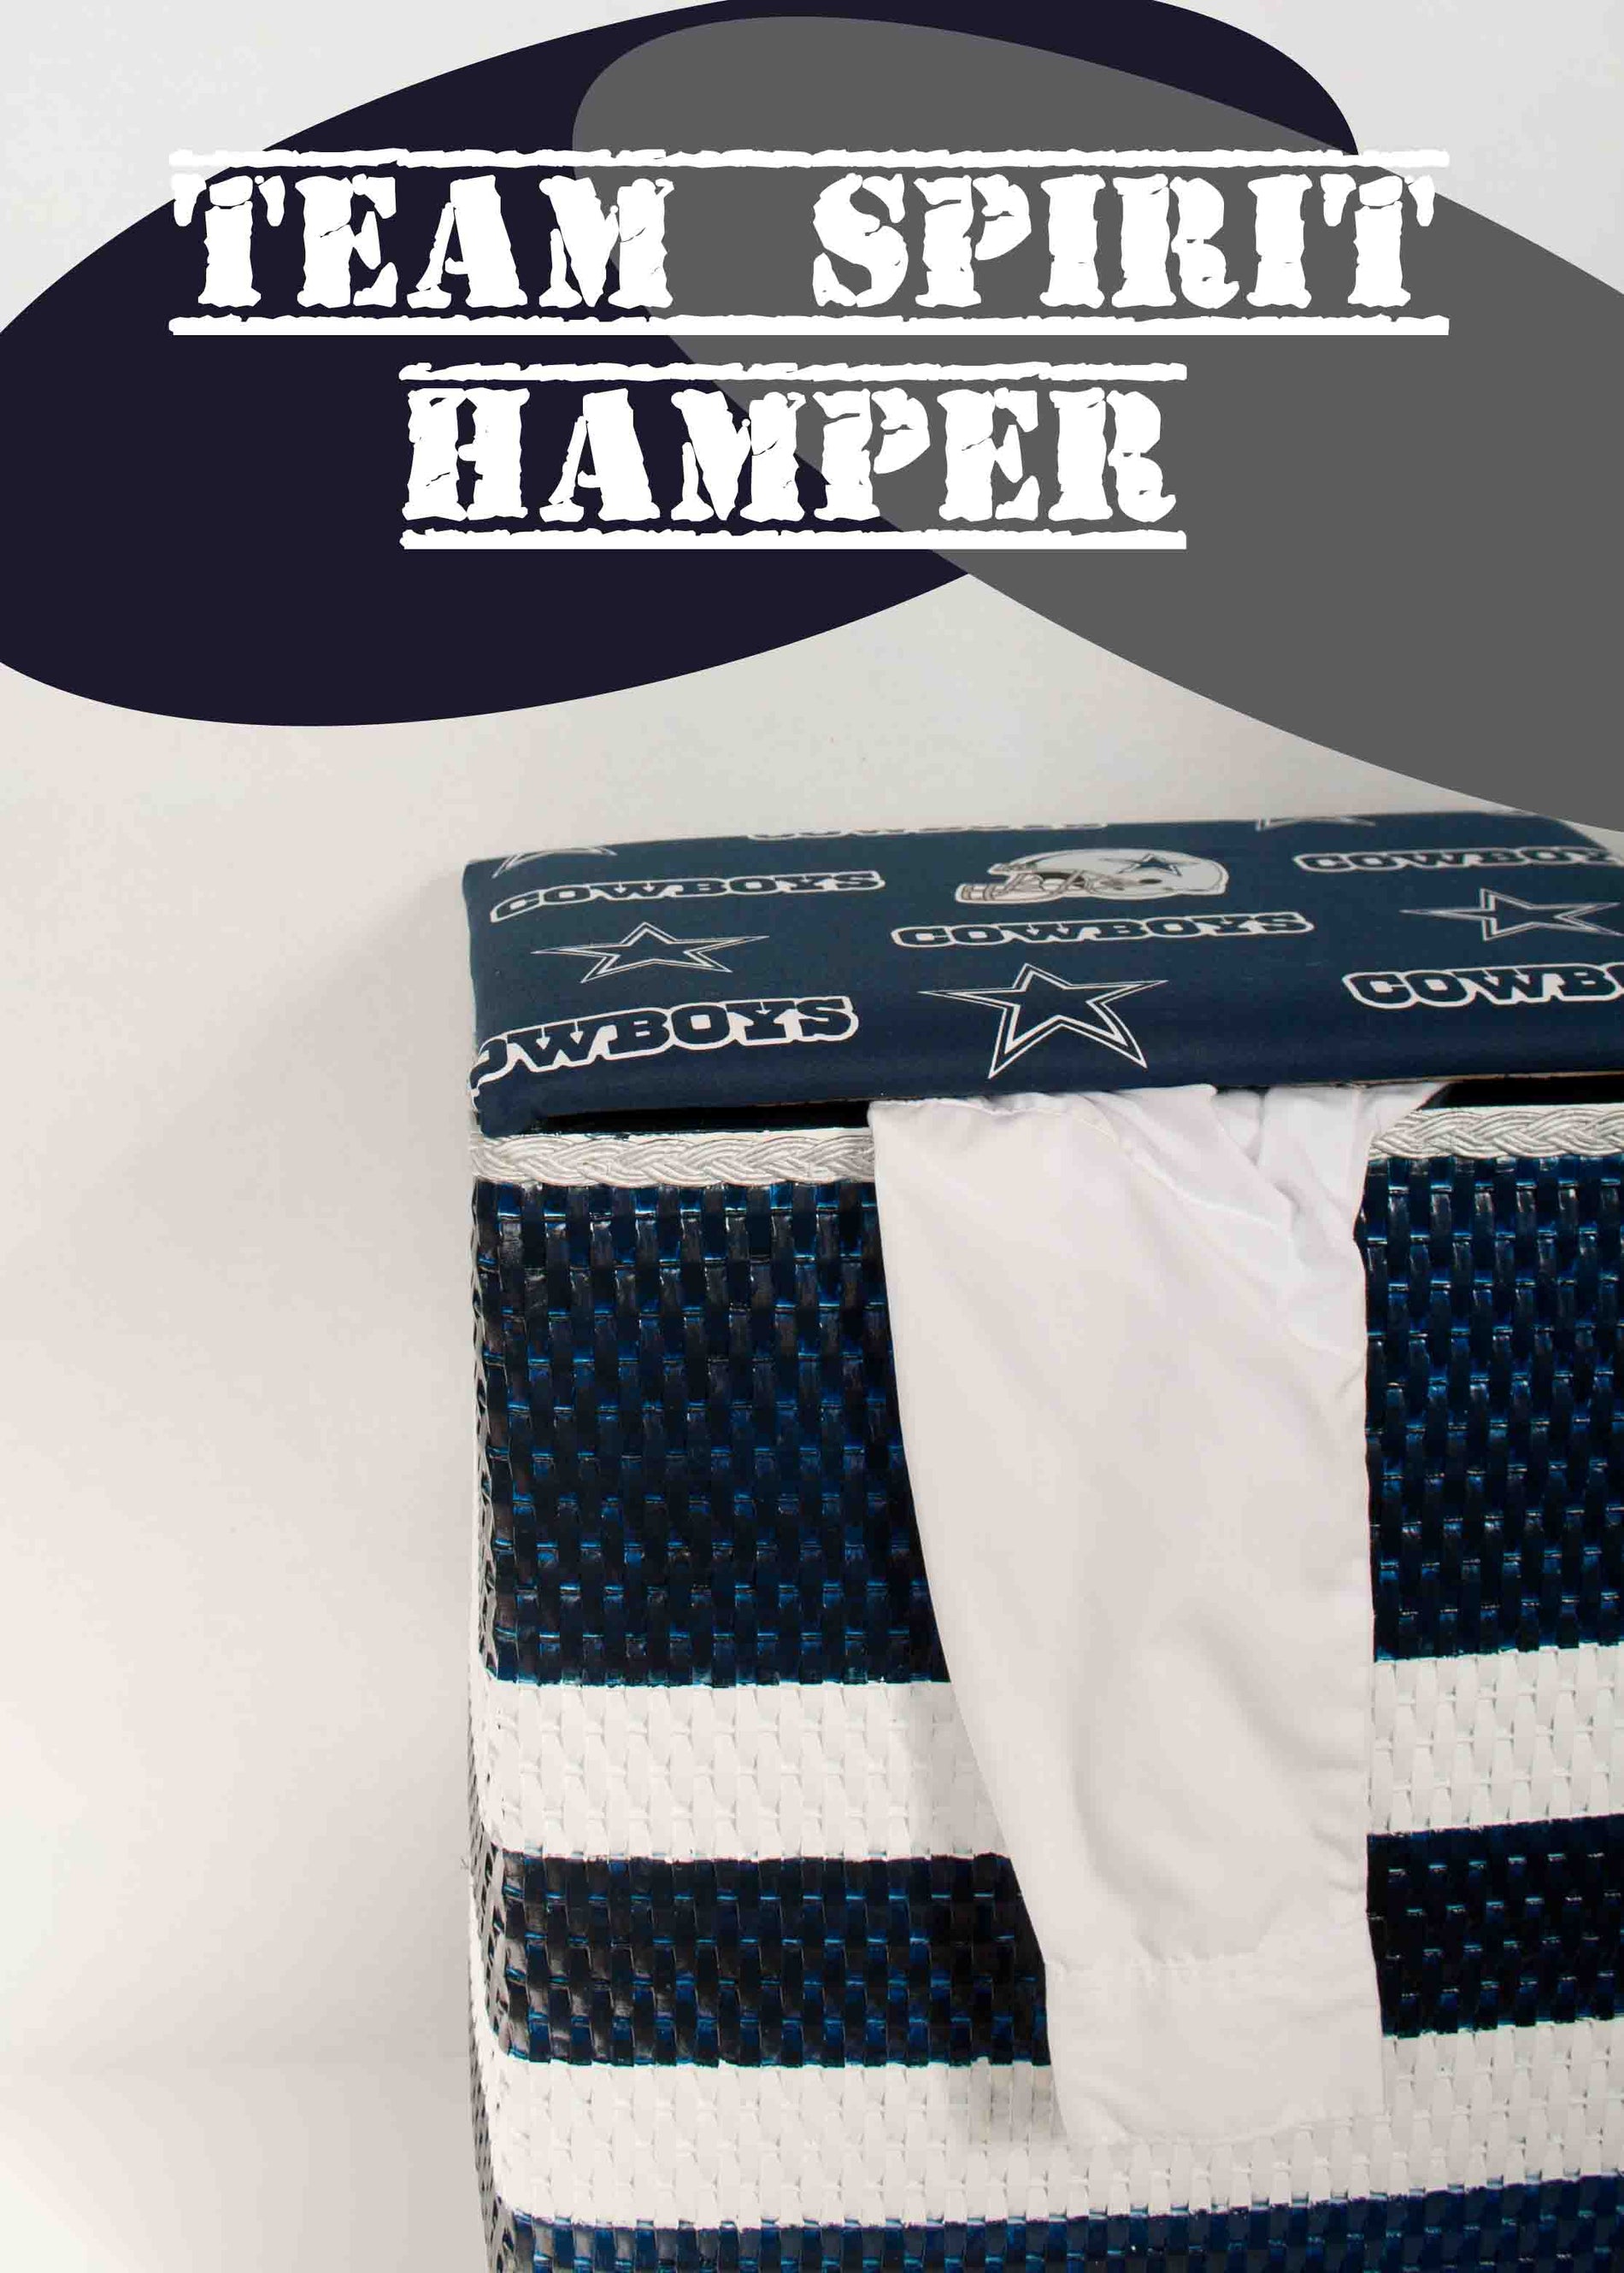
Thrift stores are awesome. Where else can you get a perfectly good wicker hamper for $3? Sure, it may not be the most beautiful hamper on the block, but you are a Do-it-yourself designer ready to take on any challenge, right? Right! In this tutorial we are going to be painting and reupholstering a second-hand kids hamper. If you've never done reupholstering before, this is a great starter project. Until this project, I had only dreamed of one day reupholstering. Sure, I'm not quite ready to take apart the sofa, but this was still pretty gratifying! All you need is a few supplies and a couple hours to completely transform a laundry basket!

Supplies
1/4 inch fabric Spray Paint Acrylic paint for touch ups Staple Gun Screw Driver Painters Tape (Duct tape or scotch tape work, too) Drop cloth (or just cut open some trash bags)

Step 1
Remove hamper lid using your screw driver.

Step 2
Using a knife or flat head screw driver, pry off the staples holding down the hamper lid lining and fabric. Keep the inner cushioning fabric on the hamper lid. Feel free to paint over the lid lining.


Step 3
Position the new fabric under the lid. Make sure you are paying attention to where the screw holes are located. You don't want to staple the fabric on upside down! (I almost did)

Step 4
Fold the raw edges around to the underside of the lid. Try to fold the corners like you would wrap a christmas gift. Nice and neat. Secure with a staple gun.

Step 5
Place the hamper lid lining back on the lid, matching up with the screw holes.

Tip: You can also paint the inside framing of your hamper.
Step 6
Attach the hinges back on the hamper lid.

Step 7
When I started this project, I thought I could just paint it with acrylic paint. I was wrong. Because it is wicker, the paint wasn't getting in the grooves and just looked awful! So, I went out and bought spray paint. What a difference! Before you start painting, cover up areas you don't want painted with tape. For instance, I want two stripped lines, so I covered that area with tape.

Step 8
Spray paint! Now, you have to reverse your tape. Remove the tape where you want your stripes and cover up everything else.

Spray paint!


When I removed the duct tape, there were a few specks of painted lifted and the white stripes weren't completely even. This si where you can go back with acrylic paint and do a few touch ups. I added an additional layer of acrylic paint because I felt the blue spray paint wasn't dark enough. I also covered up the trim with some silver acrylic paint.
Step 9
Once everything has dried, screw the top hinges back on to the hamper body.

Hopefully, you remember where you put all the tiny screws. It took me hours to find the missing one!

I hope you enjoyed this tutorial and have a great time making your own! Feel free to post picture of your awesome upcycles in the comment section below. Happy sewing!


