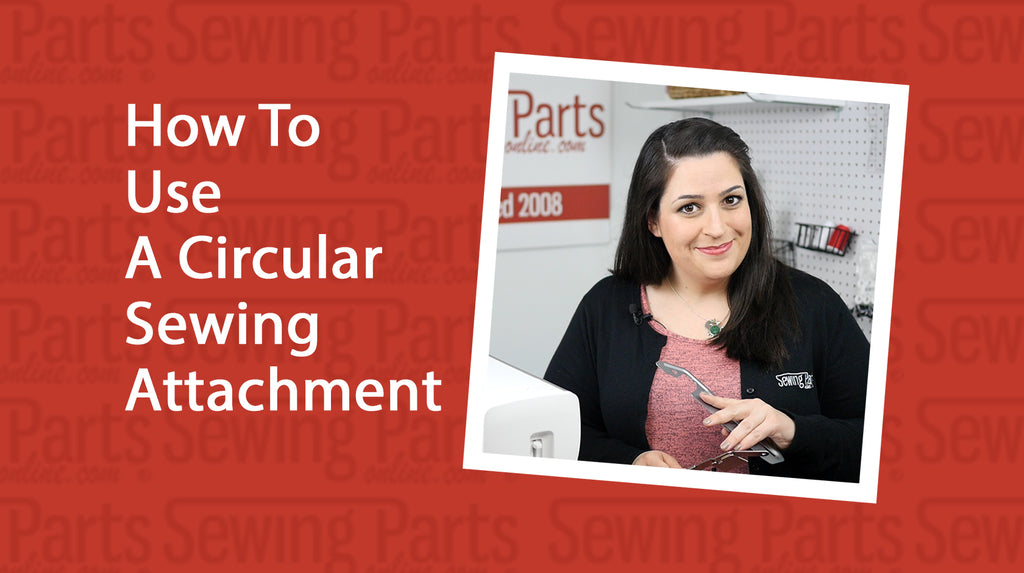
Hey, everyone! Sarah here with sewingpartsonline.com and if you've ever struggled to make decorative circles, I have an attachment you have to try. This is the circular sewing attachment. I actually have two of them here. This is a pretty generic Elna one. A lot of them look like this. And this is the more advanced Babylock one. Now they go on the machine a little bit differently, but essentially, they do the same thing - help you make really beautiful circles that are precise. So, we're going to learn about the anatomy, how to install them, and we're going to start making some awesome circles.
Here we have an Elna circular sewing attachment - it looks very similar to the Janome circular sewing attachment. It’s pretty simple and straight forward.
This is the pivot pin - you puncture the center on your desired circle onto this pin. Carefully replace the cap - if you press too hard you’ll bend the tip.
Push down on this metal clip and now you’re able to move the slider along the measuring gauge. Slide the slider to the right for a smaller circle and slide to the left for a larger circle. When you get to the number you want, slide the metal clip back up to lock the slider in place.
Now, the measurements etched into the gauge are a bit confusing at first.
The bottom numbers and dashes represent inches. For instance, this big 5 on the left here is approximately 5 inches from a needle in the center position. So, it would create a circle with a radius of 5 - and a total diameter of 10. Each etching along the inches scale is a half an inch apart.
The top numbers and dashes represent centimeters. For instance, this big 10 here represents 10 centimeters from the needle as long as the needle is in the centered position. Each of the little dashes in-between is spaced out in 1/2 centimeter increments.
Anywho, this metal plate fits over your top loading bobbin case in place of the bobbin cover plate. This hole over here is where the attachment screws into the needle plate of your machine. Pretty straight forward.
Now let’s take a look at the fancy Babylock attachment. Flip up the little lever here to slide it along the measuring gauge. This measuring gauge is pretty simple - each dash represents 5-millimeter increments. The larger number, obviously, represent 10-millimeter increments.
So, if the indicator points to 80 then you are approximately 80 millimeters from your needle, as long as your needle is in the center position.
Unlike the Elna attachment, this pin is released by pressing on the little metal bar. And you reattach by clipping it in-between the red lines. You’ll be able to hear it click in place. I like this attachment the most because when the pin is clipped into place, the fabric is secured really well. Because the pin is detachable, Babylock included a little rubber cover for the tip.
This cut out here is where the attachment clips onto your machine from the back of the needle plate. And this little hole is where it screws into your needle plate.
Babylock was nice enough to also include a manual on how to use the circular sewing attachment. They also included two screws and two, snap on, presser feet - a braiding foot and a three cord cording foot. To top it all off they give you a flexible, circular measuring gauge to assist in spacing and measuring your circles.
Now, before you even start sewing, you have to apply a light weight stabilizer to the back of your fabric. I’m using an iron on stabilizer because it’s easier, but you don’t have to use iron on if you don’t want to.
Most sewers like to use decorative stitches to create multiple circles, either overlapping each other or by sewing circles inside circles. To create overlapping circles, simply decide how big you want each circle to be. I'm going to mark my desired center points on my fabric and then I'm going to space them out about 4 inches, so they will overlap nicely. I can use this Babylock template to draw the circles on the back before I even start sewing, just to make sure I really like what I see. Then I take the fabric to my machine - Make sure your attachment is at the right measurement point (I'm at 80 millimeters)-now you just start sewing! I'm going keep it simple and use a satin stitch.
Your machine should be doing most of the work you should only need to assist in feeding and positioning your fabric minimally, if at all. Once that circle is finished - remove your fabric from the attachment and move on to the next point you marked. And then repeat until your finished.
Pretty easy right?
Now you can also create circles within circles. For a really fun look, I like to use lots of different stitches. I found it’s best to start from the center and work my way out. So I’m going to start with my smallest circle. Pin my fabric to my attachment and sew my first circle. Then, I'll remove my fabric, but keep the pin inside the fabric so that I don't create more holes and move my slider to the left to create a bigger circle so let's say ….we’ll space the circles out by 10 mm. I’ll pick a different stitch ….and just start sewing again.
Also, just a quick note, if your machine is twin needle capable, you can totally use a twin needle with this attachment.
I’m going to keep repeating this process until I’m happy with the results.
Now if you have a machine with a million stitches you can get really fancy and make something really cool using pictograph stitches and lettering. And really have a lot of fun!
Now it's not all about decorative topstitching, you can use this attachment to sew a perfect circle and turn in right sides out, like if you wanted to create your own fusible appliqué Here’s what you do;
Place the right side of your top fabric to the bumpy side of your fusible stabilizer, pin together because we’re not ready to iron at this point. just like before, mark your center point and pin your fabric to your attachment.Now in this demonstration, I really recommend using a walking foot, since the stabilizer isn’t fused in place, your essentially sewing two layers of fabric. And sew your circle using a straight stitch.
Now cut around your stitch as close as you can without actually snipping into the seam, so around 1/8 of an inch is a good seam allowance here.Now because we didn’t fuse the stabilizer, we can use out fingers to kind of separate the stabilizer from the fabric so that it can be carefully snipped into. Be careful not to cut your pretty fabric, we’re just cutting the stabilizer so we can turn the circle right sides out. now turn it right sides out….you can use a point turner to really work those seams and get a nice crisp.
Now you’ll notice you’ve got a perfect circle with a fusible backing, perfect for applique!
So you just saw that you can use a walking foot with the circular sewing attachment and, good news, you can also use a bunch of your other cool presser feet. For example…
The Baby Lock attachment came with a braiding foot so I can attach different ribbon or trim.
It also came with a 3 cord cording foot, so I can attach up to 3 different thin cords or string, and really anything that will fit through the little guides for a really unique look.
I also really enjoy attaching yarn to my projects and I found that using the yarn application foot created a perfect circle for flower design.
And you don’t have to limit your projects to medium weight cotton. You can use the attachment on a material as light as water soluble stabilizer, like if you want to experiment with creating metallic lace designs.
You can even use this attachment to sew heavier fabric like denim.
So I hope that this was helpful! If you have any comments or questions or if you want to buy your own circular sewing attachment visit us online at sewingpartsonline.com. If you want to hang out with our sewing community visit us on Facebook, Twitter at @sewingparts, Google plus, Pinterest and Instagram, we're everywhere. Be sure to subscribe to our Youtube page for our next sewing video!


