Chelsea Swindle, also known as @shesewsseams on Tik Tok, Instagram, and YouTube, joined us in the studio to discuss how to make a quick and easy thumbhole cuff. This project is great for anyone who is beginning their sewing journey because it is just a few quick and easy steps. She goes through the process step by step, and we encourage you to follow along! If you enjoy our content make sure to keep up with us on our social media pages. You can find us on Facebook, Instagram, and TikTok.
FIRST STEP TO MAKING A THUMBHOLE CUFF

The first step of this project is to pick out what fabric you would like to use for your thumbhole cuff. Chelsea uses a stunning red knit fabric with black stars. Next, you are going to want to decide how large to make your piece of fabric for your wrists. Chelsea chooses to do 10" x 10" because this is what she is most comfortable with. However, you can choose to use as much or as little fabric as you feel is best. A quick tip when it comes to laying your fabric out is to make sure that the stretch part of your fabric is going with the width of your fabric or else your cuff will have little to no stretch in it. You want to do this before you start sewing.
STEP TWO MAKE YOUR MEASUREMENTS
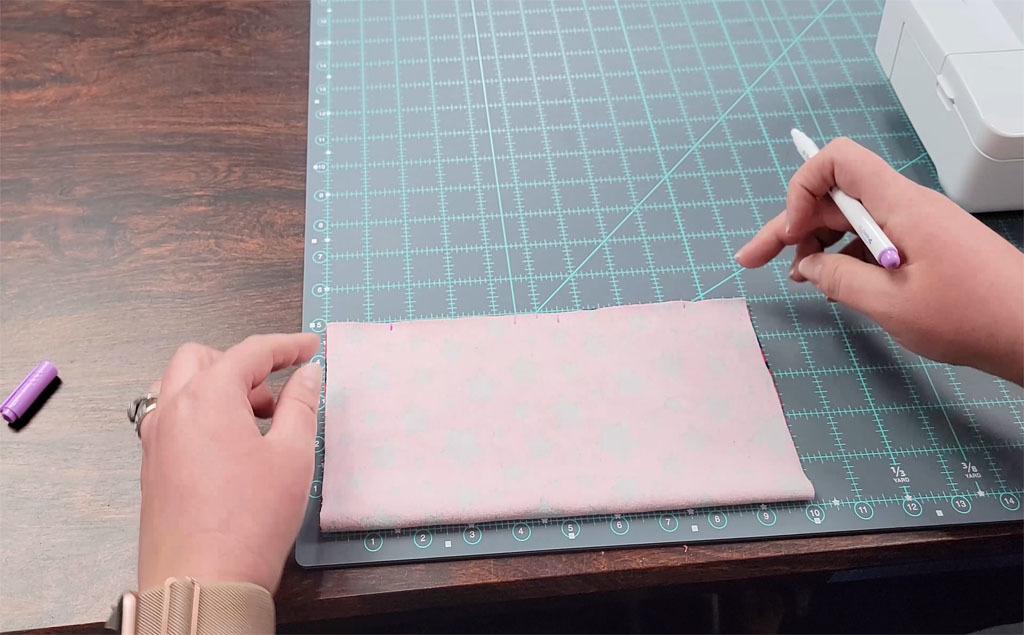
The second step requires you to find the center of your fabric and mark your measurements. Chelsea uses a fabric marker to mark her center. Then she marks a half inch to the right and left of it. She calls these the sewing spots, and they will help guide you when sewing your cuffs. Then you will want to mark where your thumbholes will start. Chelsea does an inch and a half because that is what works best for her.
STEP THREE TO SEWING A THUMBHOLE CUFF
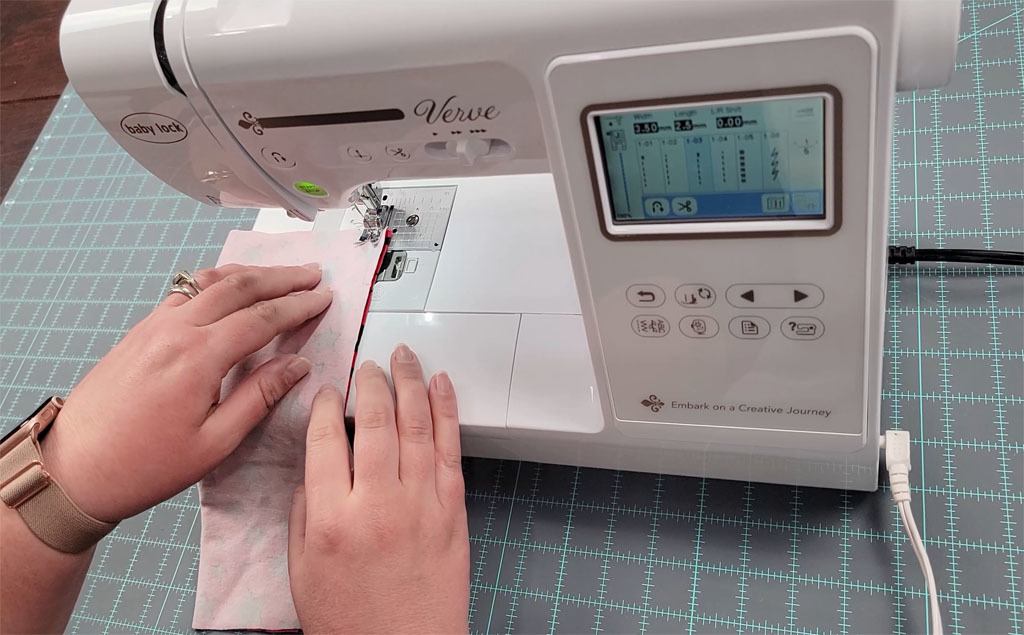
The next step to making a thumbhole cuff is to sew your cuffs. Chelsea starts with a 1/2" seam allowance. She also uses a straight stitch and she only goes over those spots that she marked with her fabric marker. Chelsea uses the Baby Lock Verve for this project. She starts with a back stitch and then she gets to sewing. The Baby Lock Verve is a great little computerized combination sewing and embroidery machine. This model has been discontinued; however, if you are looking for something similar, check out the Baby Lock Aurora. For this project, Chelsea only used the sewing side of this combination machine.
STEP FOUR PRESS YOUR SEAMS
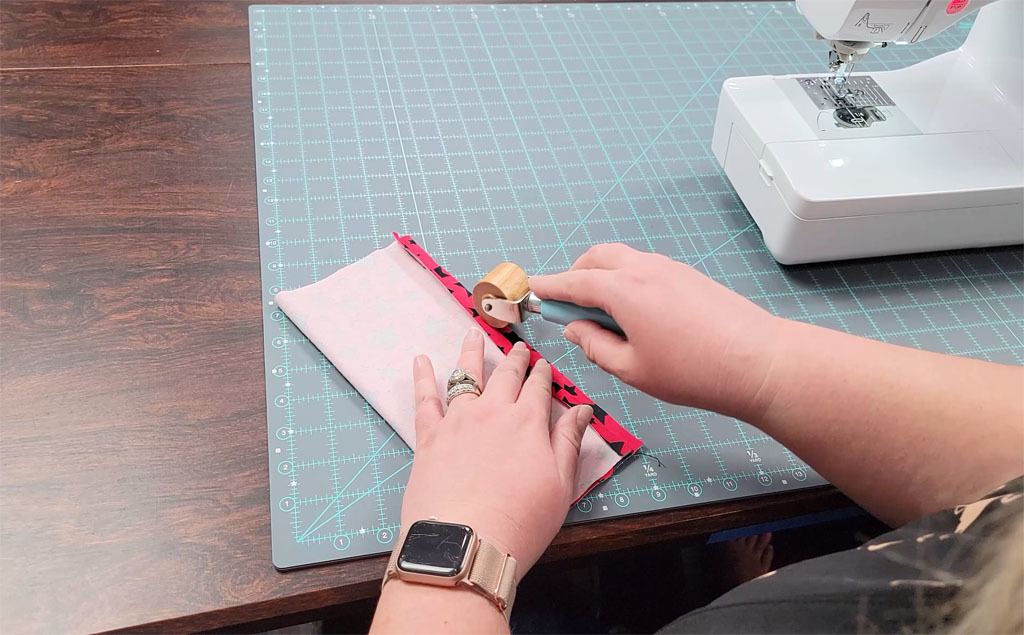
The next step in this process is to press your seams. Chelsea says you can do this with your fingers or you can use a seam roller - whichever you prefer.
STEP FIVE FOLD TO THE RIGHT
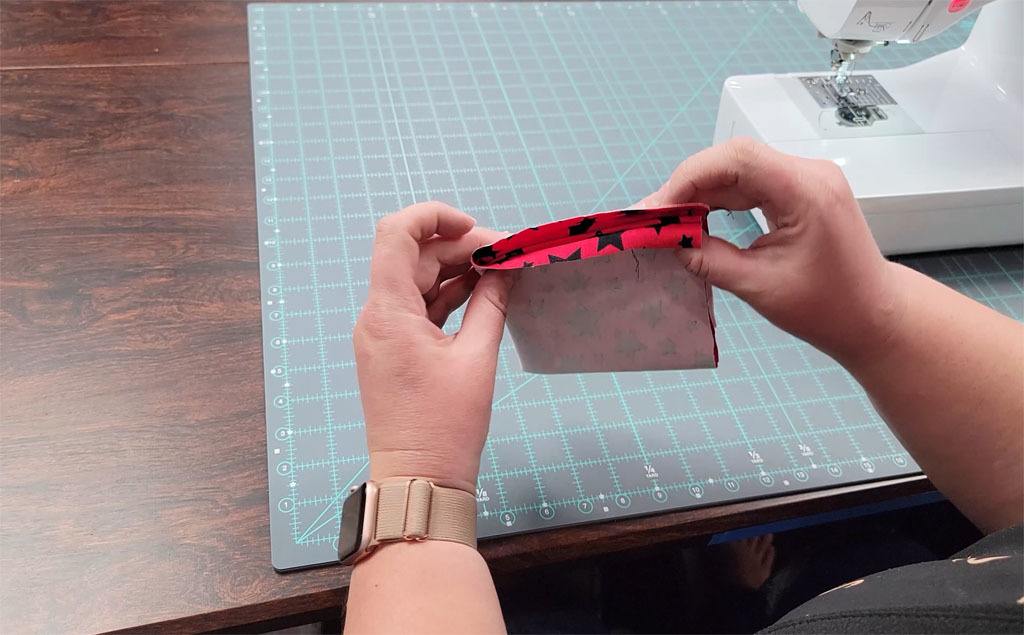
The next step in this process is to open your seam and then fold your fabric to the right. Then you are going to sew just the two layers. This is what creates the thumbhole effect. Then you will sew those two layers together on the other side. Make sure to watch the attached video so that you can see exactly where to sew!
STEP SIX LAST AND FINAL STEP
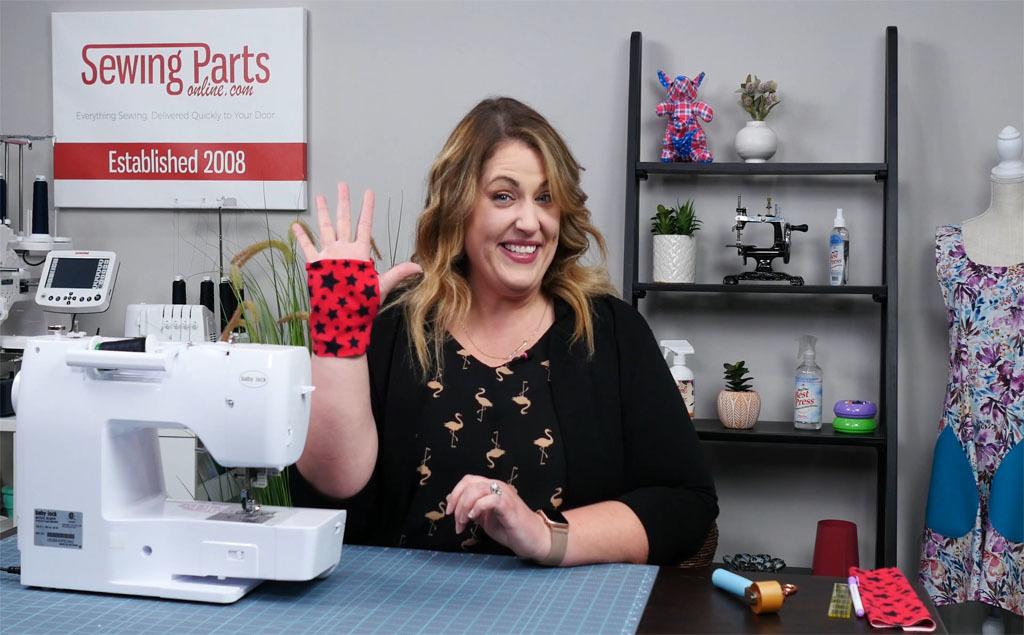
The last and final step is to turn the thumbhole cuff right side out and see how you did. Congratulations - you just made a thumbhole cuff. We hope you enjoyed this blog and make sure to follow us on all our social media accounts tagged above.


