LET'S QUILT LIVE RECAP
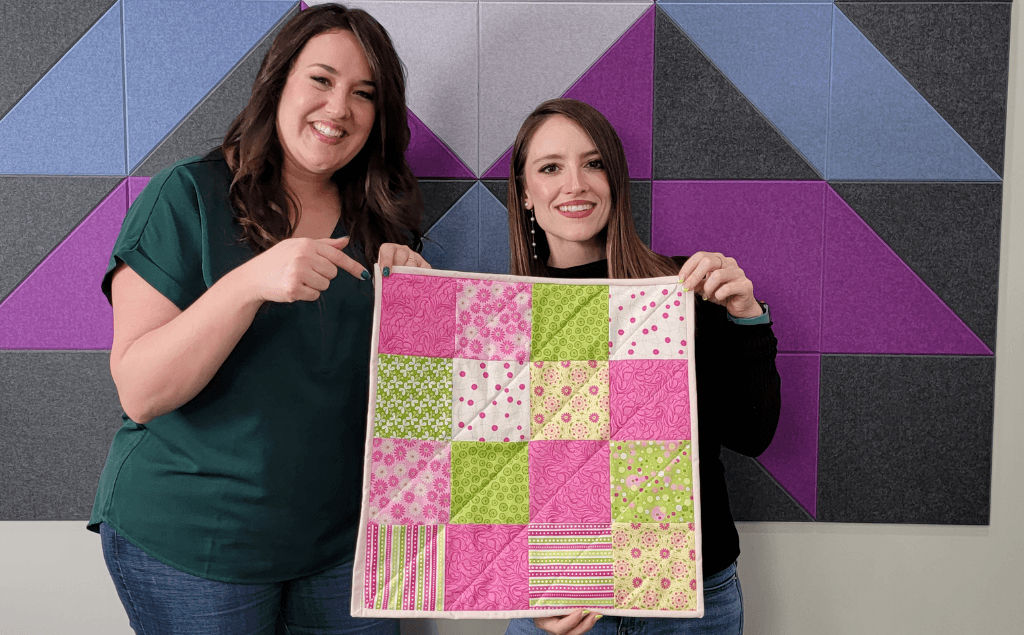
In celebration of National Quilting Month, Tricia showed Alex how to make her first quilt; specifically, an adorable mini quilt. This video is excellent for anyone starting their sewing journey and looking for tips and tricks. You can also grab your own fabric and supplies and follow along with Tricia and Alex.
SUPPLIES YOU WILL NEED
If you are choosing to follow along some of the things that you will need are:
- Sewing Machine
- Fabric (your choice) 5" Charm Packs are a great option when making your first mini quilt.
- Batting (your choice) Tricia likes using Hobbs Heirloom Premium Batting, but there are many options out there.
- Backing (your choice) A great place to find yardage for your quilts is ineedfabric.com!
- Thread (your choice): 50 wt Cotton: Tricia is a big fan of Aurifil!
- Rotary Cutter
- Rotary Mat
- Iron
- Seam Roller
- Scissors
- Quilting Needle
- 1/4" Presser Foot
- Walking Foot
- Adhesive Spray
- Curved Safety Pins
STEPS TO MAKING YOUR MINI QUILT
HOW TO START THE QUILT
Tricia starts by explaining that the 1/4" foot is a great option for you and your quilt. If you struggle to keep your seam straight and consistent, this is a perfect companion. The guide makes your quilting experience easier and more efficient. Now it is time to pick your fabric, you can be fun and choose any fabric you like. Next, you are going to want to cut your fabric. You can use scissors, however, a rotary cutter and mat will give you a more precise cut. If you do not like cutting the fabric yourself you can get precuts of fabric.
TIME TO ARRANGE YOUR FABRIC
Next, you are going to want your fabric to be cut into 5"x5" squares. These are the dimensions that were chosen for this mini quilt. After this, you are going to arrange your fabric in whatever pattern you desire. Play around and have fun with it! After this is complete, you are going to start to make rows. To create a row, grab two squares of fabric. Place them pretty side to pretty side; otherwise known as right sides together. Sew 1/4" seam allowance down one side. Open up your fabric and grab another square. Place that square pretty side to pretty side with your previous square. Once again, sew 1/4" seam allowance. Continue to do this until you have created your row. Next, make as many rows as you would like in order to create the size quilt you are going for.
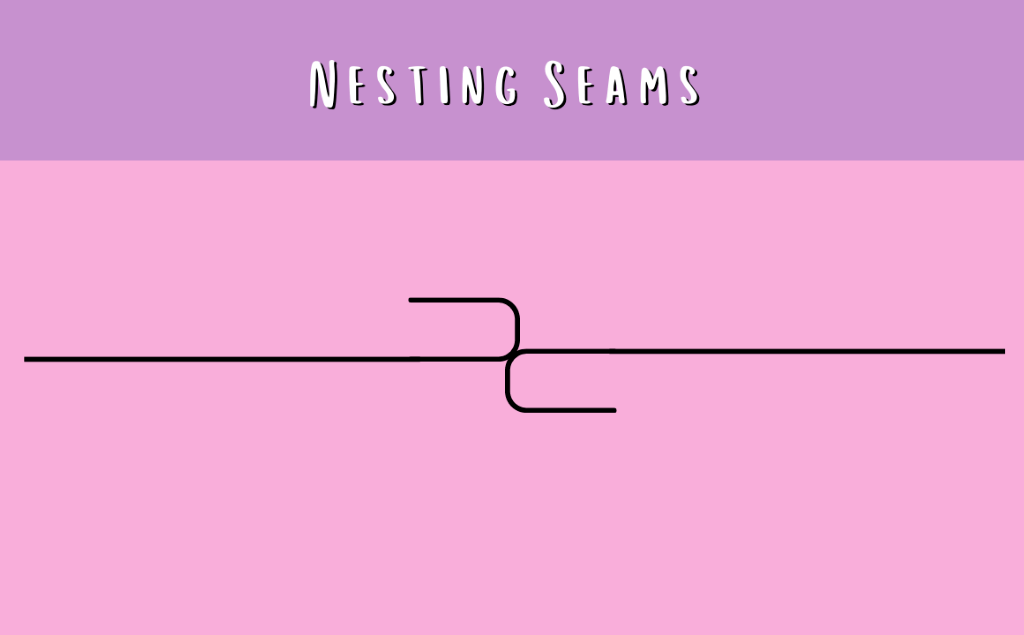
After you create the rows, you will need to press the seams. It is beneficial to press the seams for each row in opposite directions. That way they will nest together - which we'll talk about shortly.
After pressing your seams, you need to connect the rows together. Grab one row and lay it on top of another. Match up your seams and make sure they are nested together. It pretty much just means that your seams fit together like a puzzle. Because you pressed them in opposite directions, one seam will be facing one way and the other seam will be facing the other way. If needed refer back to the video to gain a better understanding. Pin or clip in place. Sew a 1/4" seam to connect the two rows.
Open up your fabric. Place your next row - pretty side to pretty side. Once again, align the seams, pin or clip, and sew a 1/4" seam allowance. Continue until all of the rows are connected.
HOW TO WORK WITH SEAMS
After this is complete, make sure to use your seam roller to press your seams. To make it look even better, you can also use an iron- and viola, your topper is finished. Next, you need to create your quilt sandwich. This consists of the backing, batting, and your newly made topper. To do this lay down your backing fabric first and then place your batting fabric on top of the backing fabric. Lastly, place your topper on top of these two fabrics. You made your sandwich! You can use this to remember where your topper, batting, and backing go.
HOW TO PIN THE QUILT'S FABRIC
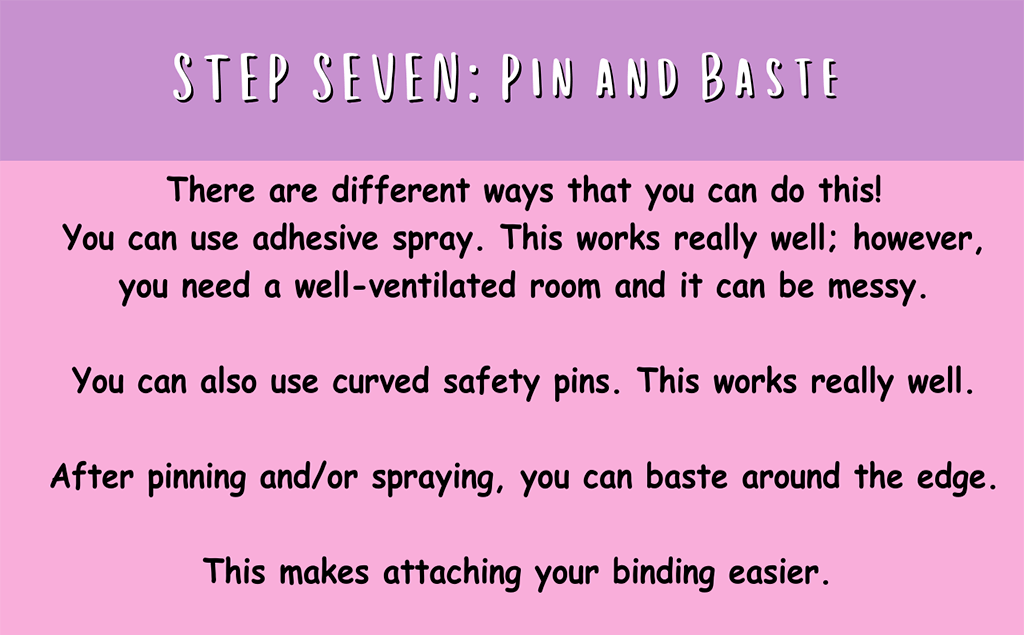
Next, you will want to pin or spray your fabric. This will hold everything together and will make attaching the binding much easier. In this video, we chose to use curved safety pins because it was the most efficient option. After pinning, begin by sewing a basting stitch around the edges of your quilt. It does not need to be perfect. This just holds the edges in place and makes it easy to bind your quilt. After basting, trim the excess fabric. We recommend using a rotary cutter and mat or the dressmaker shears for this process! Almost time to quilt.
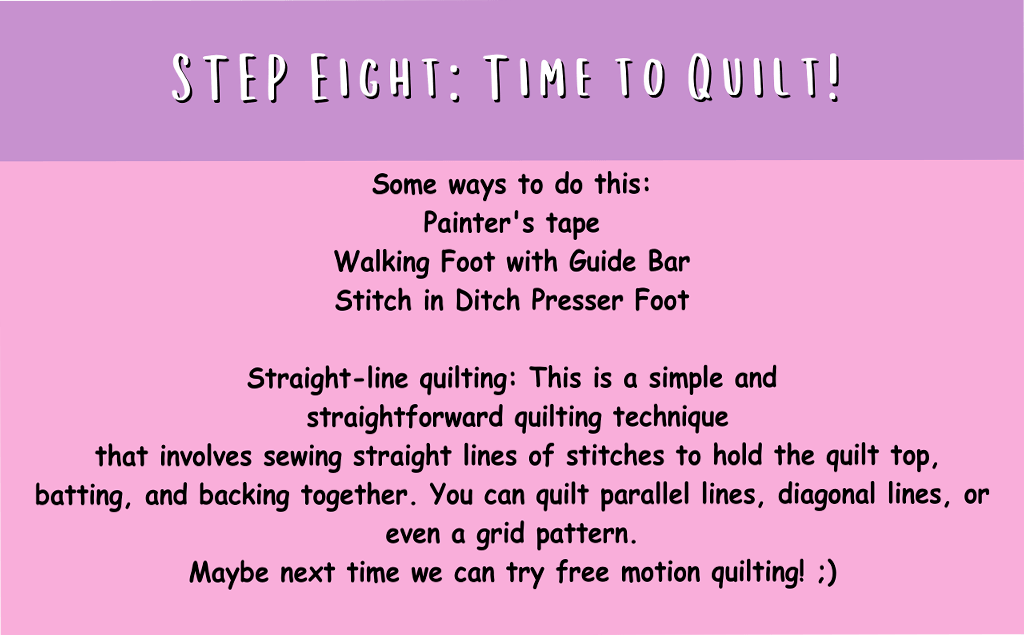
Finally, it is time to quilt! We recommend that you use a walking foot for this process because it will make your quilting experience go flawlessly. A walking foot prevents multiple layers from shifting, so it is an ideal tool to use when quilting. A great option to help you sew straight lines is using quilter's tape. Place the tape and then sew right next to it. Easy peasy. After you sew one line, move the tape, and repeat.
TIME TO START SEWING THE QUILT
Have fun with this. :) After you have quilted everything, the last thing you need to do is bind your quilt. This simply covers your raw edges and makes your quilt all pretty!

HOW TO FINISH THE QUILT
Check out this little video with tips about binding: How to Bind Corners!
CONCLUSION
Congratulations, you have just made a mini quilt! We are so happy you made a quilt with us for National Quilting Month, if you are interested in keeping up with us, make sure to follow us on Instagram, Facebook, and TikTok. Also, share with us how you are celebrating National Quilting Month.


